6-12 Phaser 7750 Printer Service Manual
Coarse RegiCon Initialization
1. From the Hidden Service menu, highlight Run Service Diagnostics and
press OK. Wait for the printer to initialize in the Service Diagnostics mode.
2. Highlight the Adjustments/Calibrations menu and press OK.
3. From the select Adjustments/Calibrations menu select the Coarse
RegiCon Init test and press OK.
a. After NVRAM values are read, the test asks Set Factory Defaults? Yes/No,
then select Yes.
b. This sets the horizontal and vertical alignment to centered values. At this
time, it should not be necessary to reset the magnification or magnification
balance values, so select No to Set Skew Error Thresholds? Ye s/No .
Note
In all the following steps, Cyan is the reference line and cannot be adjusted,
so you need to adjust all the other lines towards the Cyan line.
4. From the Built-in Test Prints menu, select Print Grid 1-Dot.
a. This print shows the relative error between the C and MYK scan lines.
Always indicate which edge of the print comes out of the printer first to be
certain which way is Left/Right or Up/Down (see Figure 4-6 “Grid 1-Dot
pattern orientation for A-size paper”). Measure the distance (in millimeters)
between the vertical lines, with the Cyan line being the reference line.
b. It is best if the default paper tray contains A-size paper.
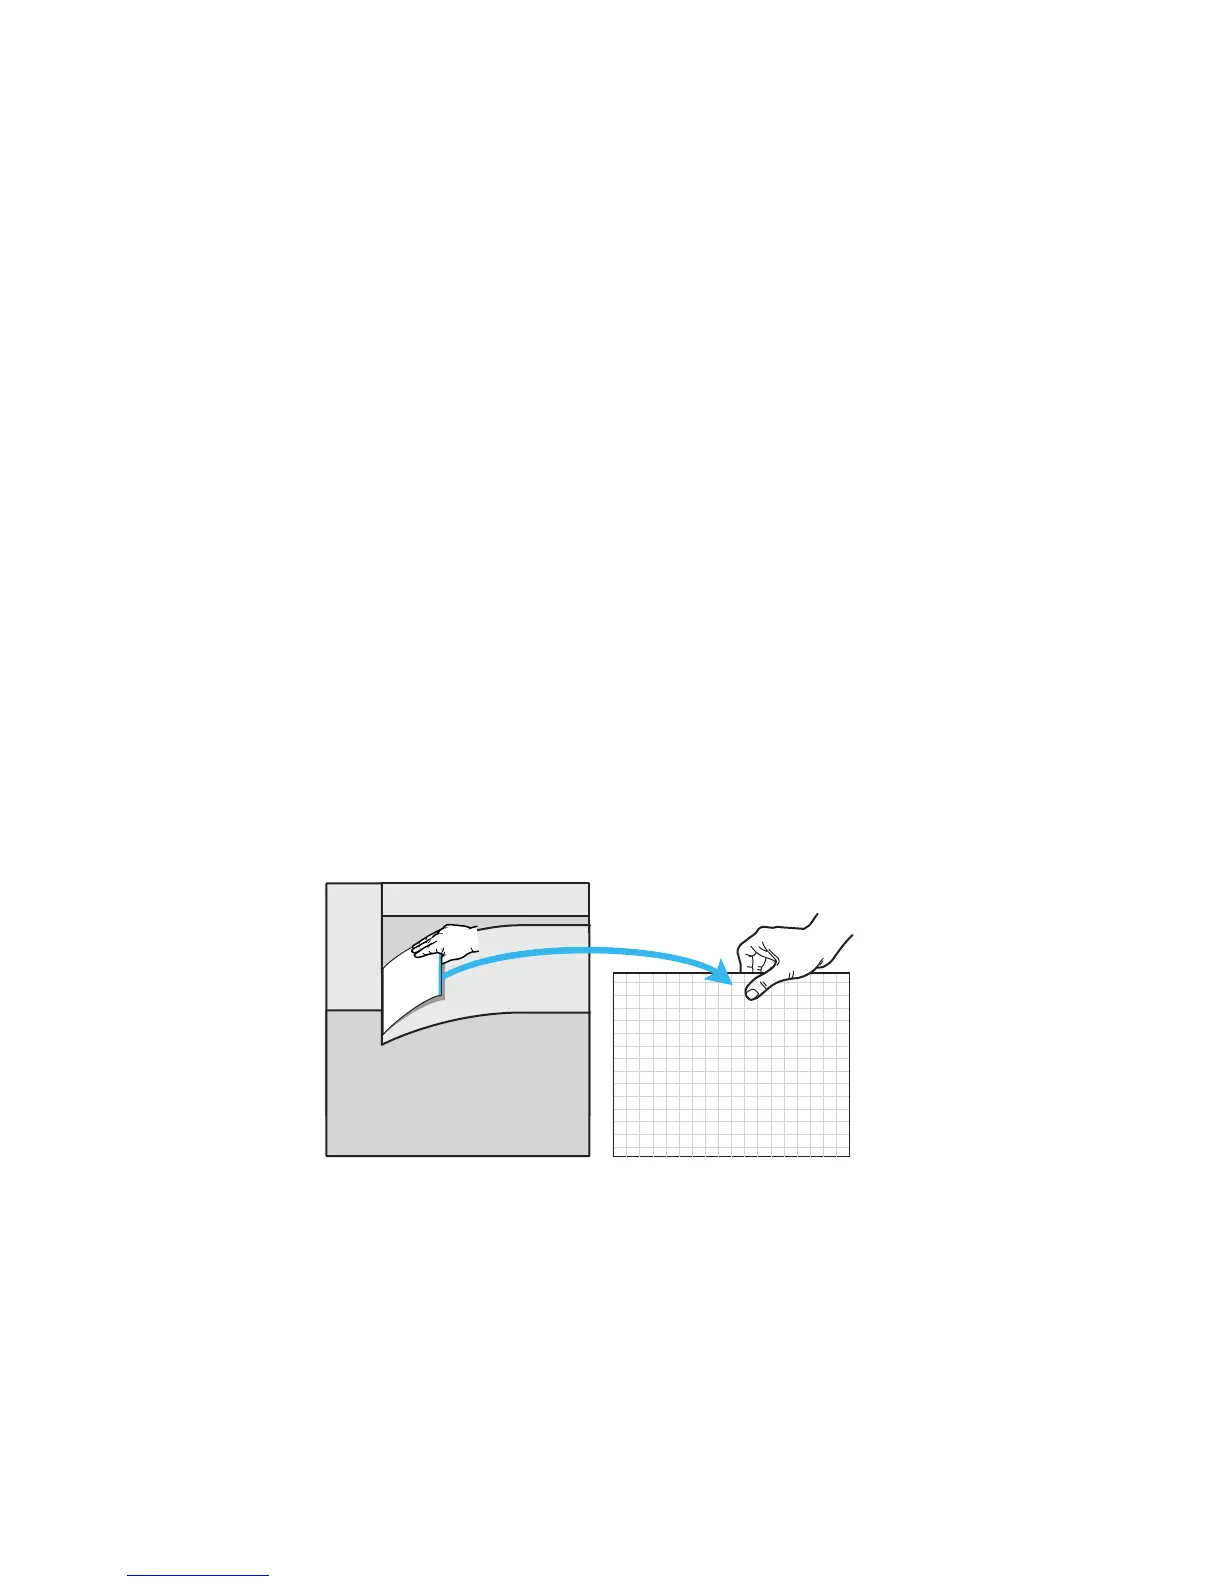
c. Note the leading edge of the paper when removing the test print from the
tray. Use a pen or pencil to note the leading edge as the “TOP” of the print
“Grid 1-Dot pattern annotations” on page 16. With “TOP” up, note the
Top
S7700-464-b

 Loading...


