3-46
IM MW100-01E
3.13 Network Utility Settings
Setting Mode
DNS Client Settings
1.
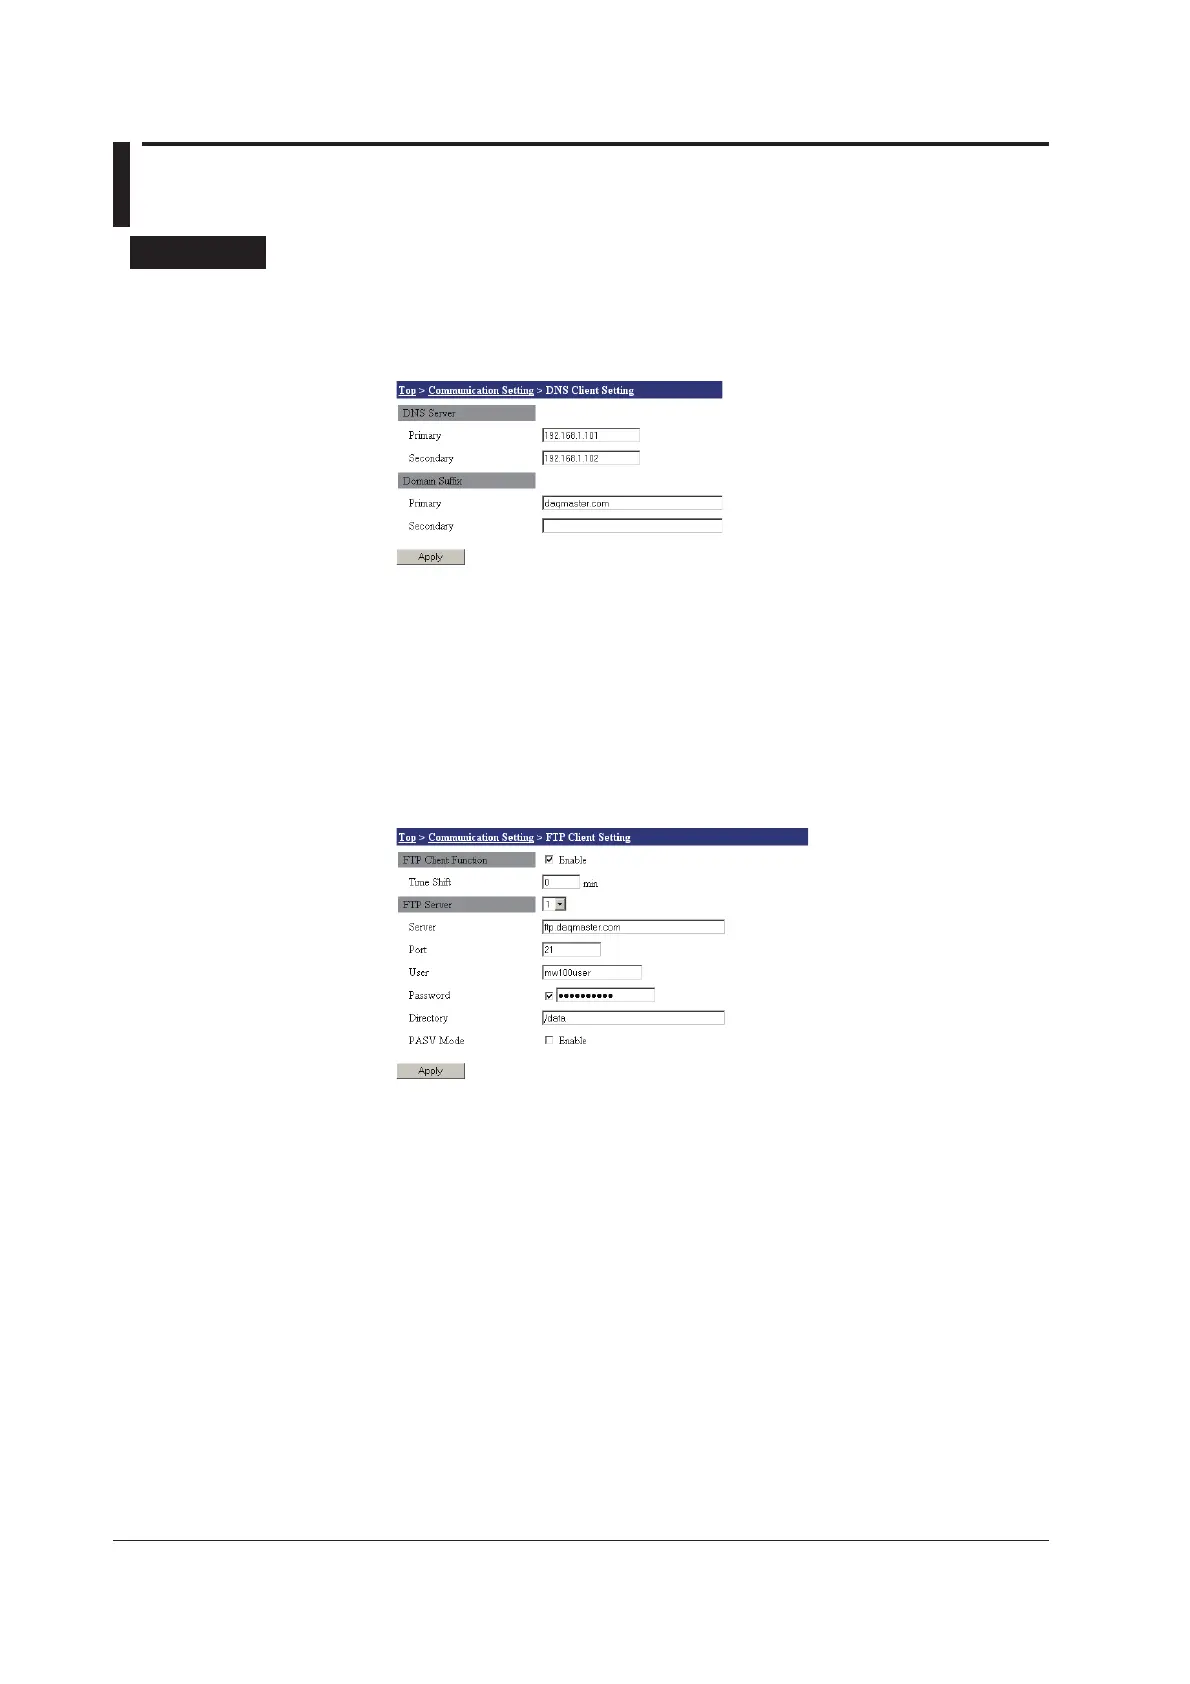
From the top screen, click Communication Setting > DNS Client Setting.
2.
In the Primary and Secondary boxes under DNS Server, enter the IP addresses
of the respective DNS servers.
3.
In the Primary and Secondary boxes under Domain Suffix, enter the domain
name.
4.
Click the Apply button. The setting changes take effect.
FTP Client Settings
1.
From the top screen, click Communication Setting > FTP Client Setting.
2.
Select the Client function check box to enable the function.
3.
Enter the delay time until starting the transfer in the time shift box.
4.
Select the number of the destination to be set in the Destination list.
You can set up to two destinations. Number 1 is primary and number 2 is secondary.
5.
Enter the FTP server name in the Server Name box.
6.
Enter the FTP server port number in the Port Number box.
7.
Enter the user name of the FTP server in the User Name box.
8.
Select the Password check box, and then enter the user password in the
Password box.
If you do not select the check box, you cannot enter the password.
9.
Enter the folder to be accessed when opening a connection in the Directory box.
10.
You can select the PASV Mode check box to use FTP passive (PASV) mode.
11.
Click the Apply button. The setting changes take effect.

 Loading...