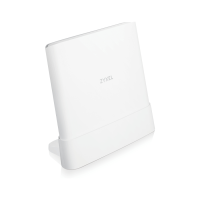
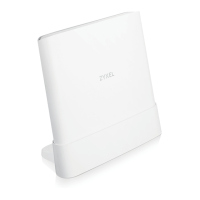
Chapter 2 Hardware
AX/DX/EX/PX Series User’s Guide
62
The following table describes the items on the ports panel of PX5531-T0.
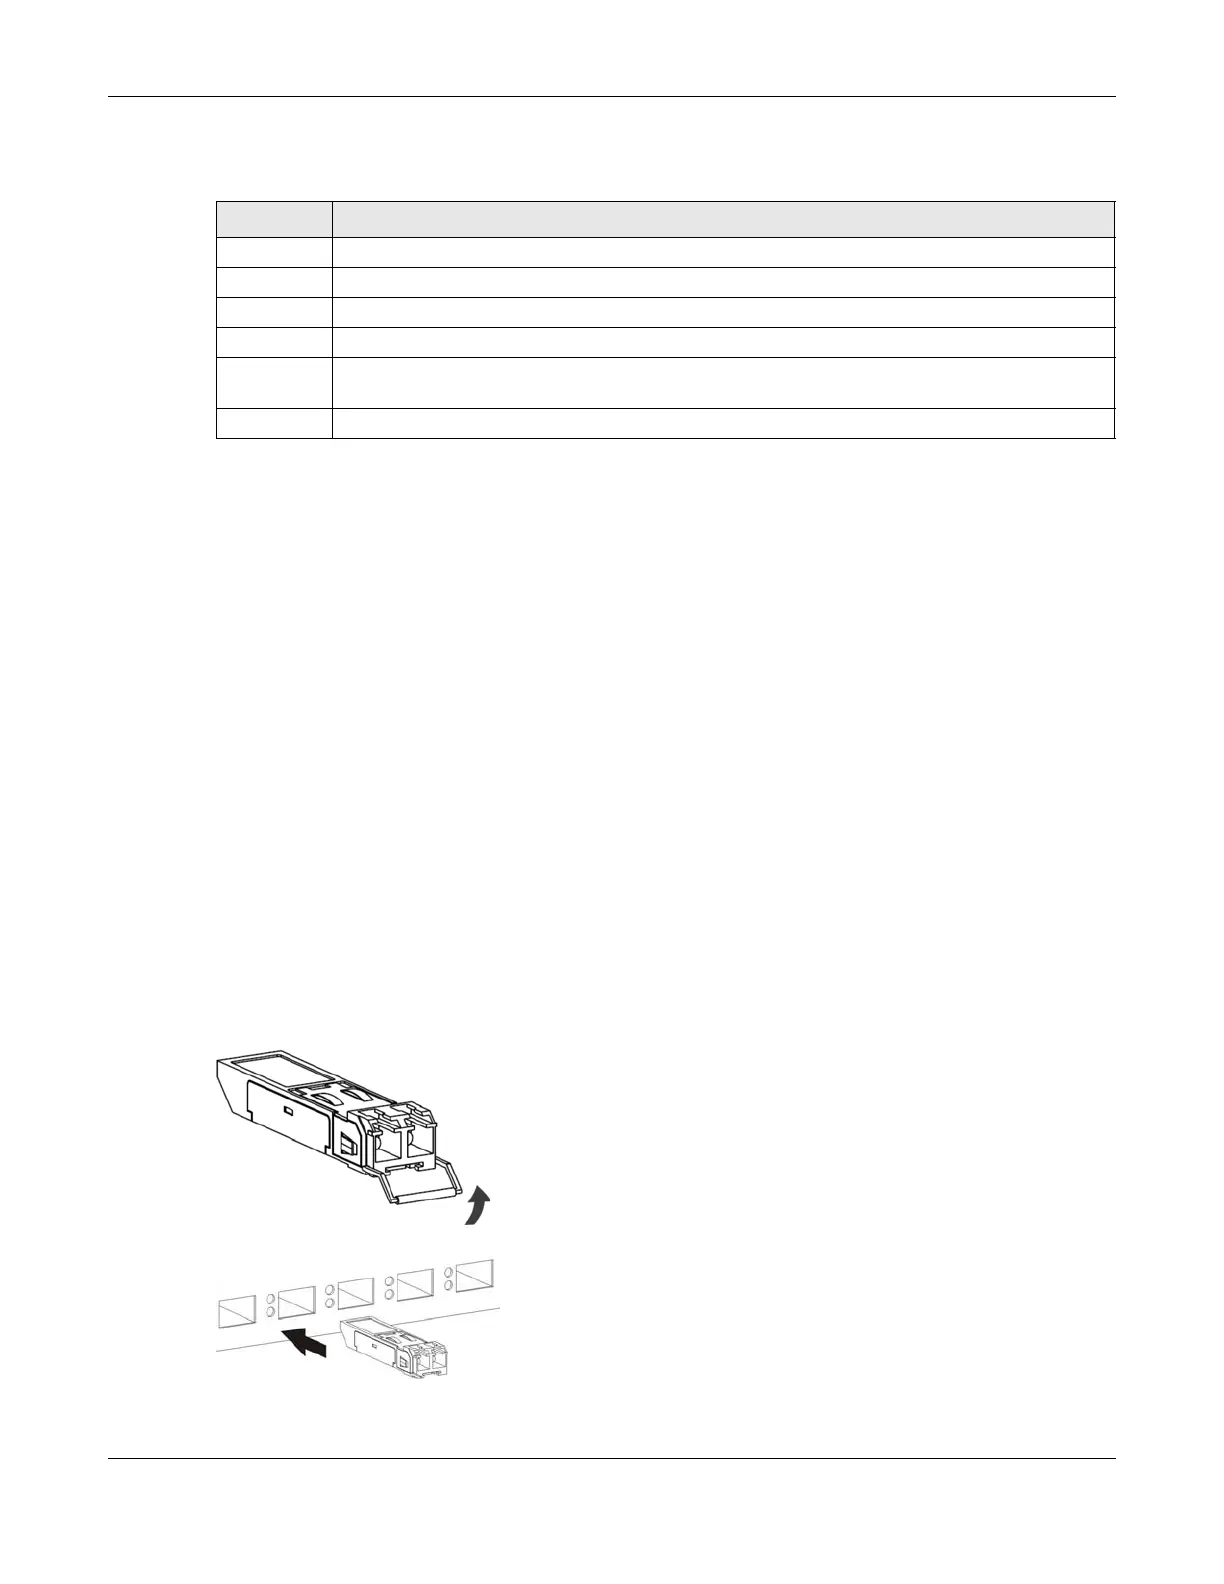
2.3.9 Transceiver Installation/Removal
Transceiver Installation
Use the following steps to install an SFP transceiver.
1 Attach an ESD preventive wrist strap to your wrist and to a bare metal surface.
2 Align the transceiver in front of the slot opening.
3 Make sure the latch is in the lock position (latch styles vary), then insert the transceiver into the slot with
the exposed section of PCB board facing down.
4 Press the transceiver firmly until it clicks into place.
5 The Zyxel Device automatically detects the installed transceiver. Check the LEDs to verify that it is
functioning properly.
6 Remove the dust plugs from the transceiver and cables (dust plug styles vary).
7 Identify the signal transmission direction of the fiber cables and the transceiver. Insert the fiber cable into
the transceiver.
Figure 41 Latch in the Lock Position
Figure 42 Transceiver Installation Example
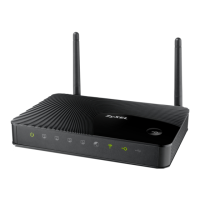
Table 22 Panel Ports and Buttons
LABEL DESCRIPTION
POWER Connect the power adapter and press the ON/OFF button to start the device.
USB The USB port is used for cellular WAN backup, file-sharing, and media server.
LAN 1-4 Connect computers or other Ethernet devices to Ethernet ports for Internet access.
Phone
Connect analog phone to the PHONE port with RJ11 cable for VoIP services.
WPS Press the WPS button once within 3 seconds to quickly setup a secure WiFi connection between the
device and a WPS-compatible client.
RESET Press the button for more than 5 seconds to return the Zyxel Device to the factory defaults.
 Loading...