Operating with the BioStack | 125
3. Set the BioStack operating mode:
LHC:
Touch screen:
When controlling the BioStack with the instrument
and not processing plates with lids, you can choose
to run the whole stack or a specific number of
plates at runtime: use the BioStack controls on the
run screen.
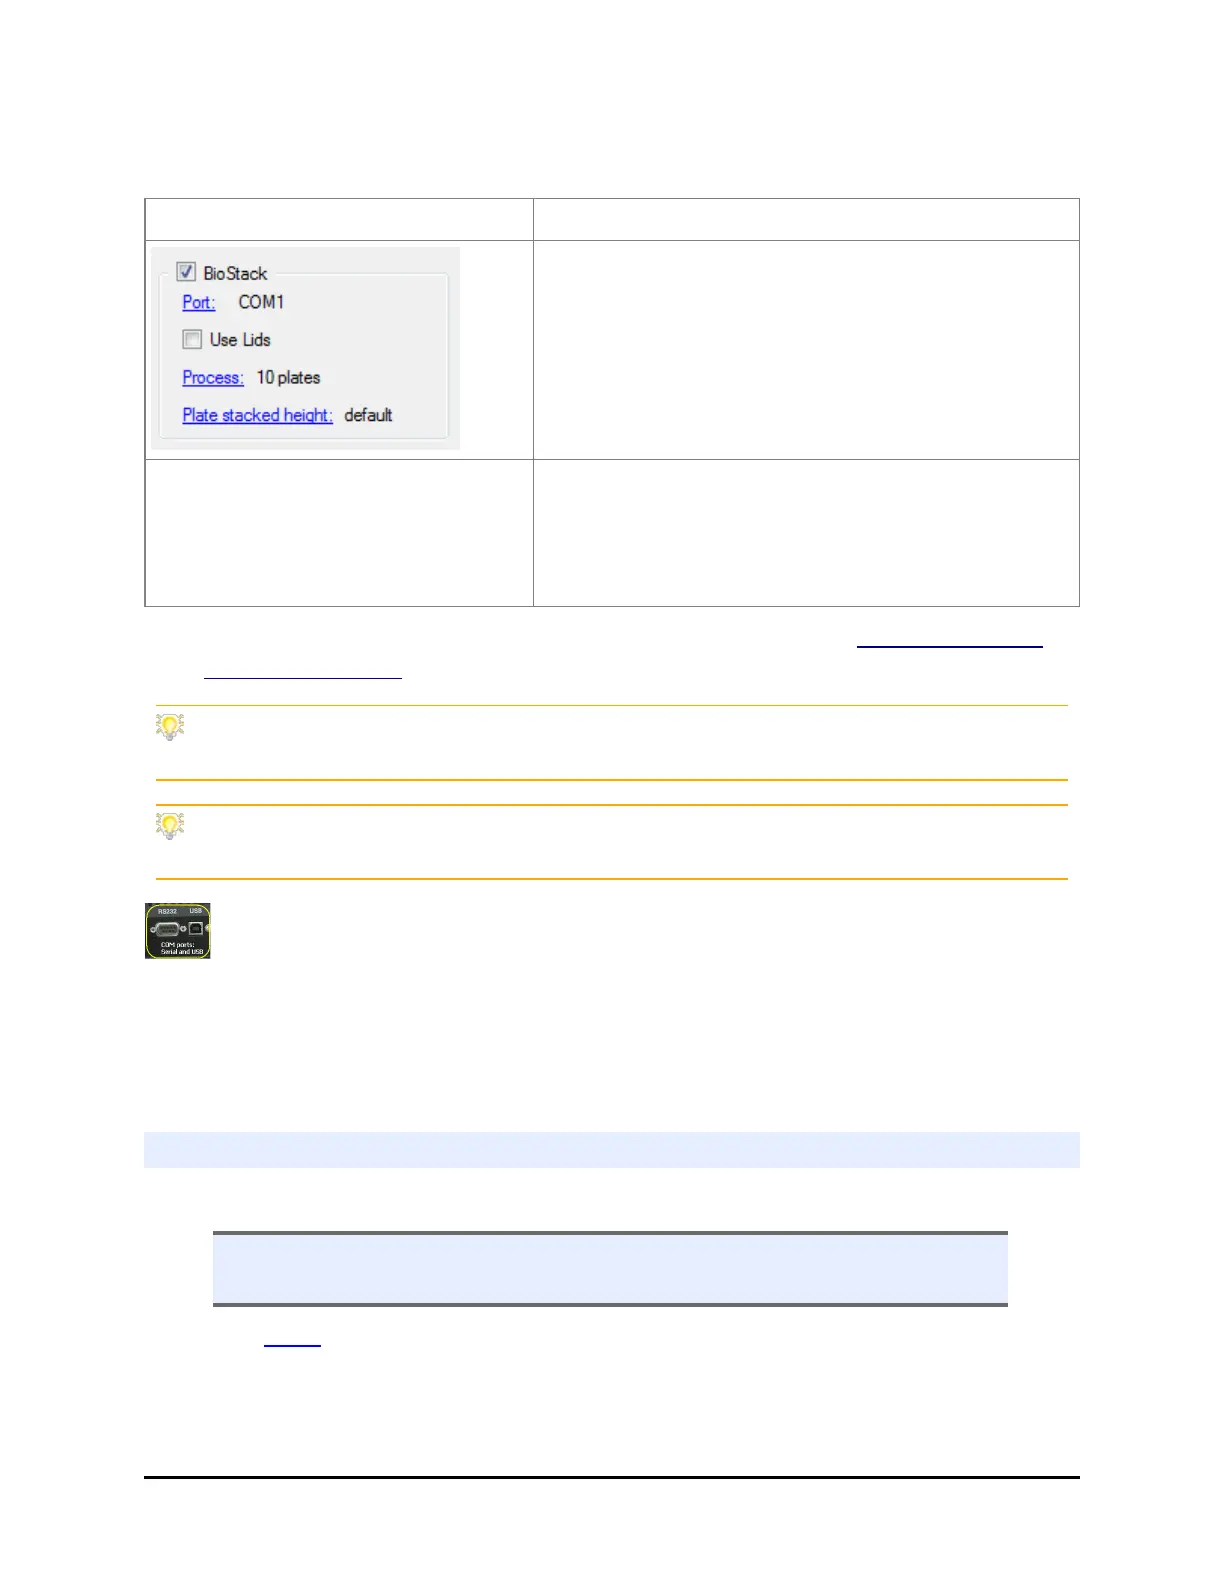
Fill the BioStack checkbox in the
main view to enable the BioStack
action buttons and use them to design
a protocol that delivers and retrieves
plates.
Note: Both methods, LHC and touch screen, require a
BioStack-enabled protocol to run the stacker.
4. Verify the setup: perform a protocol with 1 or 2 plates. See How to define a
BioStack protocol below.
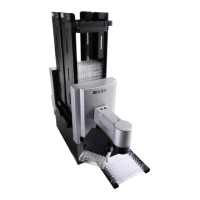
At the start of the day, power up the BioStack first, and then the MultiFlo FX.
BIOSTACK2WR: Lift the BioStack’s gripper before turning it on.
Robotics integrators: CAD drawings of the physical dimensions of the MultiFlo FX are
available upon request. Contact BioTek customer service.
Technical Note: Only one of the two communication ports (COM port) on the
instrument can be used at a time. They cannot be used simultaneously. You
can use USB to connect the MultiFlo FX to the computer or the RS232 serial port to
connect to a BioStack or similar robotic device. But you cannot use both ports
simultaneously, i.e. make sure only one cable is plugged in at a time.
Use the BioStack
How to define a BioStack protocol
n Select Instrument>Next>BioStack and fill the installed checkbox to enable the
BioStack steps.
Like the Loop, the BioStack command is a step container. First, add the BioStack
step to the protocol and then put the action steps inside the BioStack start (deliver
plate) and end (return plate) steps. Here's an example:
BioTek Instruments, Inc.