Chapter 6 Configuring Cisco Applications
Managing Scripts
6-26
Cisco Customer Response Solutions Administration Guide, Release 4.1(1)
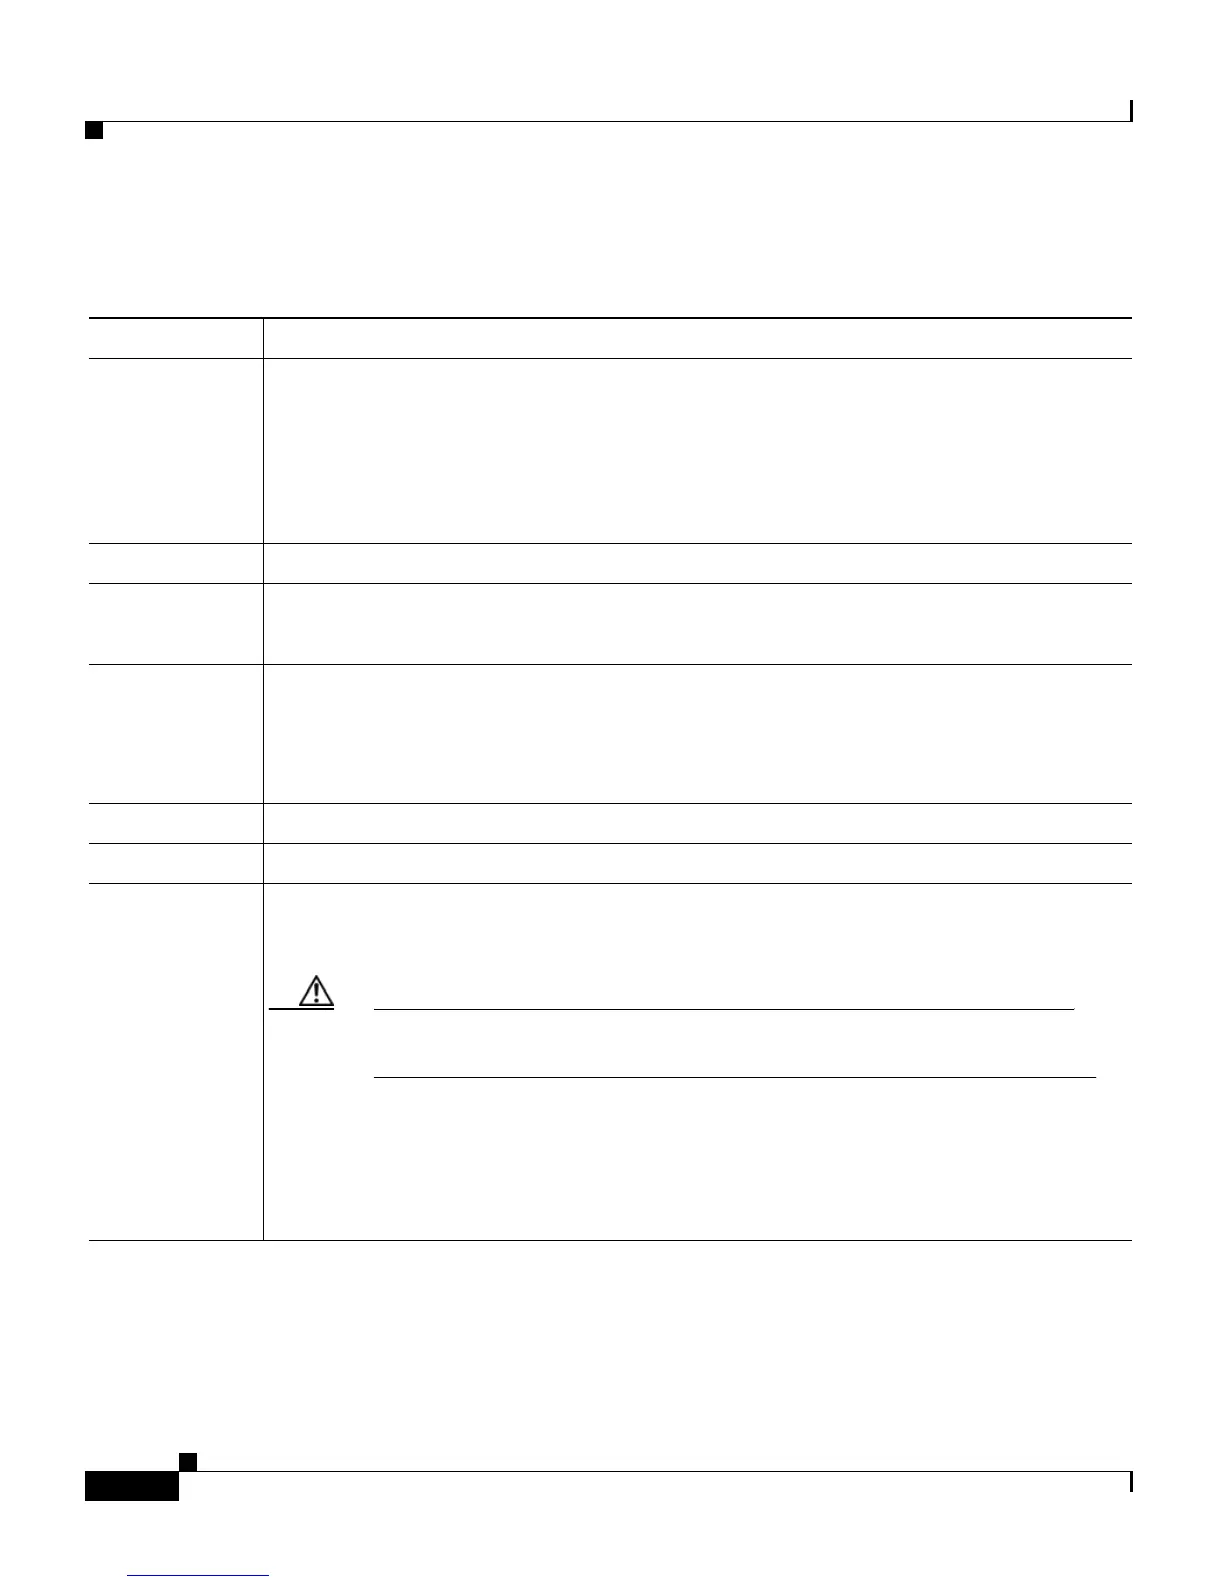
The following table describes the available columns on the Script Management
web page.
Step 2 Click on the default folder.
The Script Management page opens to display the contents of the
default folder.
Step 3 Click the Upload New Scripts hyperlink.
Field Description
Folder A drop-down list defaulting to the root directory as the Script repository. This
directory contains one folder called
default. You cannot create a new folder at the
root directory level nor can you rename the
default folder. Within the default
folder, you can create, rename, and delete folders. You can upload scripts to the
default folder as a zip file so its contents (the *.aef files) can be unzipped and
uploaded to the repository.
Folder path The level of the directory that is currently selected in the folder drop-down list.
Name The name of the script.
Note Click the icon in front of the script name to download the script file.
Size The size of the script file prefixed with
KB. The file size is converted from bytes to
KB.
Note This column is usually blank on the root page as the items on this page are
usually folders.
Date Modified The date when the document was last uploaded or changed.
Modified by The user ID of the person who performed these modifications.
Action This column contains the following icons:
• Delete icon—Click to delete the corresponding folder.
Caution When you delete a folder, you permanently remove it from the repository
and make it unavailable to the CRS system.
• Rename Folder icon—Click to rename the corresponding script. In the resulting
CRS Administration window, select the required subfolder and provide the new
name for this subfolder.
• Refresh icon—Click to upload the newest version of the corresponding script.
 Loading...


