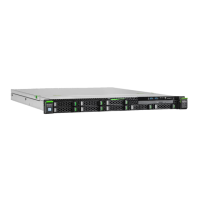
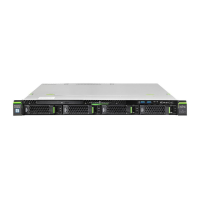
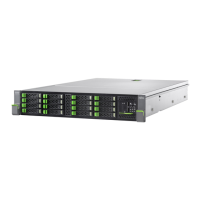
7.2.11 Upgrading configuration from up to four to up to
eight 2.5-inch HDDs/SSDs
V CAUTION!
All data on all HDDs/SSDs in the array will be lost! Be sure to back up
your data before deleting a RAID array.
For further information, please refer to the "ServerView Suite RAID
Management" user guide.
7.2.11.1 Preliminary steps
Ê "Shutting down the server" on page 45
Ê "Disconnecting the server from the mains" on page 46
Ê "Getting access to the component" on page 47
Ê Release all HDD/SSD modules and pull them out a few centimeters, see
section "Removing 2.5-inch HDD/SSD modules" on page 122
I The HDD/SSD modules need not to be removed. But if you want to
remove them nevertheless, check if all HDD/SSD modules are
uniquely identified so that you can reinsert them into their original
bays.
7.2.11.2 Installing the second HDD backplane
Ê Install the second HDD backplane as described in section "Right side 4 x
2.5-inch HDD backplane (A3C40157828)" on page 131.
Ê If applicable, install a dual-channel RAID controller as described in section
"Installing an expansion card" on page 170.
Ê Disconnect the SAS cable connected to the HDD backplane
(A3C40157852) from the system board connector "MLC SATA1-4" or from
the RAID controller connector "MLC1".
Upgrade and Repair Unit
(URU)
Hardware: 10 minutes
Tools: tool-less
 Loading...
