Connect and disconnect probes
Vivid S70 / S60 – User Manual 3-29
BC092760-1EN 01
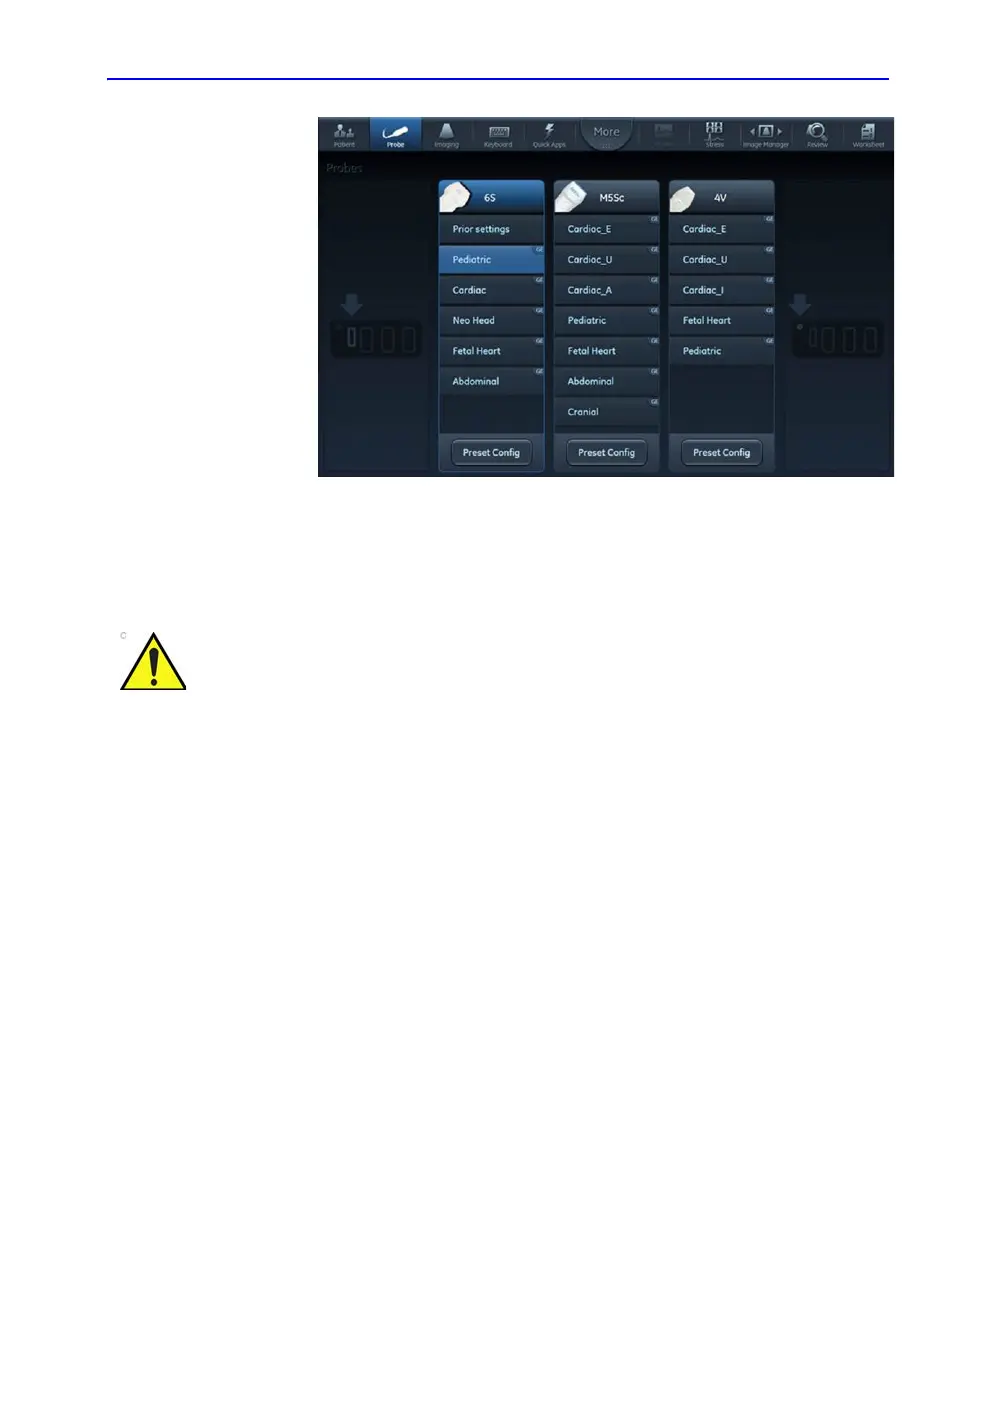
Figure 3-18. Probe selection
2. Select the desired probe application preset to start
scanning.
Switching Application Preset using QuickApps
QuickApps provides an easy access to specific imaging
settings, such as coronary or contrast imaging, without leaving
the selected imaging preset.
QuickApps keeps the current scanning mode and image
geometry parameters (such as 2D Depth, 2D Width, Color ROI
size and position) as adjusted by the user, while optimizing
imaging parameters for that selected scanning situation.
The Vivid S70 / S60 comes with a set of factory QuickApps
presets for most supported probes and Application Presets.
Factory QuickApps cannot be modified, but user-defined
QuickApps presets can be created as needed.
QuickApps can be managed on the fly as described below:
Make sure that the probe and application names displayed on
the screen correspond to the actual probe and application
selection.
Check that the correct TI category is displayed. TIB must be
displayed when a fetal application is selected.

 Loading...


