310
Programming examples - Using ight phases
3
rd
Step
In order to not have to carry out all previously made
settings for the model in the "new" flight phase from
the ground up, we recommend first copying the al-
ready tested programming of the flight phase "Nor-
mal" to the other flight phases. This is carried out in
the menu …
»Copy / Erase« (page 74)
Copy flight phase
Erase model
Copy model –> model
Export to SD
Import from SD
=>
Here, select the "Copy flight phase" menu item with
the selection keys then briefly tap the centre SET key
of the right touch pad.
In the window which now appears, "Copy from
phase", "1 Normal" is selected …
7
Copy from phase:
3
5
=>
=>
2
4
6
1
8
normal
Thermal
Speed Launch
… and a subsequent brief tap on the centre SET key
of the right touch pad will change the display to "Copy
to phase". Now the target is to be selected (initially
"2 Thermal") and confirmed by another tap on the
centre SET key of the right touch pad. After confirma-
tion of the subsequent safety query, all settings are
copied according to the selection.
Proceed in the same manner with the other two
phases ("1 Normal" to "3 Speed" and "1 Normal" to
"4 Start").
4
th
Step
Now three or four phases are programmed, the
settings are also copied and there is even a "soft"
transfer, but … there are still no flight-phase specific
settings.
Now, if applicable, in order to adapt the flap positions
to the different requirements of the individual flight
phases, in the menu …
»Phase trim« (page 162)
Starting from the “normal” flight phase, switch to one
of the other flight phases, whose name will appear at
bottom left in accordance with the switch position; for
example, the «Thermal» phase.
Now move the marker frame to the “ AIL ” column,
and enter any settings for the ailerons which dif-
fer from the “normal” flight phase. Both positive and
negative changes to travel are possible. Enter these
settings separately for each flight phase, for example:
Normal
0%
EL
Thermal
0%
0%
0%
AI WK WK2
Thermal
Speed
Launch
0%
0%
-7%
0%
0%
0%
+5%
0%
0%
0%
0%
QR2
0%
0%
-11%
0%
5
th
Step
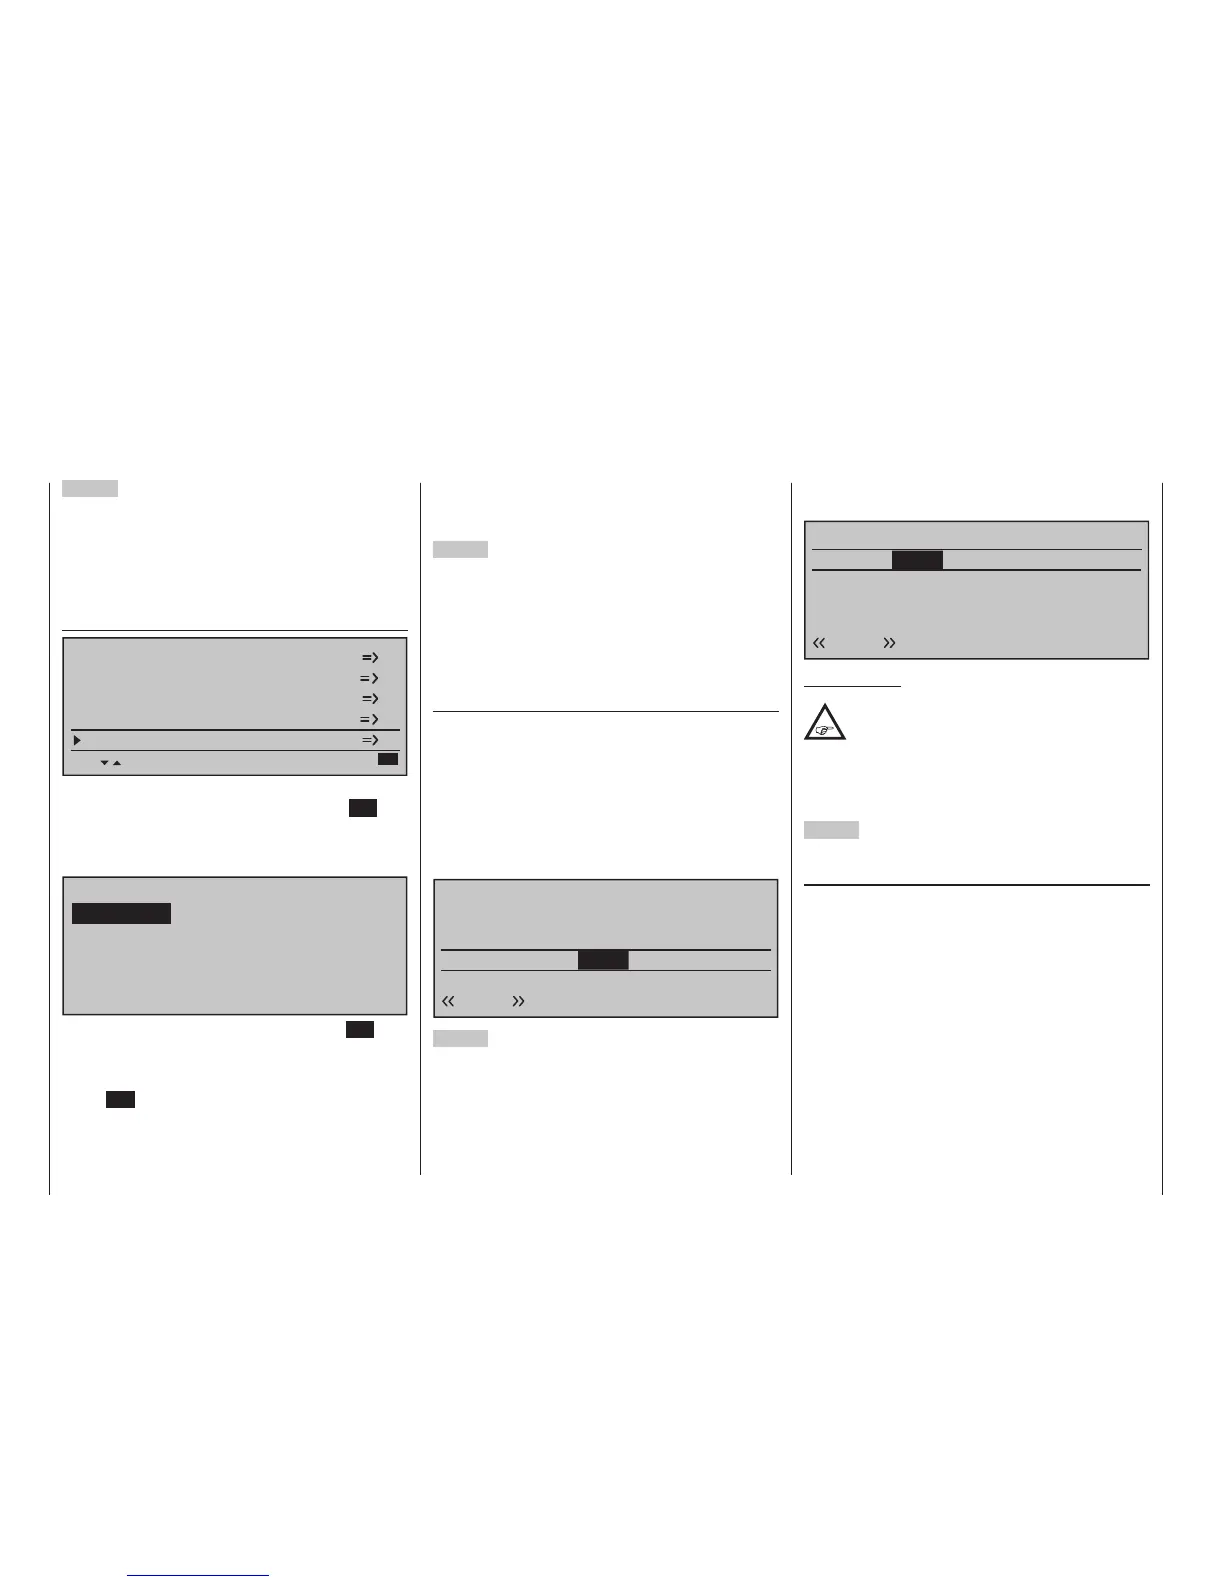
Any necessary phase-specific trimming of the eleva-
tor is made with the help of the digital trimming of the
elevator stick. This requires that you have at least set
the elevator trimming to “Phase” in the »Stick mode«
menu.
Alternatively, these settings can also be made in the
»Phase trim« menu …
Normal
0%
EL
Thermal
0%
0%
0%
AI WK WK2
Thermal
Speed
Launch
0%
0%
0%
0%
0%
0%
0%
0%
0%
0%
0%
0%
QR2
0%
0%
0%
0%
Important note:
This is true provided that you have left at
least the elevator trim at the standard
“Global/Phase” in the line RF of the »Stick
mode« setting menu (see page 114) as shown at
the start of the programming example. Alterna-
tively, these settings can also be made in the
»Phase trim« menu …
6
th
Step
In the menu …
»Wing mixers« (beginning page 172)
… the flight phase name of the newly activated flight
phase appears at the bottom edge of the display. If
the switch position is now changed, the name of the
flight phase selected with the switch appears, but
with the previously copied settings of the flight phase
"Normal". Here you set your values phase-specifically
for the aileron differentiation, the share of the mixture
of transverse to side, and if applicable, also a mixture
of altitude to transverse. (The latter increases the agil-
ity over the transverse axis when "Turning".)