Maintenance and tests
User Manual corpuls
3
218 ENG - Version 2.1 – P/N 04130.2
2. Push the paper roll holder on both sides slightly outwards (item A) to
remove the roll of paper.
3. Insert a new roll of paper into the holder (item 2) so that the end of the
paper has its printed side facing upwards and forwards.
4. Pull (item B) the paper forwards over the edge of the printer flap (item 4)
and hold.
5. Push the printer flap upwards and close the printer compartment until the
lock is heard to click into place.
6. Make sure that the locking hooks at the printer flap are firmly engaged on
both sides.
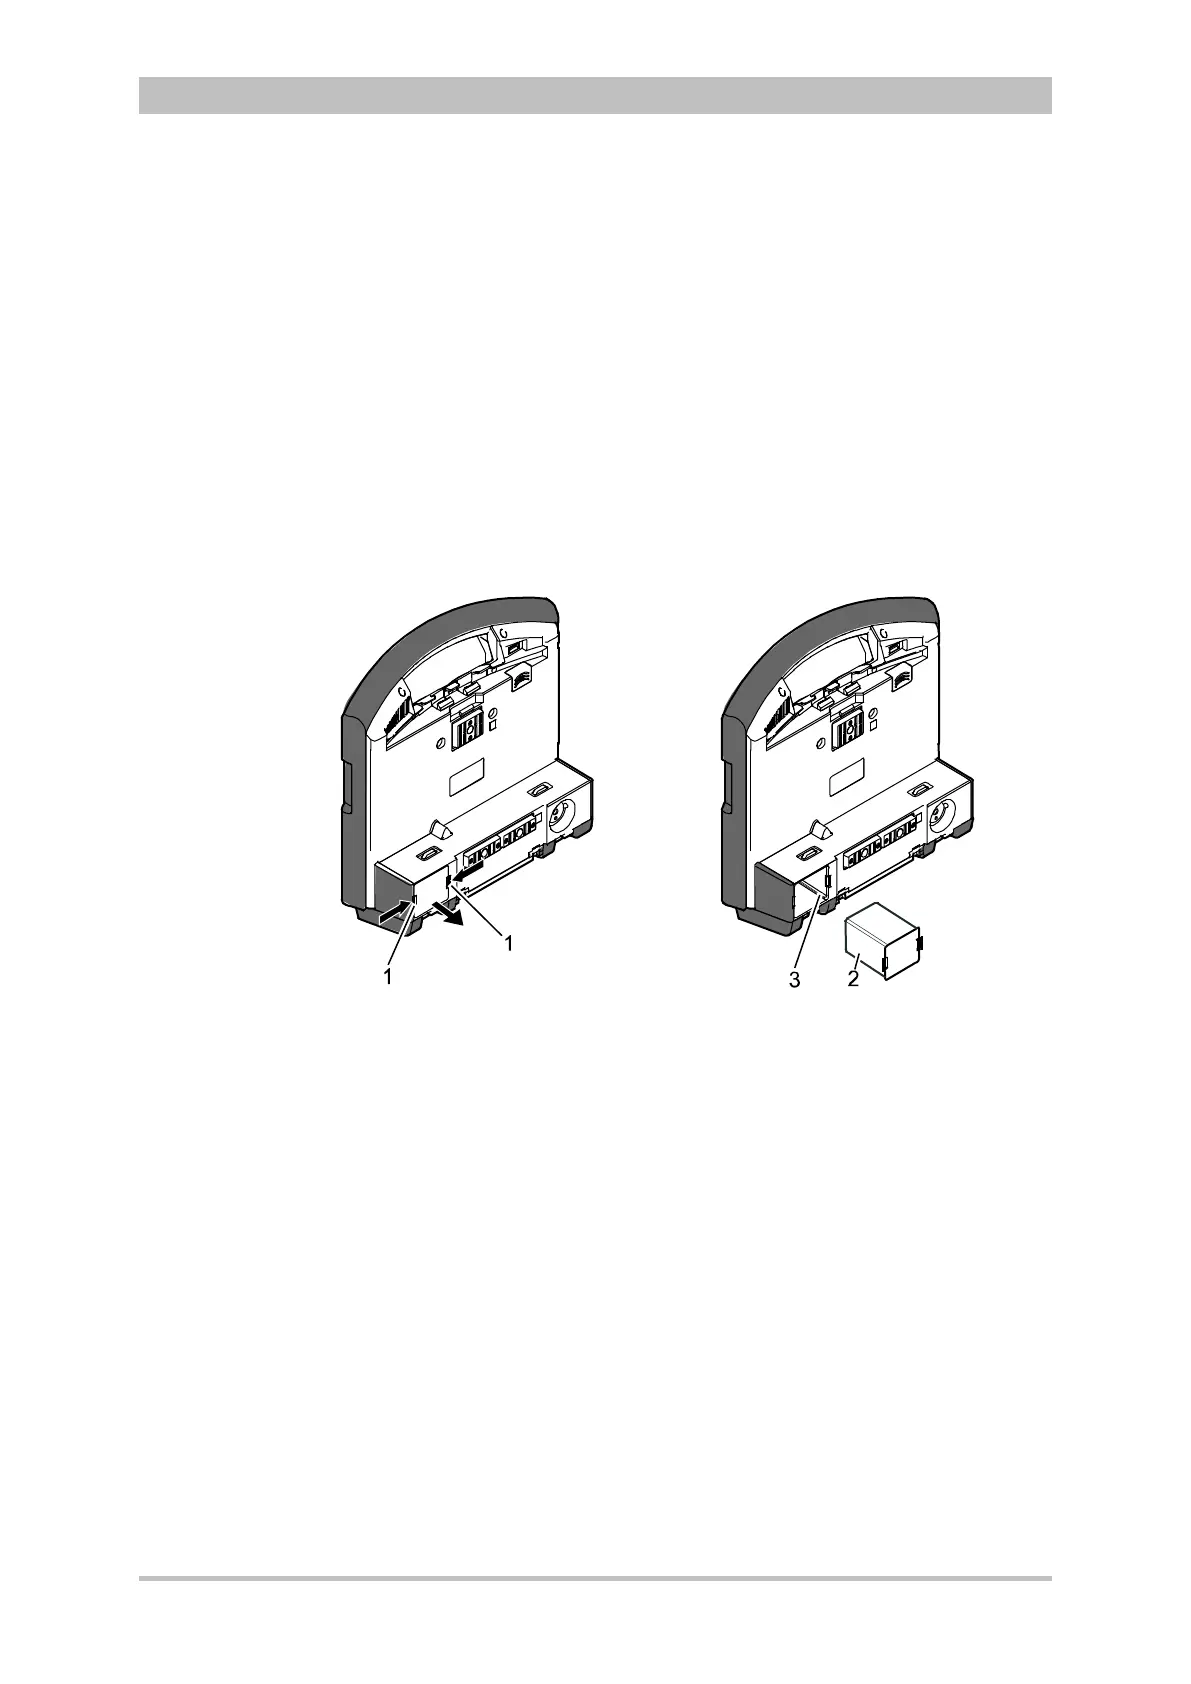
9.6 Changing the Battery
Fig. 9-3 Changing the battery (monitoring unit)
1 Locking clip
2 Battery
3 Connection coding
The battery of the patient box is located at the bottom of the housing.
The battery of the defibrillator/pacer is likewise located at the bottom of the
housing. To replace the battery, it must be tilted rearwards as far as possible.
All three batteries are removed as follows:
1. Pinch together (item A) the two locking clips (item 1) on the battery (item 2)
and pull out the battery (item B).
Due to a bevelled edge the battery can only be inserted in one way.
2. Insert a new battery in the opening until it is heard to click into place on
both sides.
3. Make sure that the locking clips on both sides are firmly engaged.
When a new battery is inserted in a module, this module switches on
automatically.