46
Adding Settings
3.2 Adding Settings
Using the following procedure, normal settings can be applied in combination with the Quick Set to
perform recording as desired:
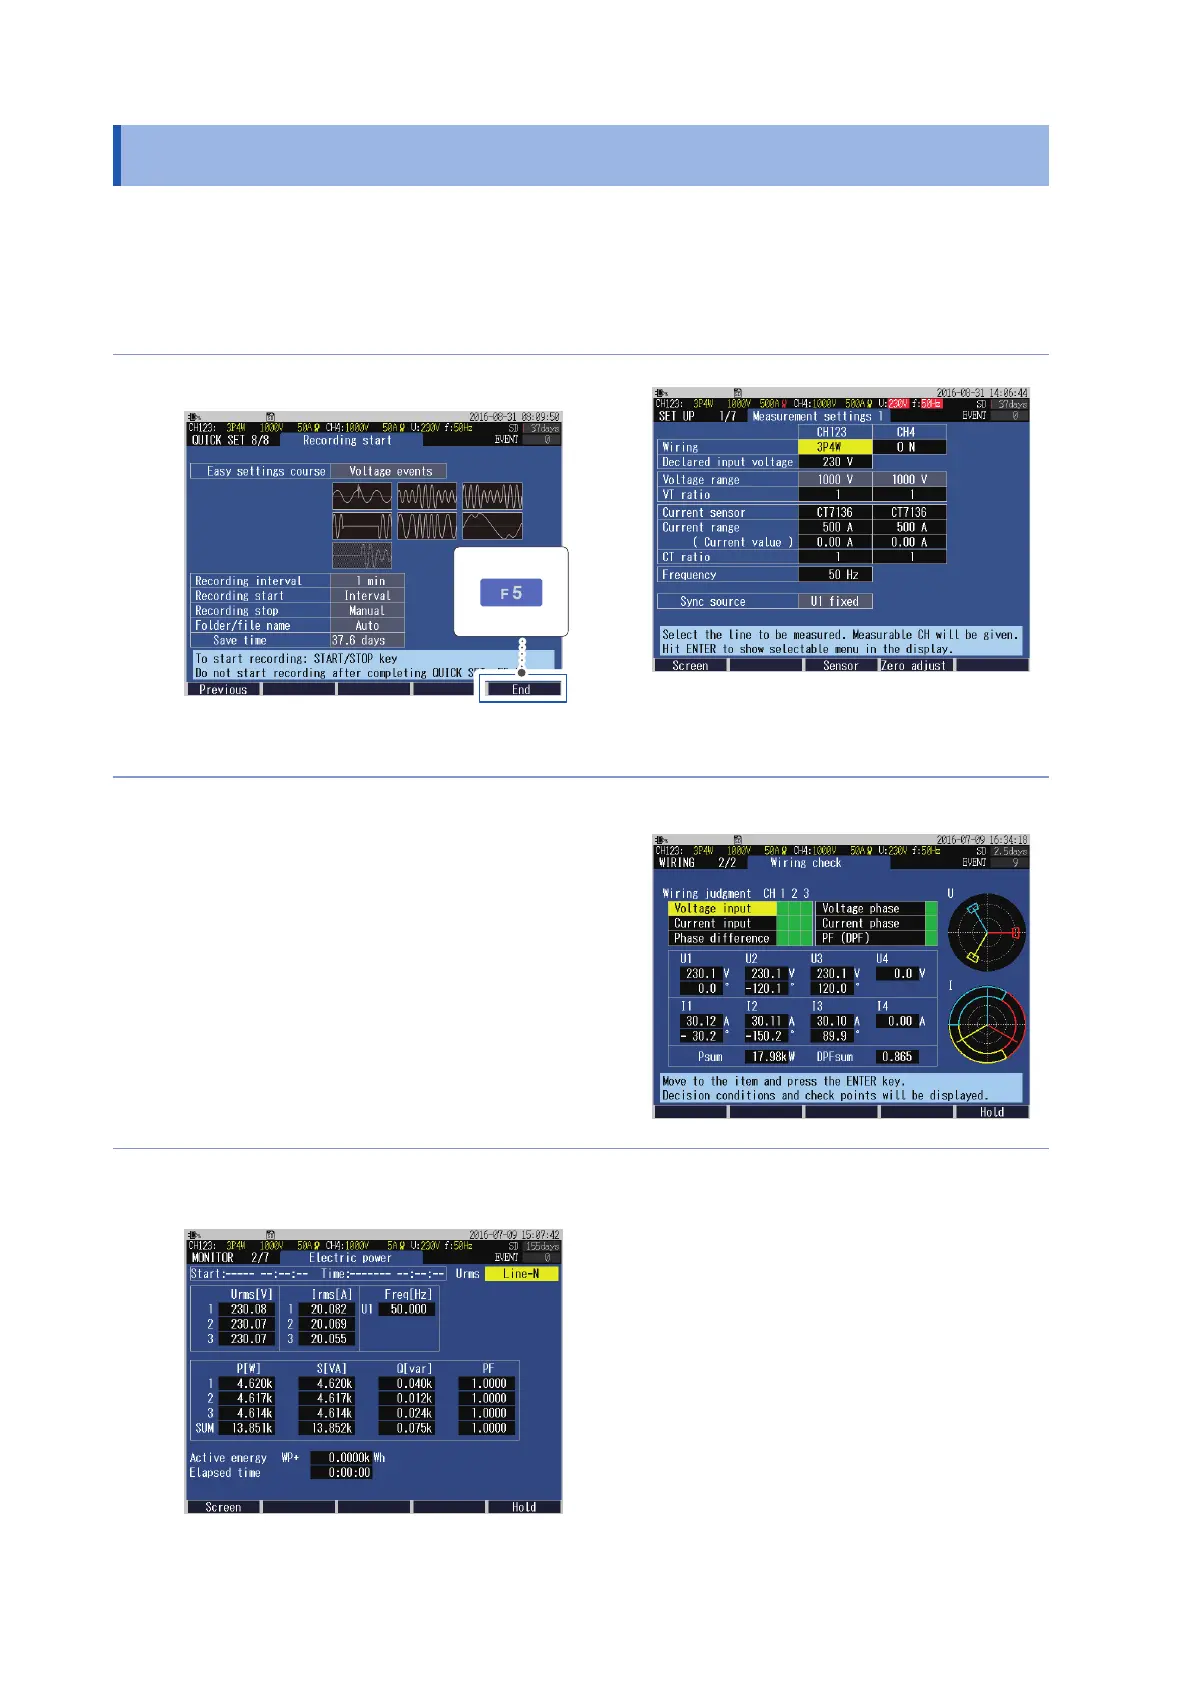
1
Press the [QUICK SET] key to start the
Quick Set.
2
Follow the Quick Set to proceed with
the operations up to the QUICK SET,
Recording start screen.
3
Exit the Quick Set without starting a
recording.
The Quick Set will be completed. All the setting
that have been congured with the Quick Set
will not be deleted.
4
Press the [SET UP] key to add settings.
Example: Congure the VT ratio or CT ratio,
change the event settings.
See “5 Setting Change (SET UP Screen)”
(p. 63).
5
Press the [WIRING] key to display the
WIRING, Wiring check screen.
6
Reconrm the wiring and measured
values.
See “4.9 Checking Wiring” (p. 59).
7
Press the [MONITOR] key as required
to check the measured values on the
MONITOR screen.
See “6 Verifying the Waveform, Measured
Values (MONITOR Screen)” (p. 81).
8
Press the [START/STOP] key.
The recording will start.

 Loading...


