990400 Rev C 2010 May 1
Detail Screens
9-19
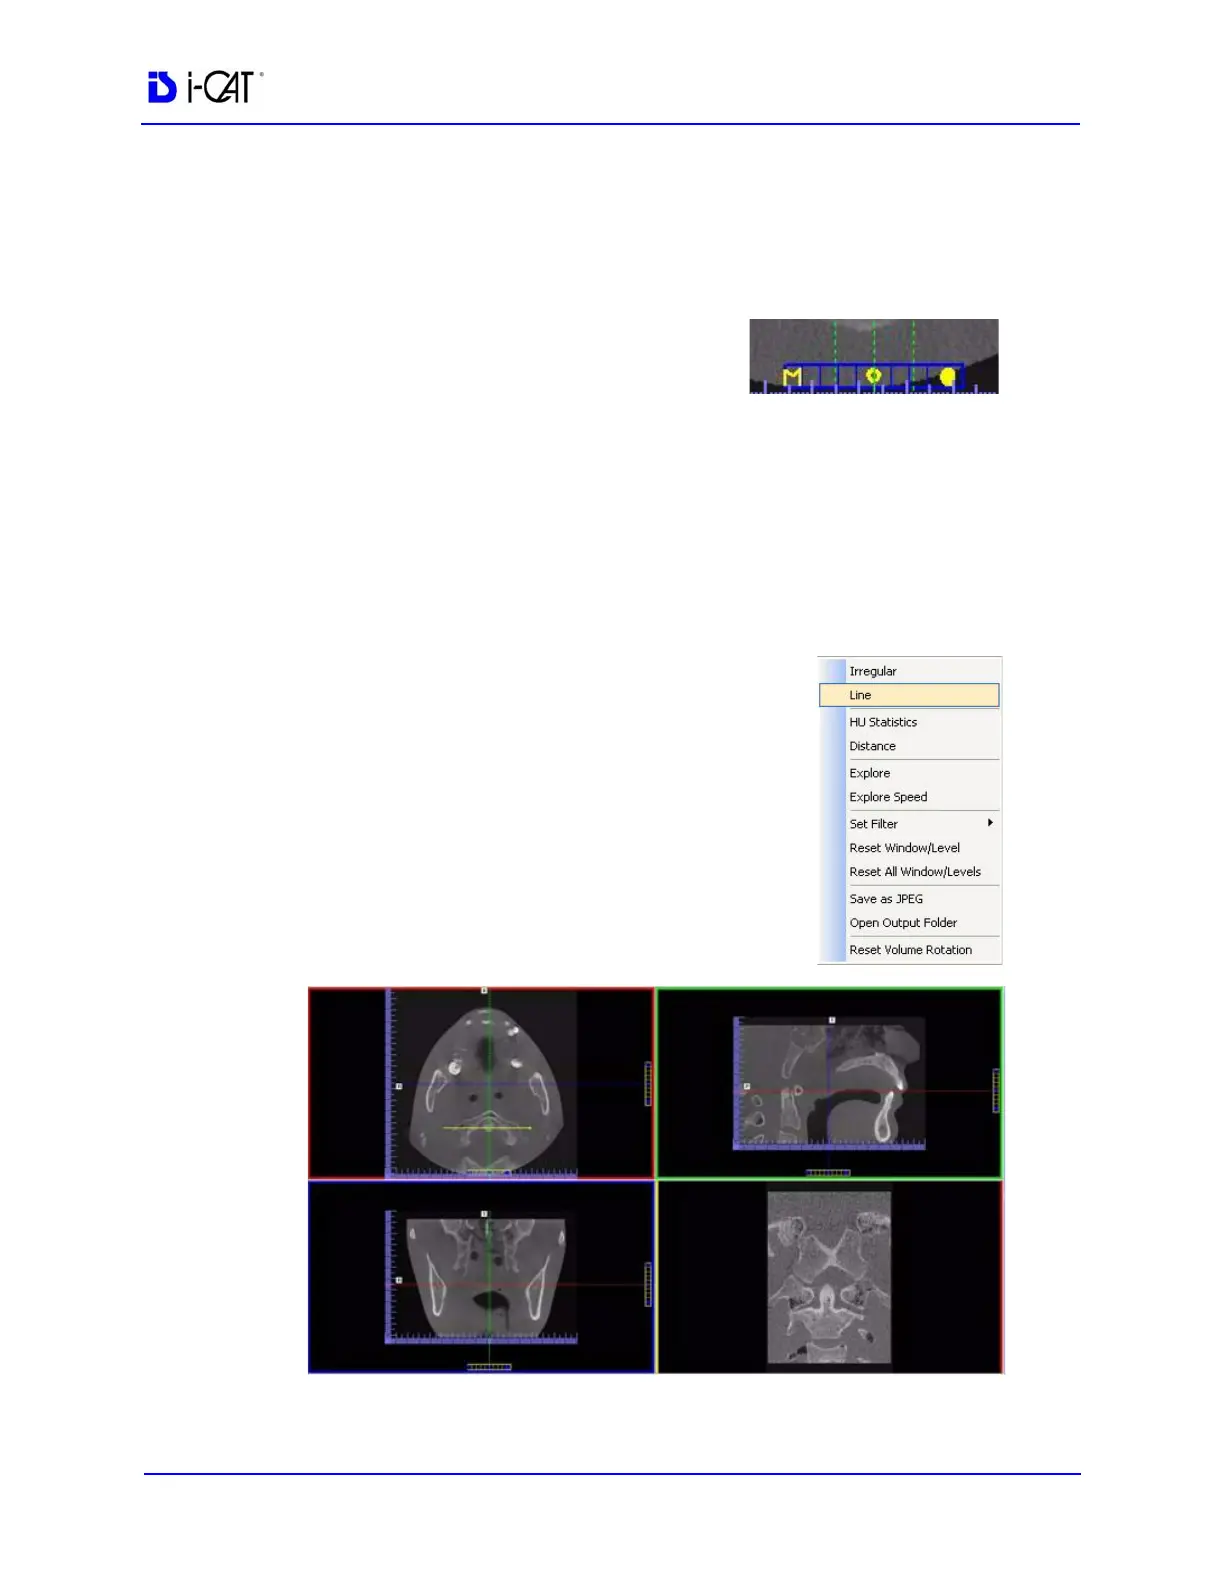
The MPR Screen allows scrolling through the Axial (upper left),
Sagittal (upper right), and Coronal (lower left) slices. The resulting
selections are displayed in the lower right view of the MPR Screen.
The mouse scroll wheel is active to scroll through the slices.
To use the MPR Screen:
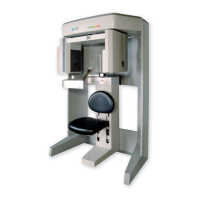
1. To move the slice location, drag
the hollow circle (center of tool) in
any of the views. The slice lines are color coded to correlate to
the associated view that it is adjusting.
2. To adjust the slice thickness, click the solid circle (end of tool)
and drag the mouse to spread or tighten slice thickness.
NOTE: If a linear or non-linear slice is created starting from the right
side of the image to the left (patient left to right), be aware that the
resulting slice is displayed in reverse.
To view the result of a linear slice:
1. To view a linear slice, right click the
view and select Line.
A pointer cursor is displayed.
2. Drag to position the linear slice.
The resulting slice is displayed (lower right of the MPR Screen.)