990400 Rev C 2010 May 1
Reconstruction of Anatomy
8-13
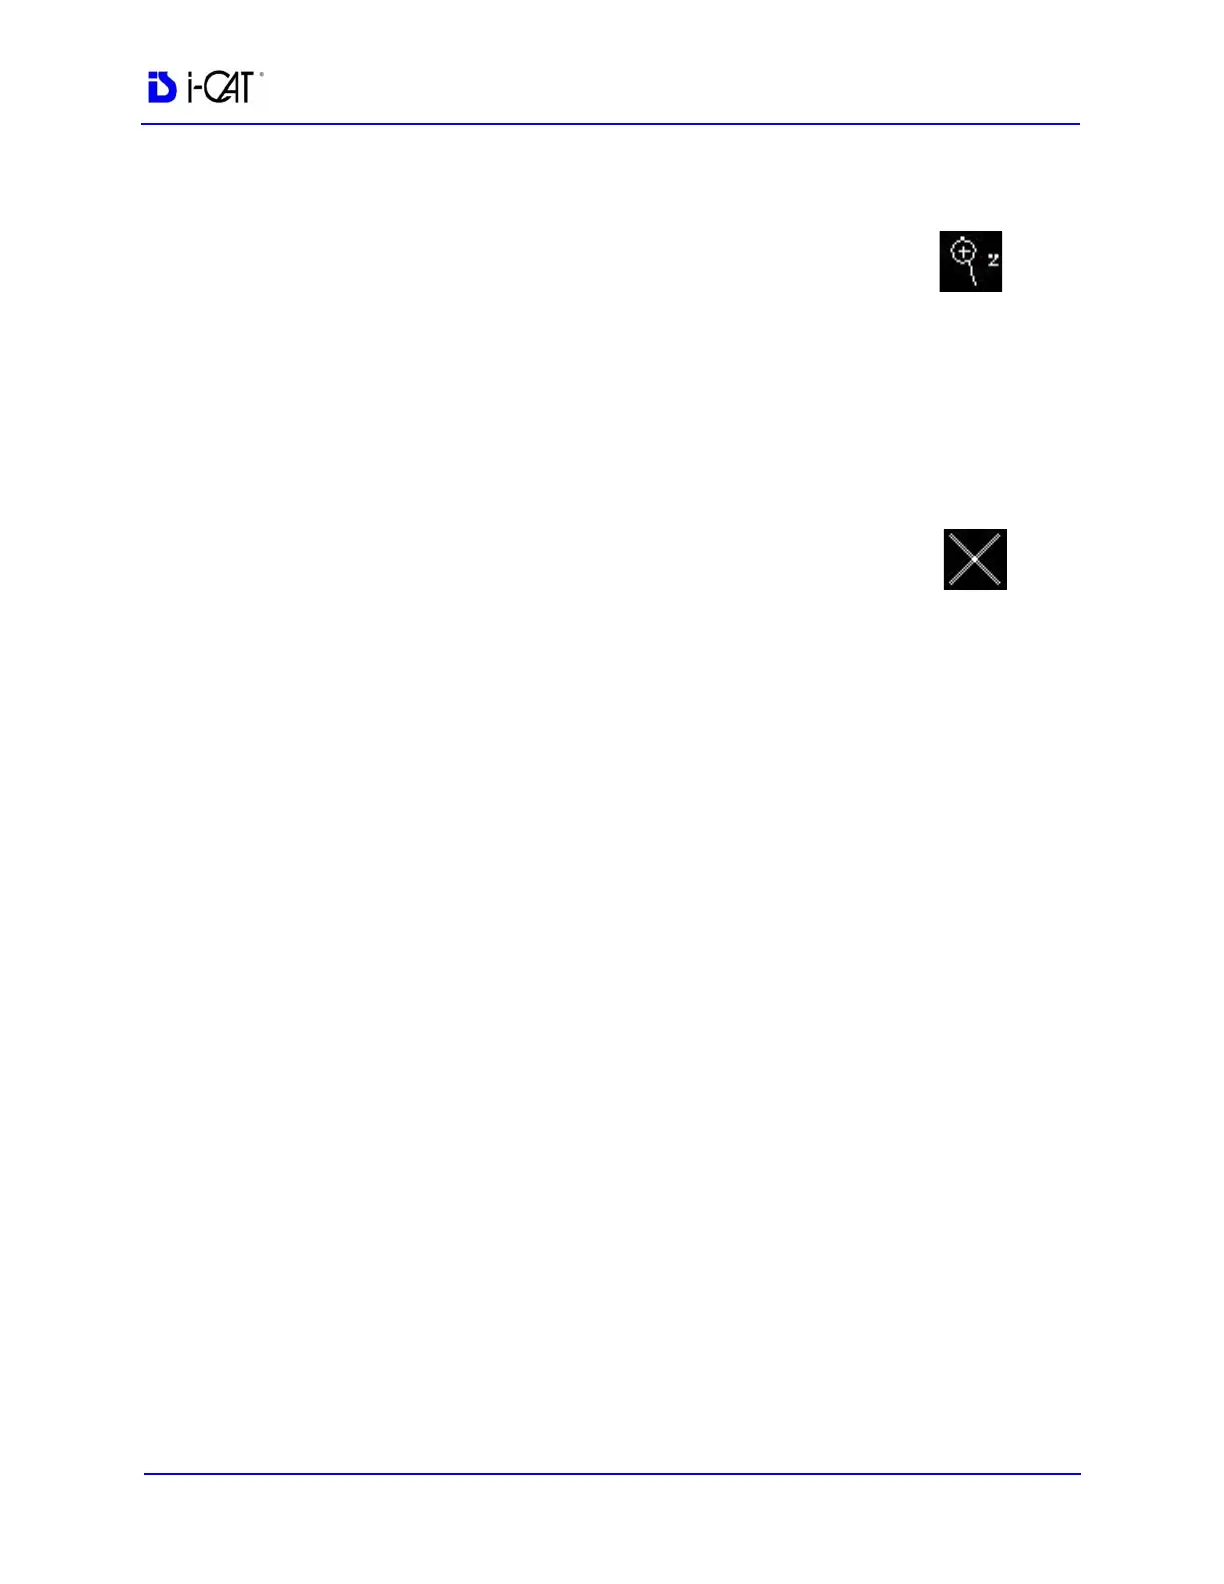
Zoom Feature
Most views allow zooming in and out to view more or less
detail for the displayed image.
To use the zoom feature:
1. Move the cursor to the bottom right of the image where the zoom
function is to be used. The zoom cursor tool appears.
2. Click and drag up and down to zoom in and out, respectively.
Back Tool
When viewing one of the detail screens, the X cursor can
be used to return to the preview screen.
To exit the detail screen and return to the preview screen:
1. Move cursor to the top left corner of the screen until the cursor
becomes an X.
2. While the cursor is an X, click mouse to return to the preview
screen.
This can also be performed by clicking Screen>Preview Screen
on menu bar.
Filter Settings
Filtering is provided for all image views. Images can be softened/
sharpened as desired by selecting one of five filter settings (Normal,
Sharpen Mild, Hard, Sharp or Very Sharp).
Default filter values are selected for all screens as follows:
• Preview Screen: Hard on Panoramic and Sharpen Mild for
all others.
• Implant Screen: Sharpen Mild on Axial Slice and Cross
Sections - Hard on Panoramic Map.
• TMJ Screen: Hard for top row images and Sharpen Mild
for Condyle Ceph Images.
• MPR Screen: Sharpen Mild all images.
• Ceph Screen: Sharp for Upper Left Right Lateral and Hard
for all others.
These defaults can always be changed by using one of the methods
described below.