www.izcorp.com • 1.800.776.1356
i Z OS FILE MANAGEMENT WORKSPACE RADAR 3. 50
B2
GETTING TO AND FROM THE IZOS FILE MANAGEMENT DESKTOP
The iZOS File Management Workspace’s features are accessed via its mouse-driven, desktop-style
interface.
To access the iZOS File Management desktop:
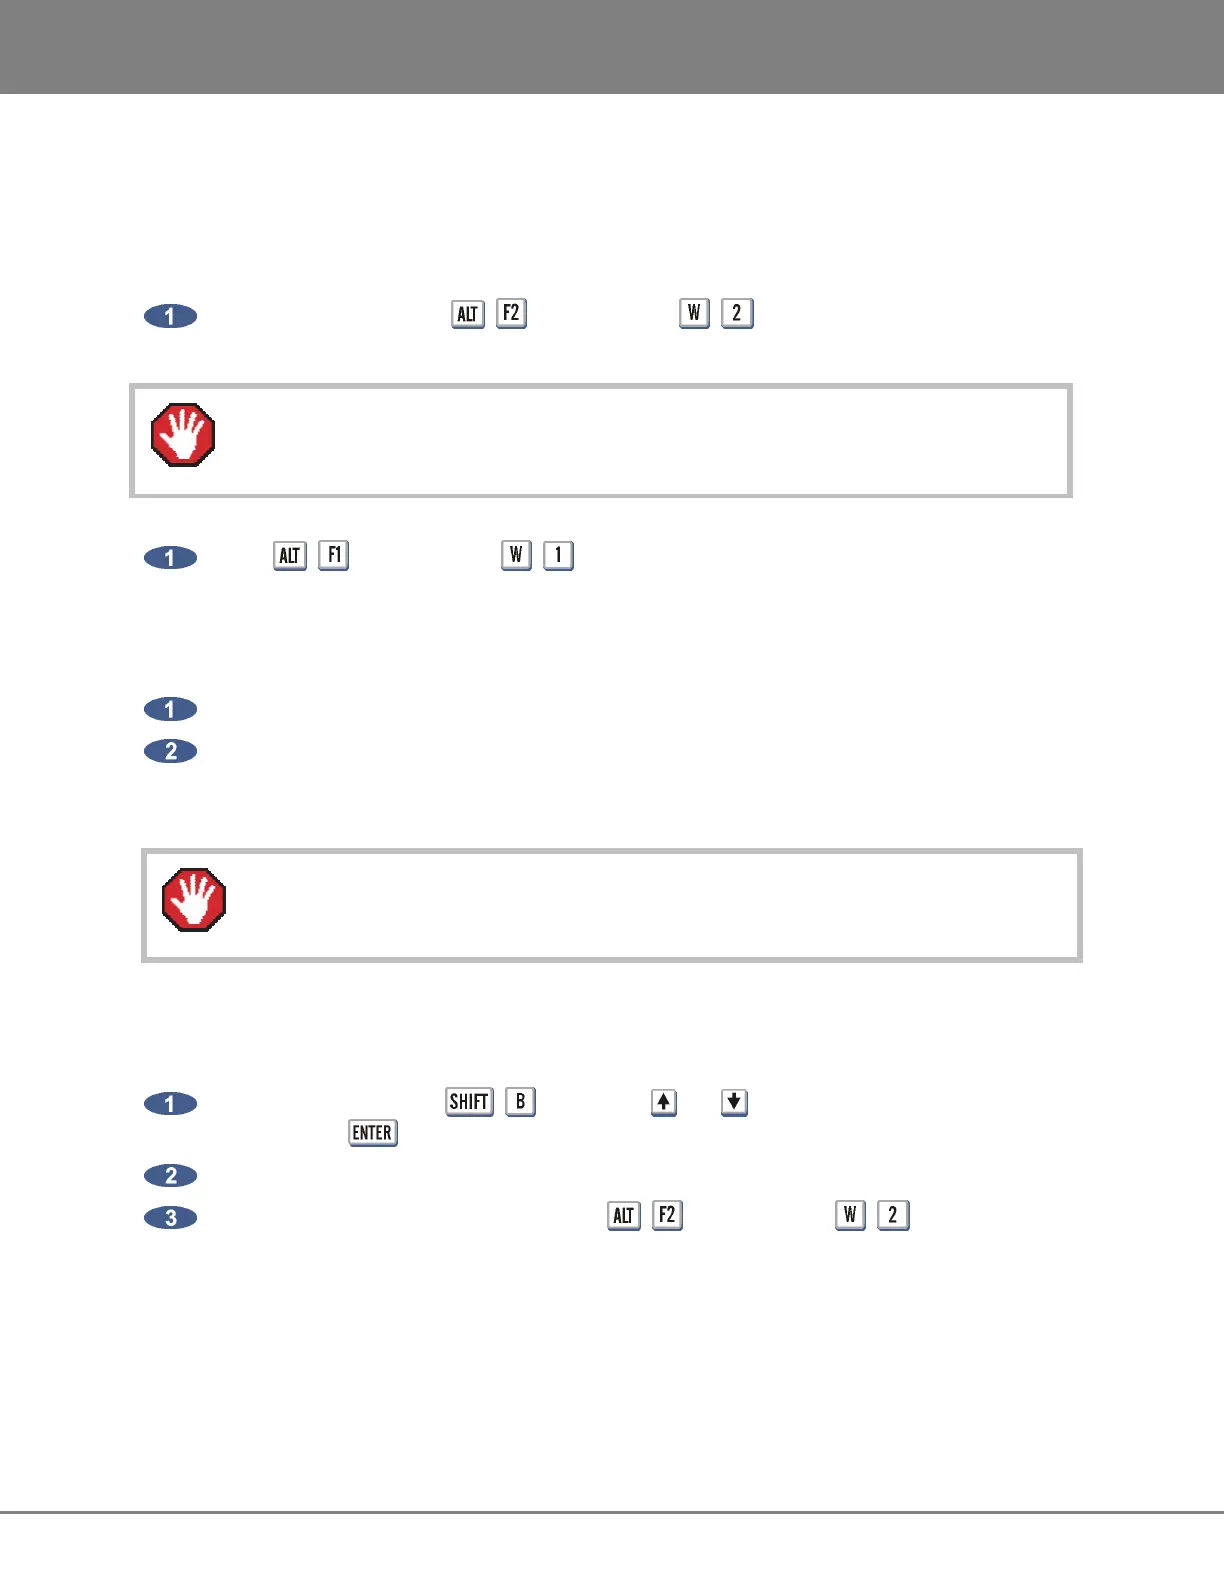
From RADARView, press + on the KC-24 or + on the Session Controller. The
System and Archive drives will appear on the desktop as icons.
To access RADARView
from the iZOS File Management desktop:
Press + on the KC-24 or + on the Session Controller.
CONNECTING & MOUNTING AN EXTERNAL DRIVE
Use the following steps to connect an external drive:
Connect an external drive to the RADAR’s USB port. Only FAT32 formatted drives are supported.
Power on the external USB drive, then right click the iZOS File Management Workspace desktop
and select MOUNT. Choose the USB volume to mount.
The external USB drive is now mounted and a drive icon will be visible on the desktop.
USB drives must be unmounted before being physically disconnected. See UNMOUNTING
USB DRIVES, below.
MOUNTING A NETWORK DRIVE
Use the following steps to mount a network drive:
From RADARView press + and use the and keys to select: N:NETWORK, and
then press the key.
At the login prompt, type in the user name and password.
Once connected to the network drive, press + on the KC-24 or + on the Session
Controller to switch to the iZOS File Management Workspace desktop.
The network drive is now mounted and a drive icon will be visible on the desktop.
Do not modify or delete any content from the System drive unless instructed by iZ Support.