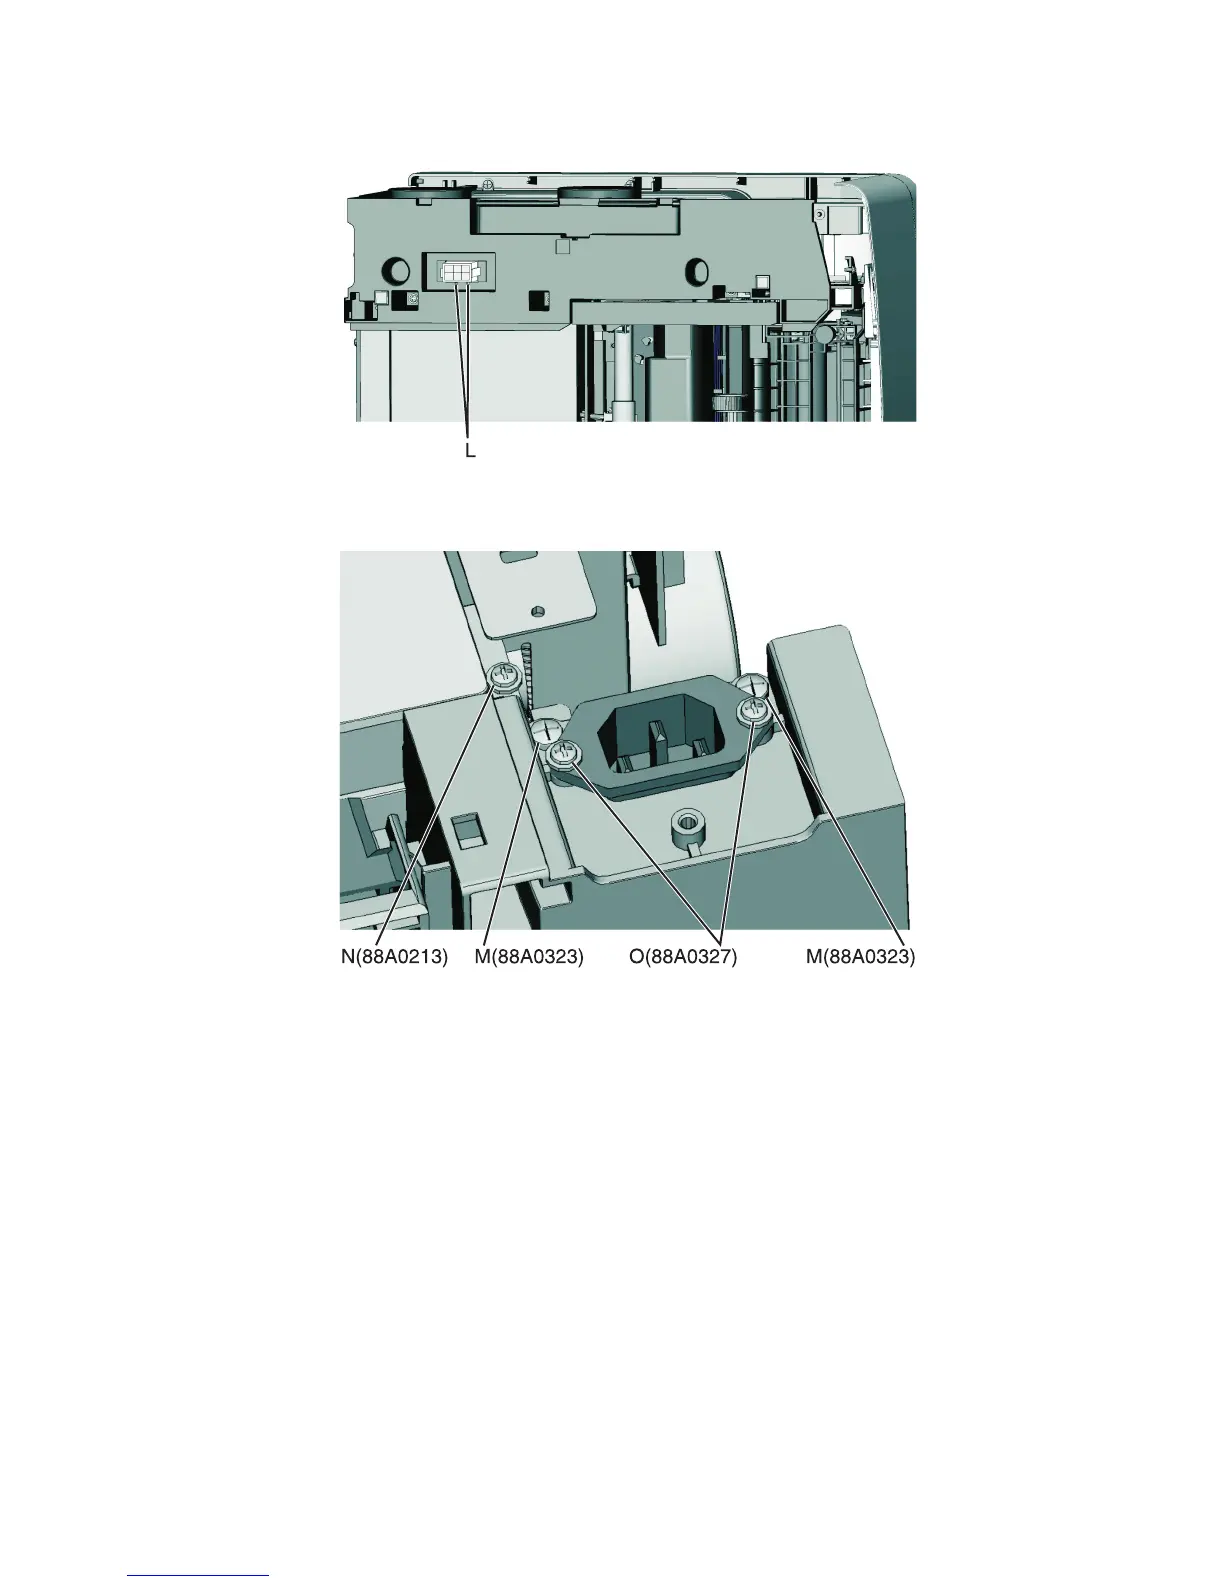
18 Remove the tray 2 connector (L) by pinching the tabs together and pushing the connector into the printer.
19 At the rear of the printer, remove the two screws (M) from the AC receptacle, and the ground screw (N), and the
two screws (O) holding the plastic shield.
20 Remove the AC receptacle from the left lower frame.
5027
Repair information
278