262334 135 Revision A
4.6 Lubrication
Greasing points are marked on the machine by decals showing a grease gun and the grease interval in hours of operation.
CAUTION
To avoid personal injury, before servicing header or opening drive covers, follow procedures in 4.1 Preparing for
Servicing, page 125.
CAUTION
Refer to inside back cover for recommended greases.
Log hours of operation and use the Maintenance Checklist provided to keep a record of scheduled maintenance. Refer to
4.5.1 Maintenance Schedule/Record, page 132.
4.6.1 Greasing Procedure
Some header components need to be lubricated in order to perform their function correctly and prevent machine damage.
DANGER
To avoid bodily injury or death from the unexpected start-up or fall of a raised machine, always shut down the engine
and remove the key before leaving the operator’s seat, and always engage the safety props or close the lock-out valves
before going under the machine for any reason.
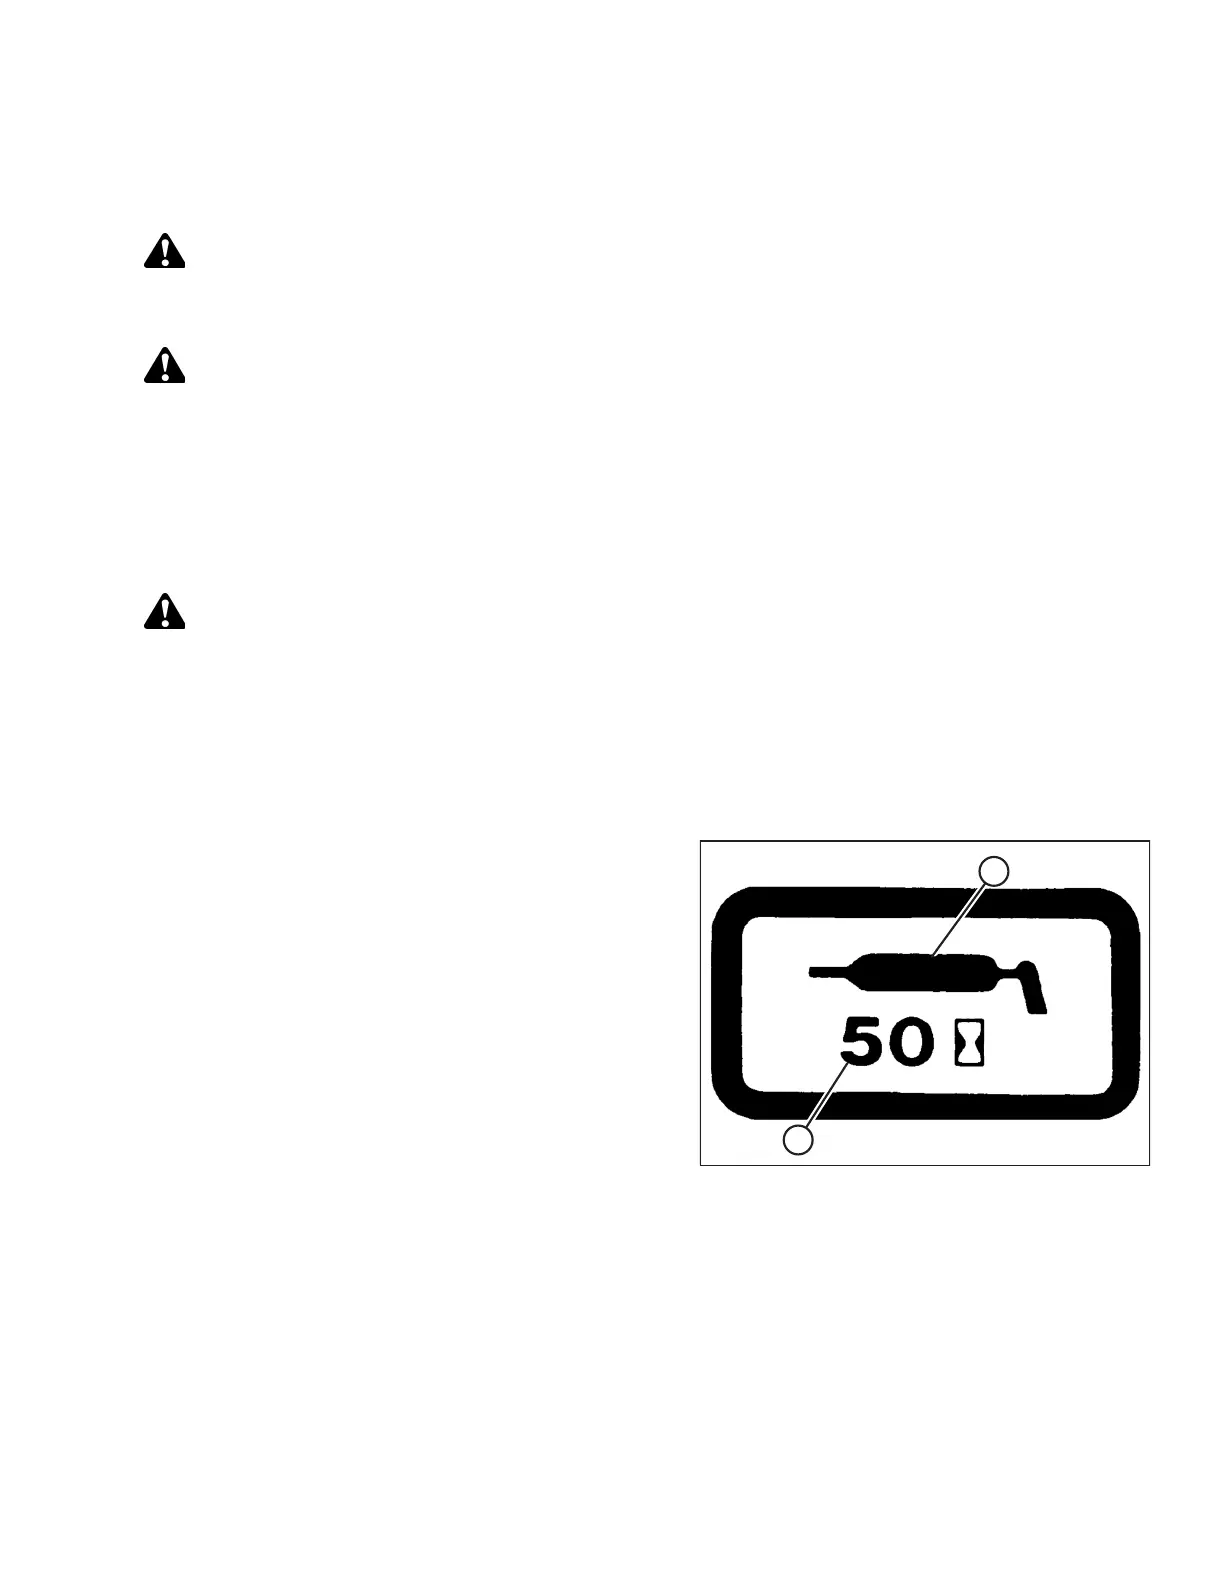
The greasing points are marked on the machine by decals showing a grease gun (A) and grease interval (B) in hours of
operation.
Use the recommended lubricants specified in this manual on the inside back cover.
Figure 4.8: Grease Interval Decal
1. Wipe the grease fitting with a clean cloth before greasing it
to avoid injecting dirt and grit.
2. Inject the grease through the fitting with a grease gun until
the grease overflows the fitting, except where noted.
3. Leave excess grease on the fitting to keep out dirt.
4. Replace any loose or broken fittings immediately.
5. If the fitting will not take grease, remove and clean the
fitting and the lubricant passageway thoroughly. Replace
the fitting if necessary.
4.6.2 Lubrication Points
Lubrication requirements depend on the model of the header that is being serviced.
Refer to the lubrication points for your specific model:
• Lubrication Points: Auger Header, page 136
• Lubrication Points: Hay Conditioner, page 138
• Lubrication Points: Drivelines, page 139
MAINTENANCE AND SERVICING