262334 192 Revision A
4.13 Stripper Bar
Stripper bars help prevent the crop from wrapping around the auger and improve crop flow into the conditioner.
Figure 4.123: Auger to Stripper Bar Clearance
To maintain 1–4 mm (1/32–5/32 in.) clearance (B) between
auger (A) flighting and stripper bars, bars may need replacing
due to wear or damage. Shims may also need to be installed to
compensate for local irregularities in the structure.
If auger position needs to be adjusted after adjusting stripper
bars, refer to 3.8.4 Setting Auger Position, page 79.
4.13.1 Removing Stripper Bar
Heavy crops may cause plugging across the auger due to restricted flow at the stripper bars. To address this problem,
remove the lower stripper bar, and if necessary, the center stripper bar at each end of the header.
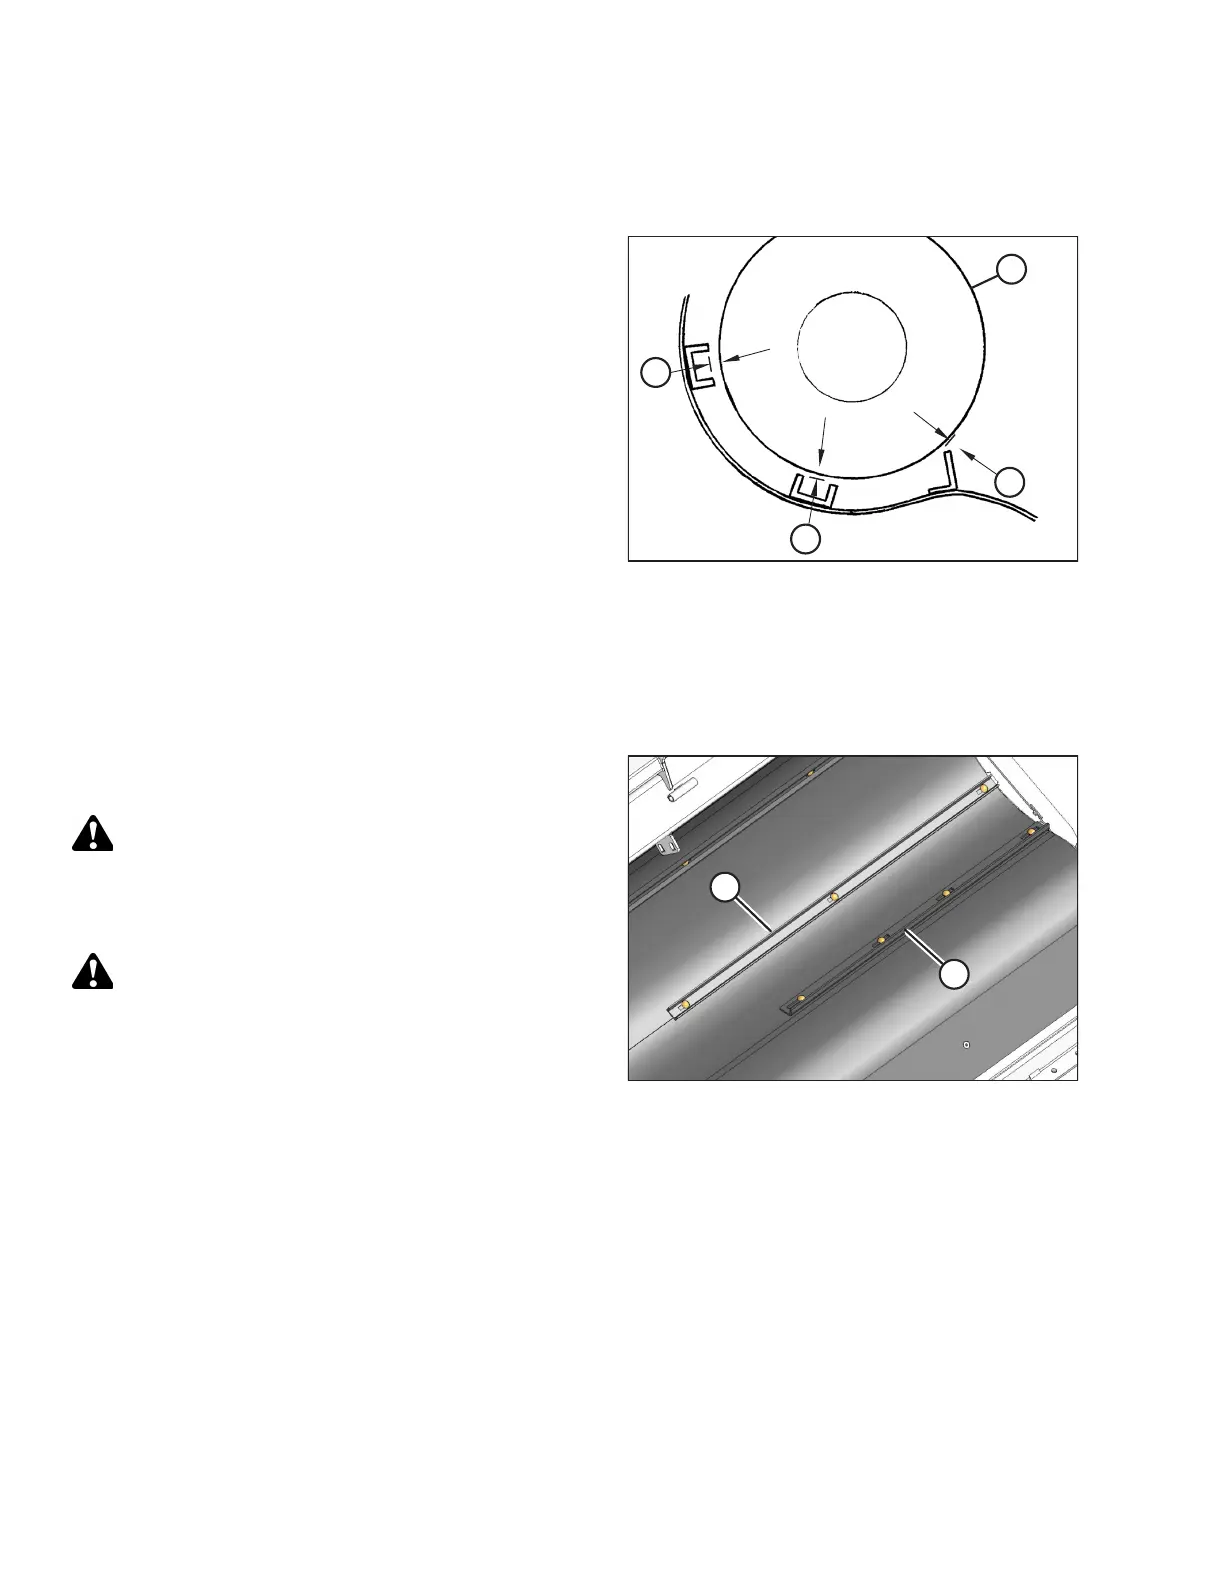
Figure 4.124: Stripper Bars
The location of lower stripper bar (A) and center stripper bar (B)
are shown on the illustration at right.
DANGER
To avoid bodily injury or death from the unexpected start-up or
fall of a raised machine, shut down the engine, remove the key,
and engage the safety props before going under the machine.
DANGER
To avoid bodily injury or death from fall of raised machine,
always lock-out lift cylinders before going under header for any
reason.
To remove a stripper bar, follow these steps:
1. Shut down the engine, and remove the key from the ignition.
2. Remove the bolts attaching the stripper bar to the pan.
3. Remove the nuts and bolts that secure the stripper bar to the pan.
4. Replace the bolts in the pan.
NOTE:
Special countersunk bolts are available from your Dealer.
MAINTENANCE AND SERVICING