How to set the Automatic Date Advance Time
To set the Automatic Date Advance Time:
1.
Login as the Supervisor then (see How to log in as Supervisor on page 184 ):
Press and type 3.3.4 or select the path:
Default User Settings Default Impression Preferences Automatic
Date Advance
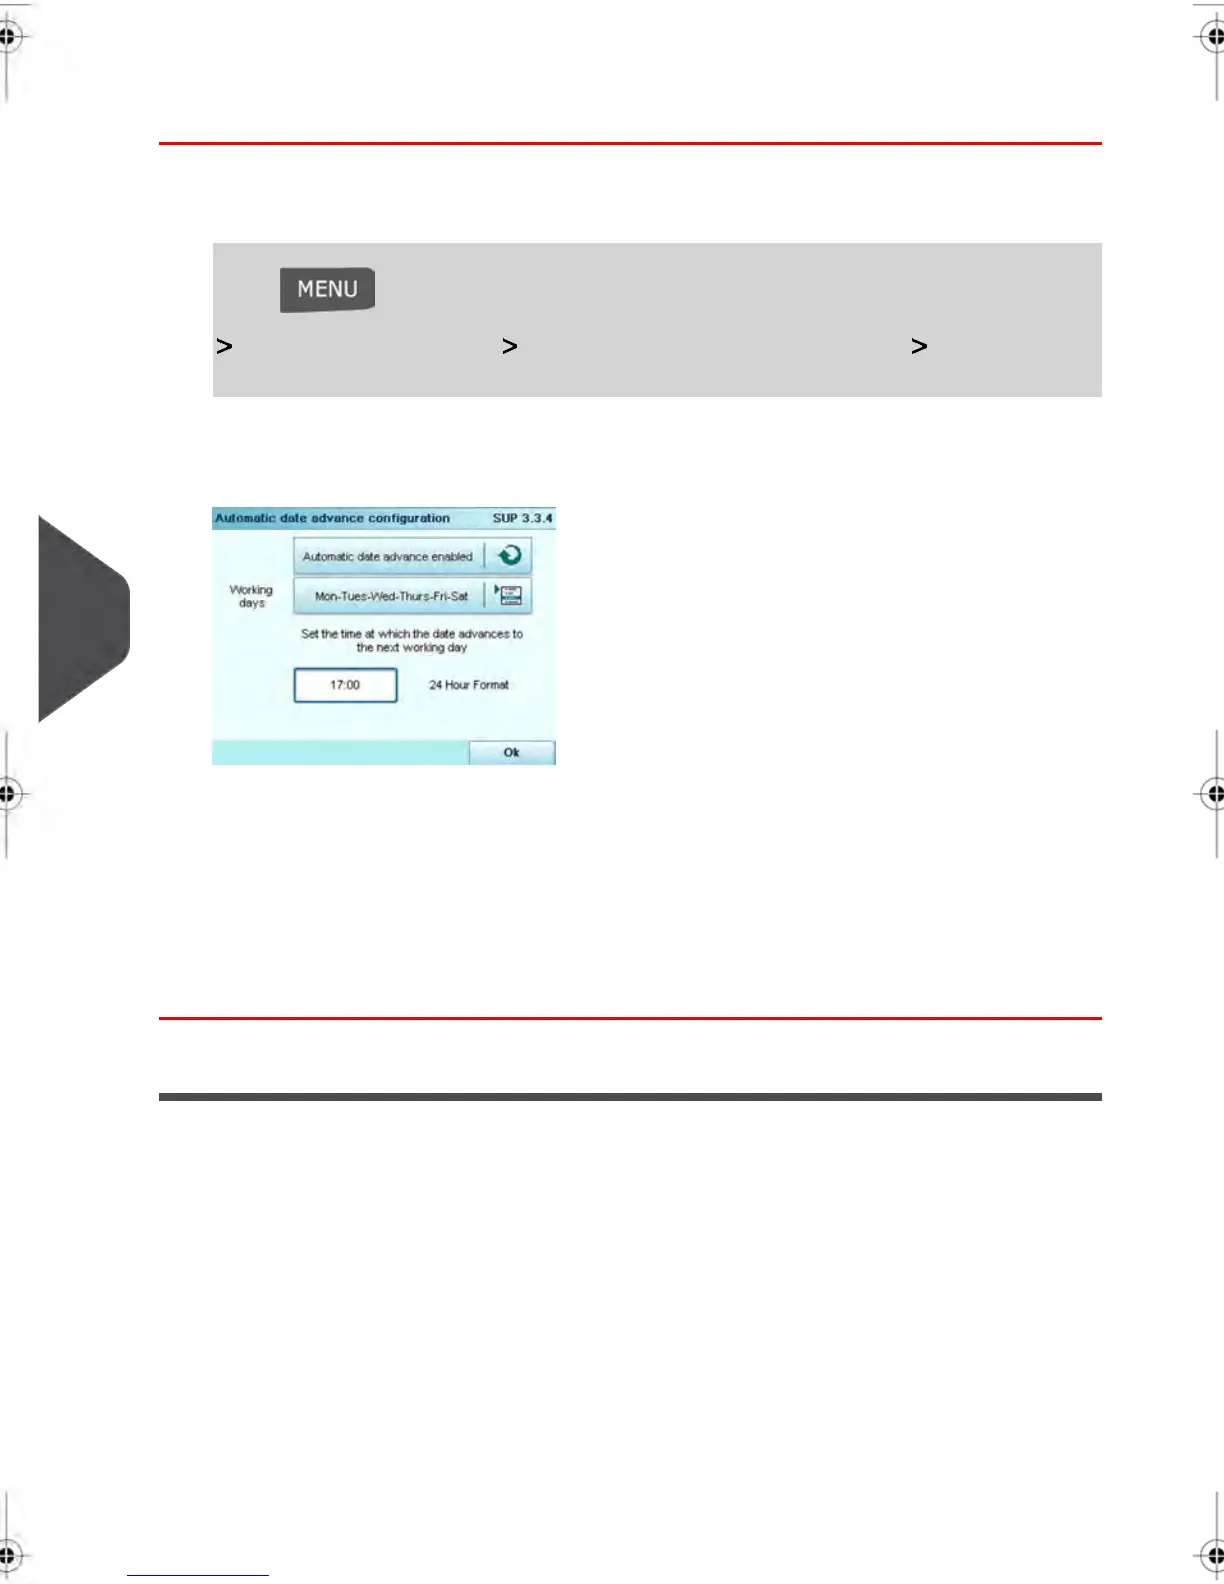
The Automatic Date Advance Screen appears.
2. Press the Auto Date Advance key on your Screen to Enabled status.
3. Enter the Automatic Date Advance Time (Time cannot be set to 00:00 hours).
4. Select Working Day to gain access to Working Days Selection Screen.
5. Tap the day on your Screen and press Select/Deselect to select or deselect each
day.
6. Press [OK] to validate your selection.
Printing Offset
The Print Offset is the distance between the right edge of the envelope and the location
where the impression will be printed. Moving your Meter Impression may be needed when
printing on thick envelopes with rounded edges.
You can increase the distance between the impression and the right edge of your envelope
by 5 to 12 mm.
208
| Page 208 | | janv.-12-2012 11:42 |
8
Configuring your Mailing System
 Loading...