2.
Change the Type of Meter Impression.
Press to access the Build Impression Screen:
3.
To change the type of Meter Impression, select Impression Type and then select
[Received] in the Type of Impression Screen. For more details, see How to change
the Type of Meter Impression on page 72.
At this point you can also :
- Activate or deactivate printing the Date
- Activate or deactivate printing 'Received'.
The screen indicates the current status of these options.
Select an option to change.The color of the selection keys indicate the current status
of the options.
Press to return to the Home Screen.
Other Available Settings:
1. You can adjust the print location of your Impression on your envelopes if necessary.
Adjusting the print location (Print Offset) is used to compensate for envelopes with a
steep edge. See How to move a Meter Impression (Print Offset) on page 87.
You are now ready to process your mail.
Running Mail
Once you have completed setting up your Impression, follow the instructions below to print
a Received Mail Meter Impression.
How to process Received Mail (Running Mail)
To print a Received Mail Meter Impression:
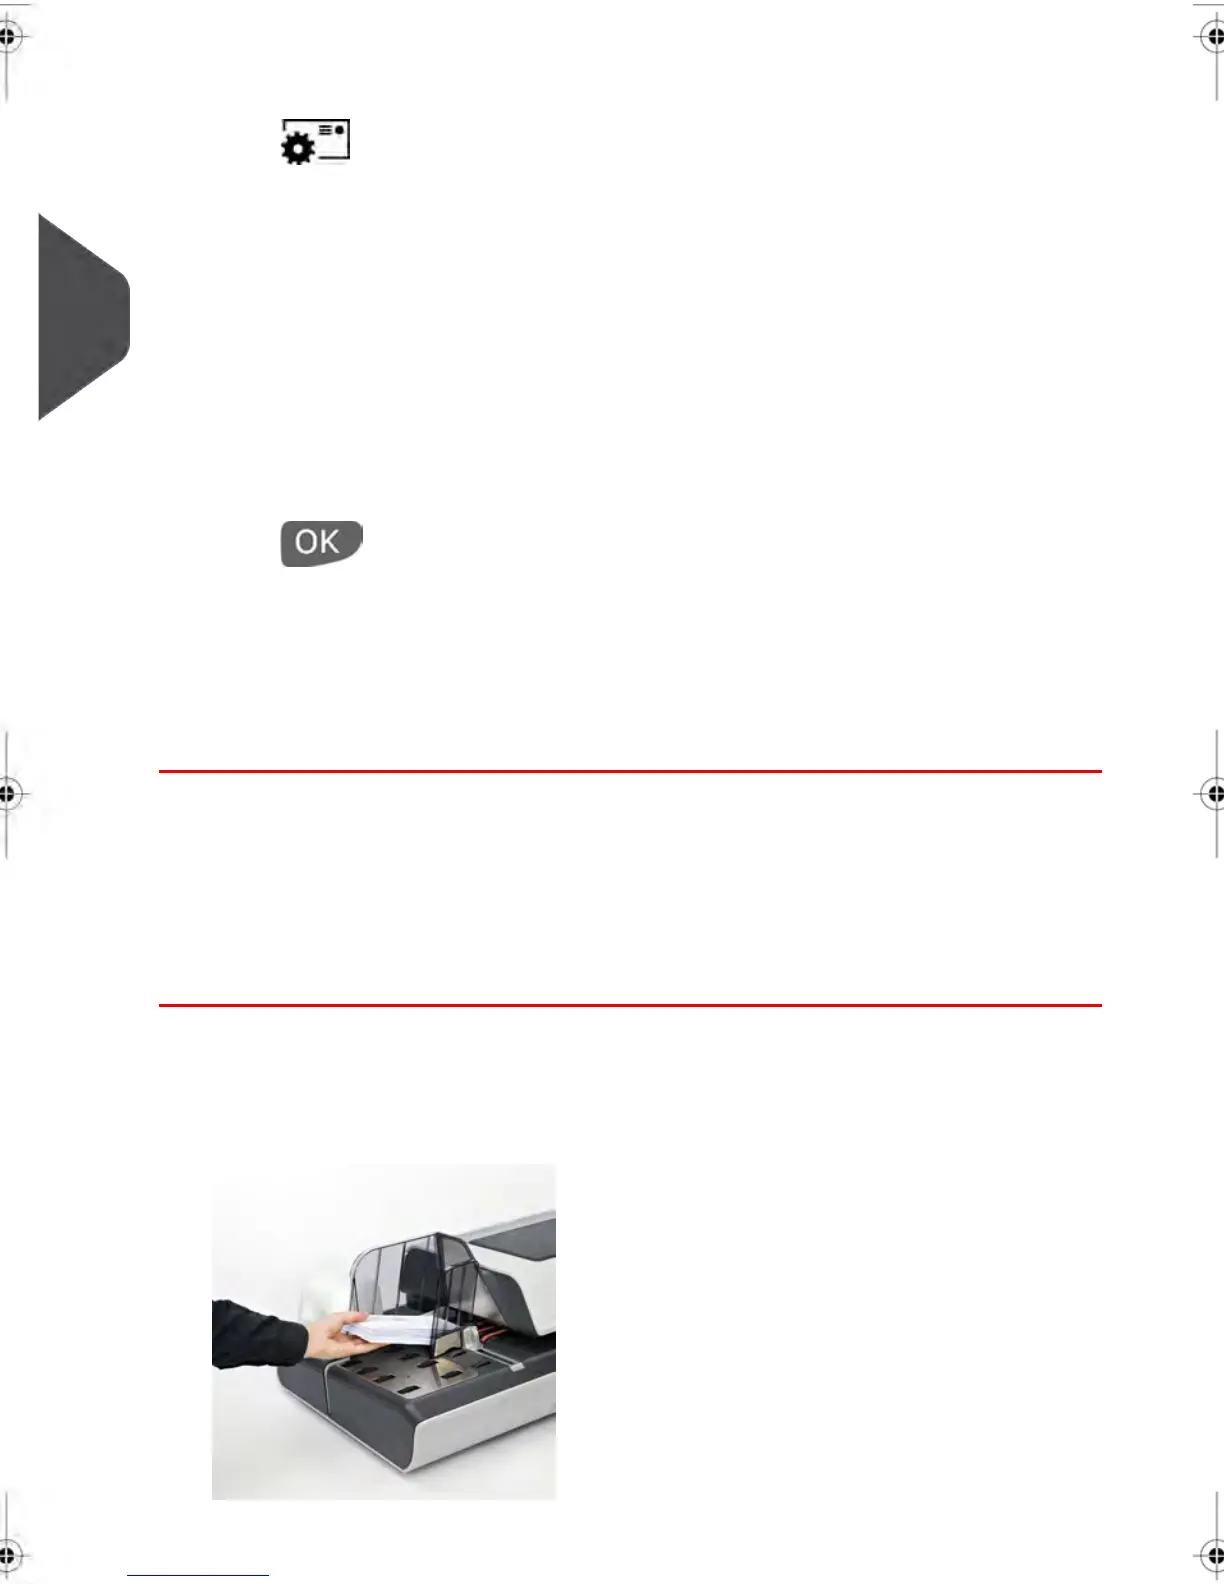
1. Place the envelopes (or stack) in the Hopper.The items should be placed against the
rear wall and covering the optical (clear) sensor.The recommended print area on the
envelope is either on the back or upside down on the front.
66
| Page 66 | | janv.-12-2012 11:42 |
3
Processing Mail
 Loading...