116 Chapter 3 Use the Océ TDS700 flexible scanner
Make a copy and remove a strip
Make a copy and remove a strip
Introduction
You can use a strip to file a drawing. Use 'Add strip' to copy an original without a
strip and add a strip to the copy. Use 'Remove strip' to copy an original with a strip
and remove the strip from the copy. You can adjust a strip at the leading or trailing
side of a copy.
Before you begin
If you must enter the same value for a setting very often, you can set this value as the
default value for that setting in the Océ TDS700 Power Logic
®
controller
application.
After you press the start key, the scanner operator panel always shows the job
number and status of the job. A copy job appears temporarily in the 'Scheduled jobs'
in the Océ TDS700 Power Logic
®
controller application, a scan-to-file job appears
in the selected destination of the 'Scan jobs' workspace.
Attention: When you remove a strip, make sure that you copied all the required
information.
How to make a copy and remove a strip
1. Place the original face down and right aligned.
The scanner takes the original.
2. Define the job settings.
■ Select 'Copy' with the upper-left softkey.
The copy job templates appear.
■ Open a copy job template with a left softkey.
The top 5 settings appears.
■ Scroll to 'Remove strip' and open this setting with the left softkey.
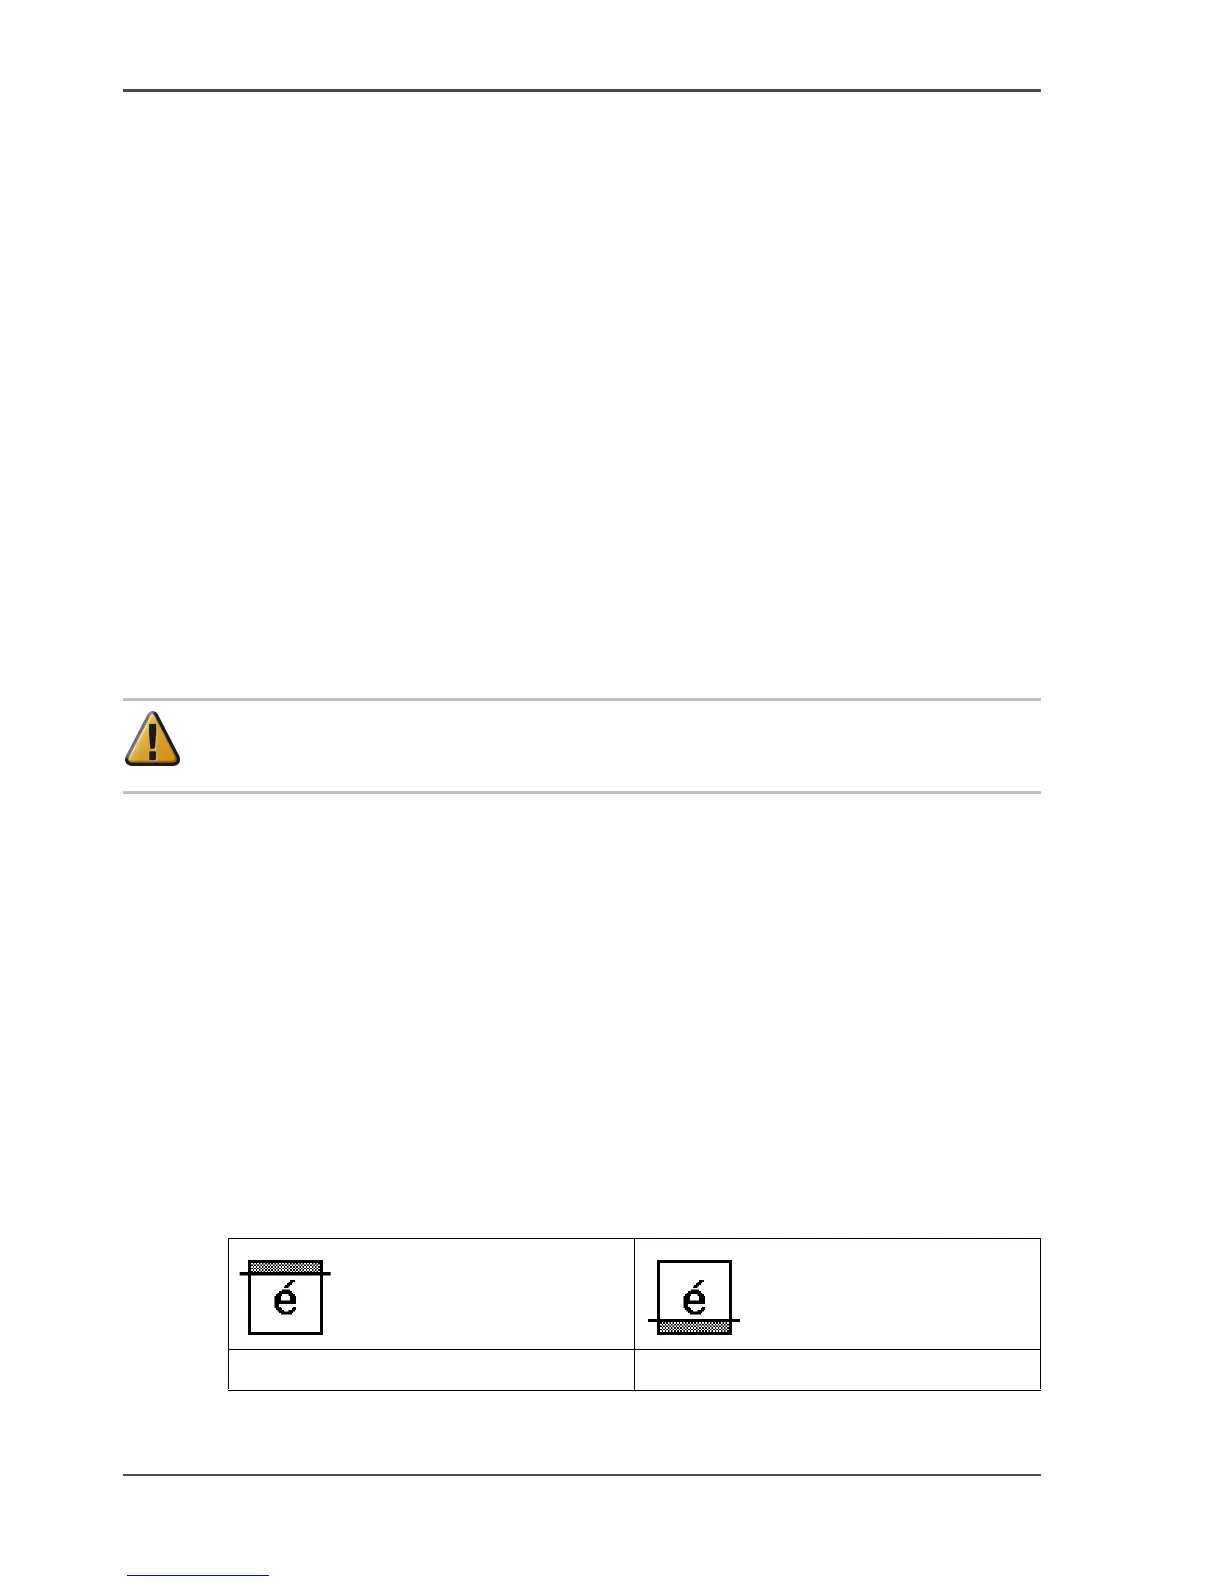
■ Select 'Leading' or 'Trailing' with the left softkey and define the value with the
scroll wheel or numeric keys.
[16]
3. Define the number of copies if necessary and press the green start key.
[63] [64]
The 'Leading' strip The 'Trailing' strip