Remove a Storage Drive
4.
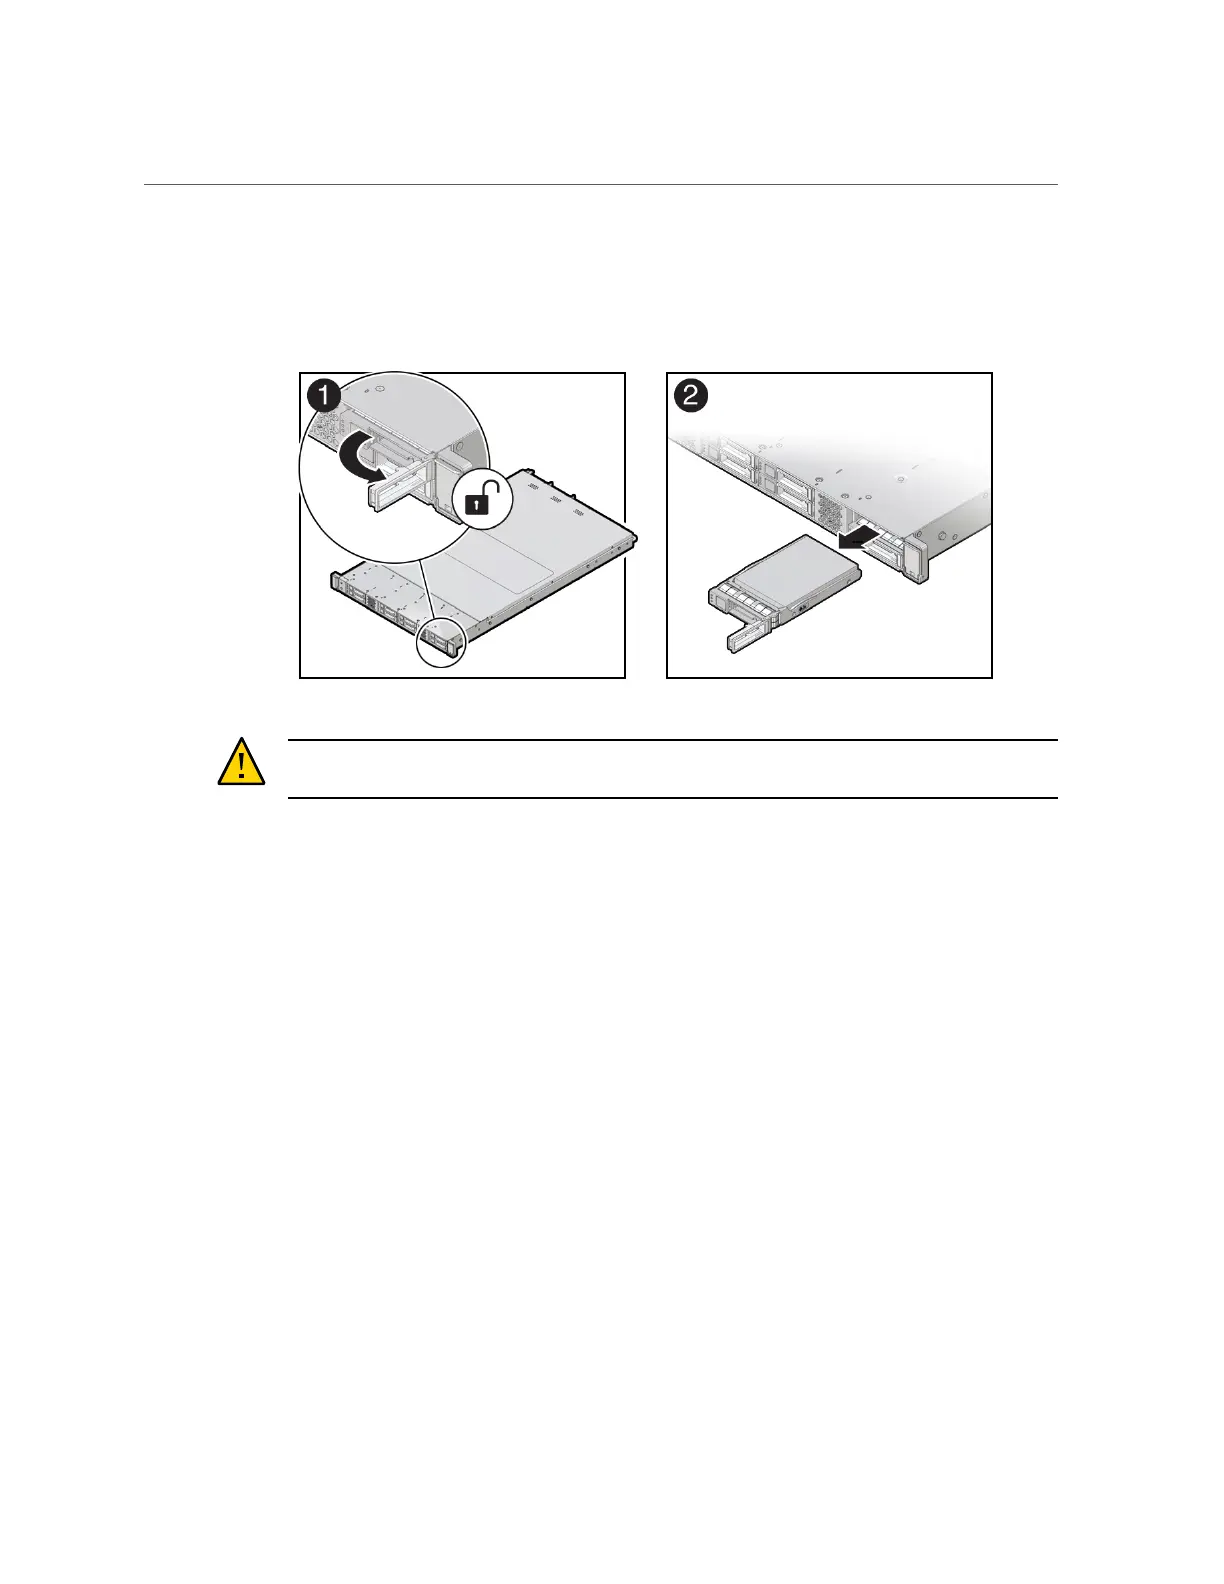
On the drive that you plan to remove, push the latch release button to open the
drive latch [1].
Caution - The latch is not an ejector. Do not open the latch too far to the right. Doing so can
damage the latch.
5.
Grasp the latch and pull the drive out of the drive slot [2].
6.
Consider your next steps:
■
If you are replacing the drive, continue to “Install a Storage Drive” on page 70.
■
If you are not replacing the drive, install a filler panel in the empty drive slot to maintain
proper airflow and perform administrative tasks to configure the server to operate without
the drive.
For information on how to install a storage drive filler panel, see “Remove and Install Filler
Panels” on page 209.
Related Information
■
“Storage Drive Status Indicators” on page 31
■
“Storage Drives Hot-Plug Conditions” on page 65
■
“Storage Drive Failure and RAID” on page 66
■
“Install a Storage Drive” on page 70
Servicing Storage Drives (CRU) 69