Install a Power Supply
5.
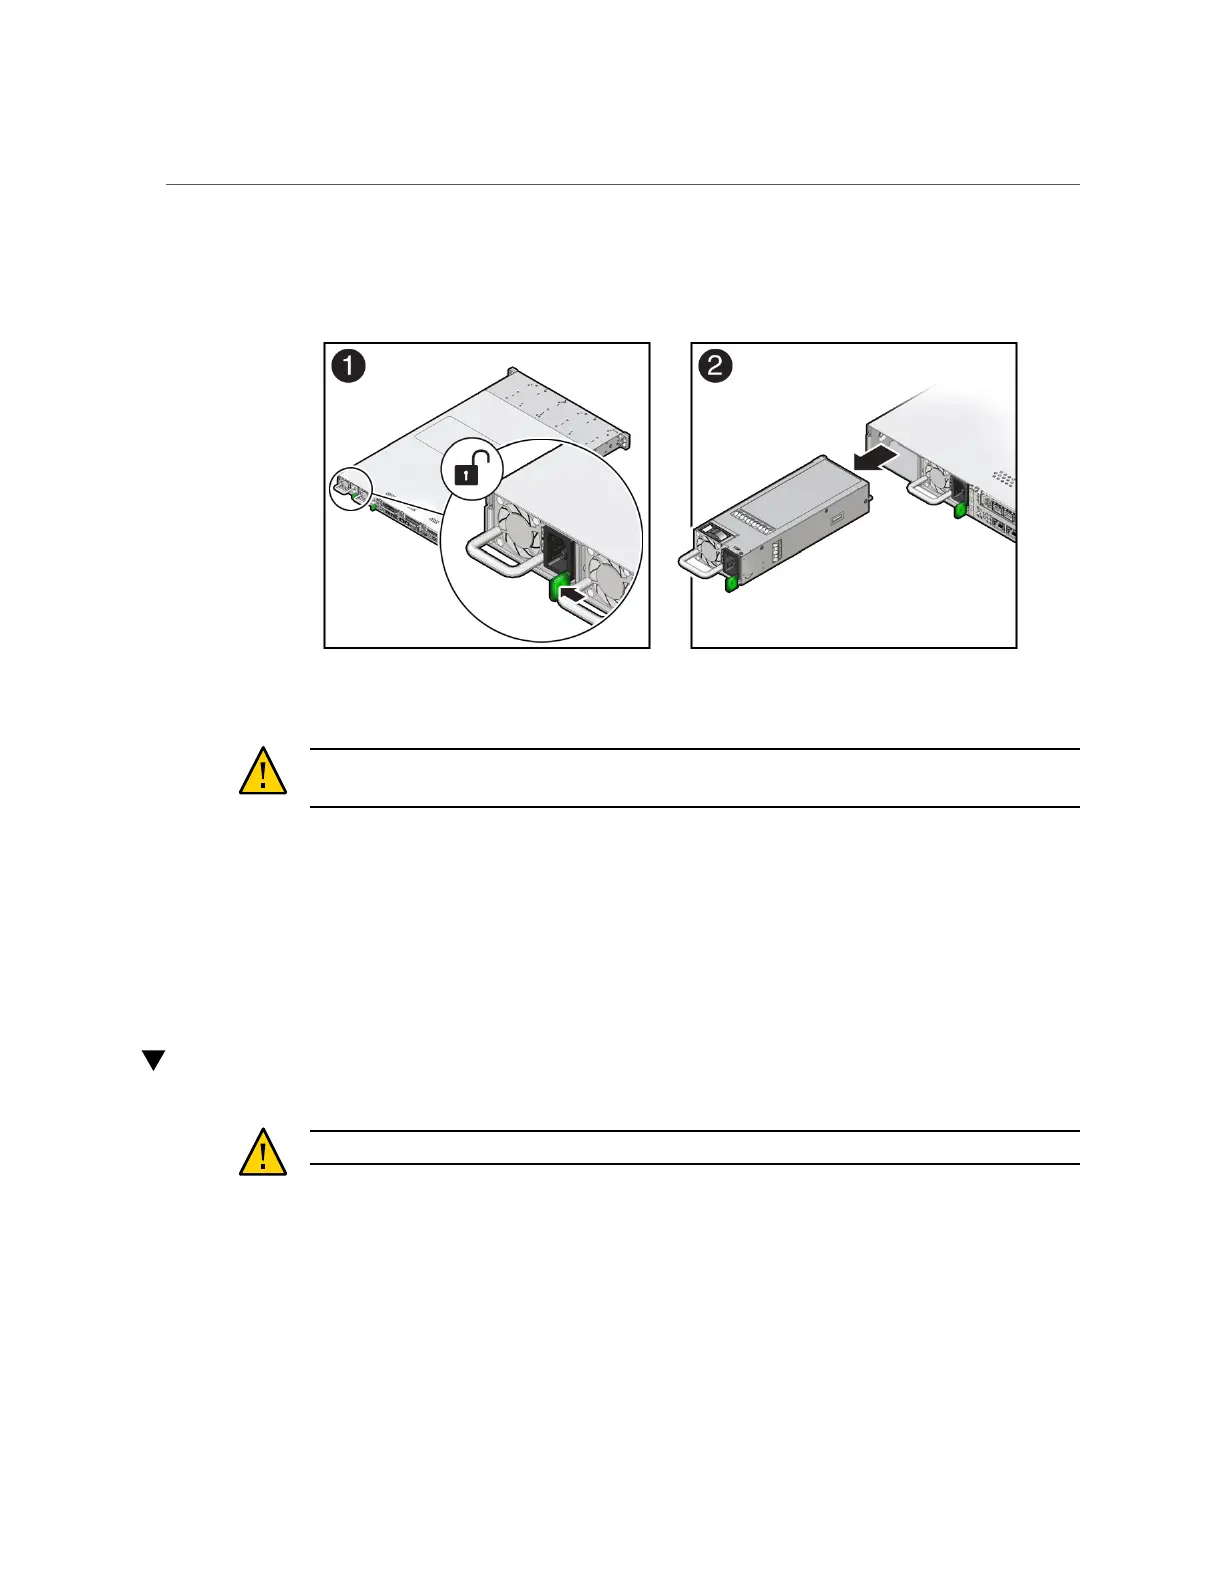
Grasp the power supply handle and push the power supply latch to the left [1].
6.
Pull the power supply out of the chassis [2].
Caution - Whenever you remove a power supply, you should replace it with another power
supply; otherwise, the server might overheat due to improper airflow.
7.
Continue to “Install a Power Supply” on page 90.
Related Information
■
“Back Panel Components and Cable Connections” on page 18
■
“Power Supply Status Indicators” on page 31
■
“Install a Power Supply” on page 90
Install a Power Supply
Caution - Always replace a faulty power supply with a power supply of the same type (model).
1.
Remove the replacement power supply from its packaging and place it on an
antistatic mat.
2.
Align the replacement power supply with the empty power supply slot [1].
90 Oracle Server X7-2 Service Manual • October 2017