Scalar i2000 Installation Guide 237
14 Close the access door.
15 On the front panel, press the Robotics Enabled button and verify that the button’s status light
illuminates in solid green state.
16 Open the service door.
17 Attach the ESD strap to your wrist and to an unpainted surface inside the door.
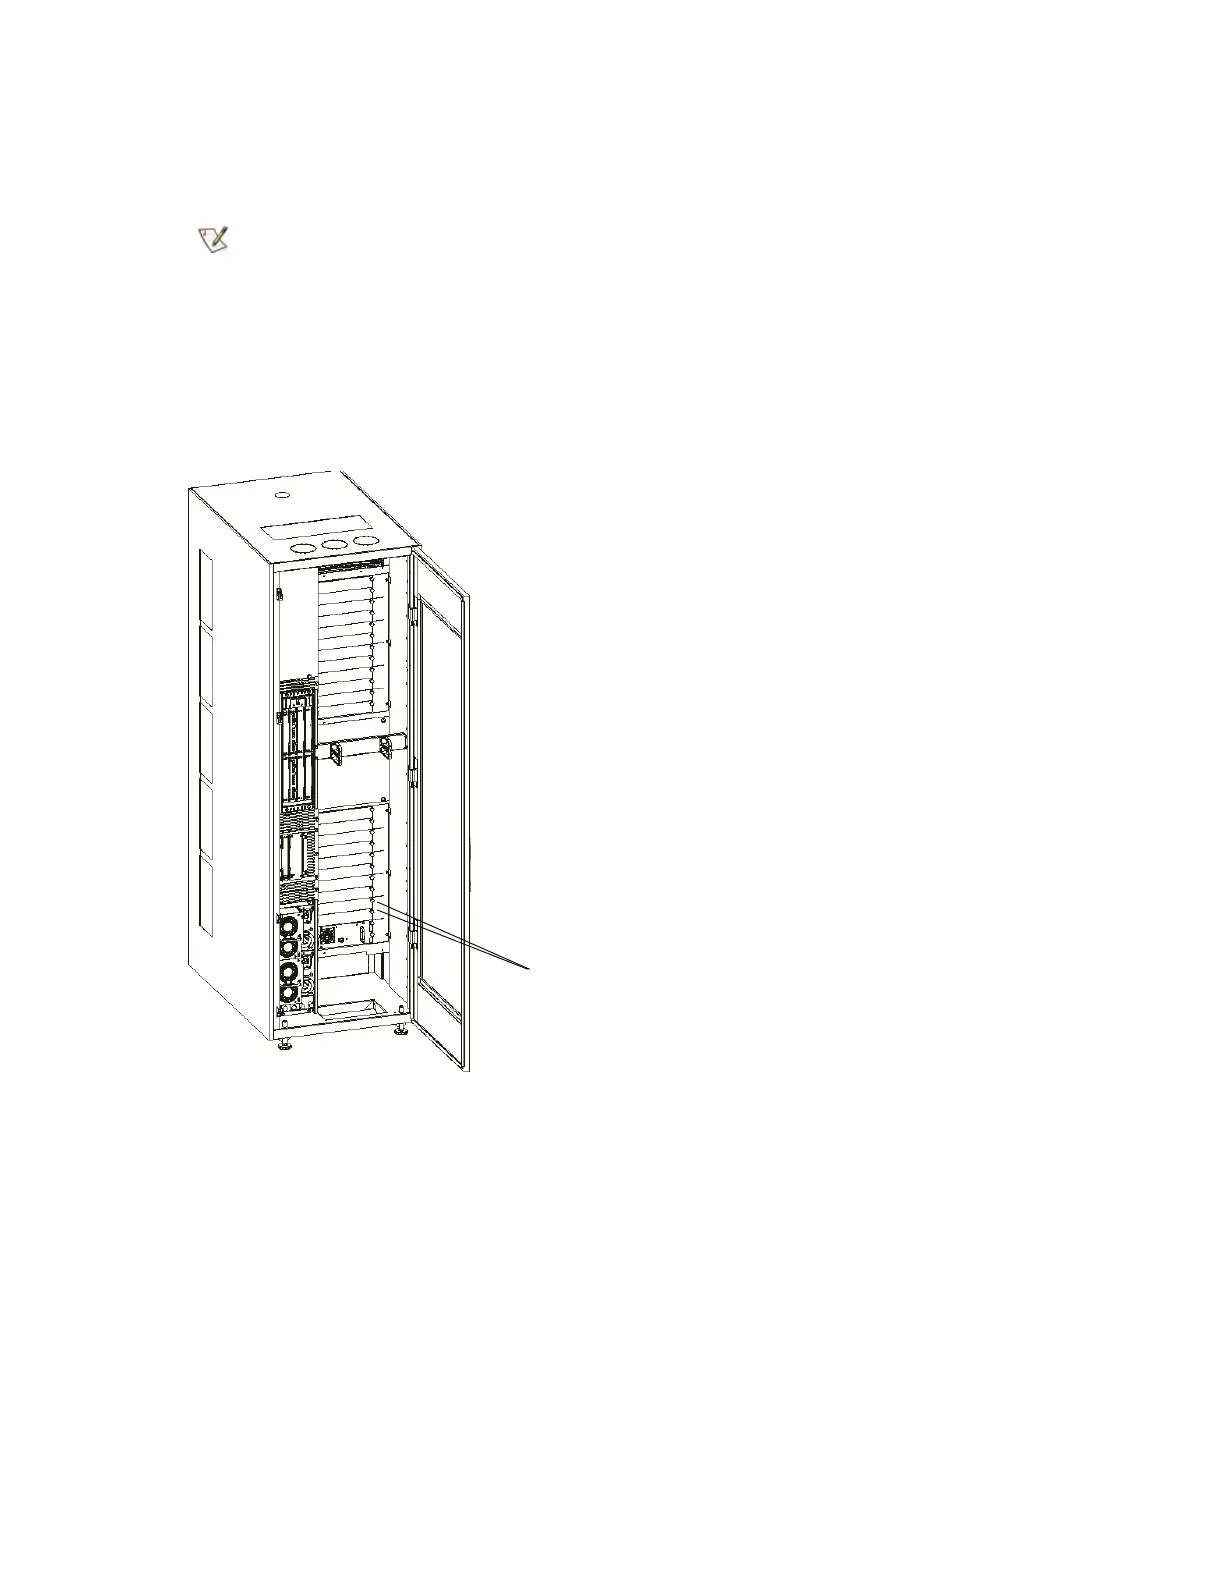
18 In the corresponding drive location, using the #2 Phillips screwdriver or your fingers, unscrew the
retaining thumbscrews and remove the drive cover plates. You must remove two cover plates for each
drive that you are adding.
19 Using the markings on the drive slot, insert the drive slowly so the guide rails engage. The drive should
be flush with no gaps above or below it.
Use the bottom of the empty drive cluster as a guide if you are adding the drive to the Drive 1 or Drive
7 position.
Before inserting drives, you must enable the robotics, otherwise the RCU
cannot perform the necessary functions to add drives to the configuration.
thumbscrews on cover plates

 Loading...


