Scalar i2000 Installation Guide 253
18 Evenly apply pressure to both ends of the control management blade (CMB) and slide it into bay 2 of
the I/O management unit. As you insert the CMB, the latchhooks will begin to move towards the middle
of the blade. Push the latchhooks towards the middle of the blades and into the lock position. You will
feel the blade pins connect with the I/O management unit’s backplane as the blade locks into place.
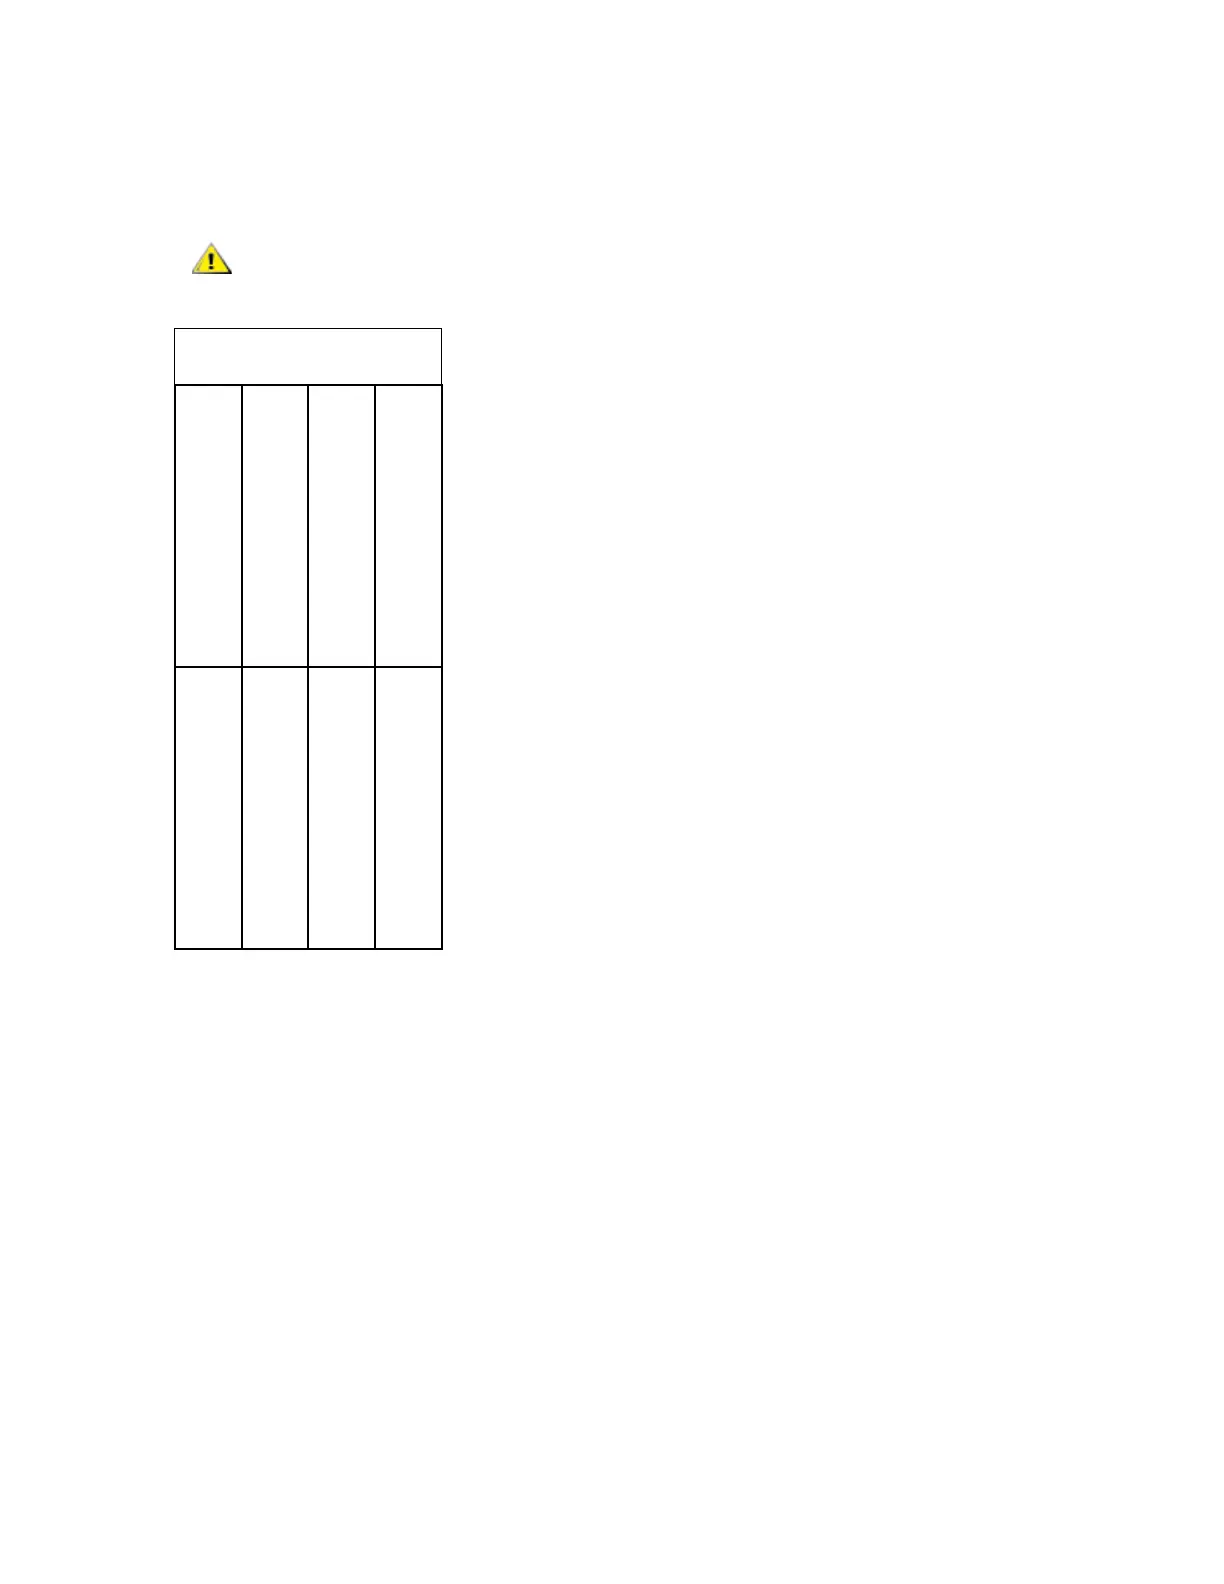
Figure 24 I/O Management Unit Bay Layout
Forcing the blade into the bay can cause the pins to bend.
bay 1 (not used)
bay 3 (first FC I/O blade)
bay 5 (third FC I/O blade)
bay 4 (second FC I/O blade)
bay 6 (not used)
bay 8 (second Ethernet
cooling assembly
bay 7 (first Ethernet
bay 2 (CMB)
expansion blade) expansion blade)

 Loading...


