86 Installing a Multi-Module Library
Removing and Replacing the LBX Board
If you are adding one or more expansion modules to an existing eight-module library, you must remove the
LBX2 Gen 2 board from expansion module seven and replace it with the LBX2 GEN 3 version (red sticker
identifier). Only do this for expansion module seven.
Removing the LBX Board
Required Tools: None
FRU ID: 104
1 Shut down the library.
For more information, see Shutting Down the Library
on page 232.
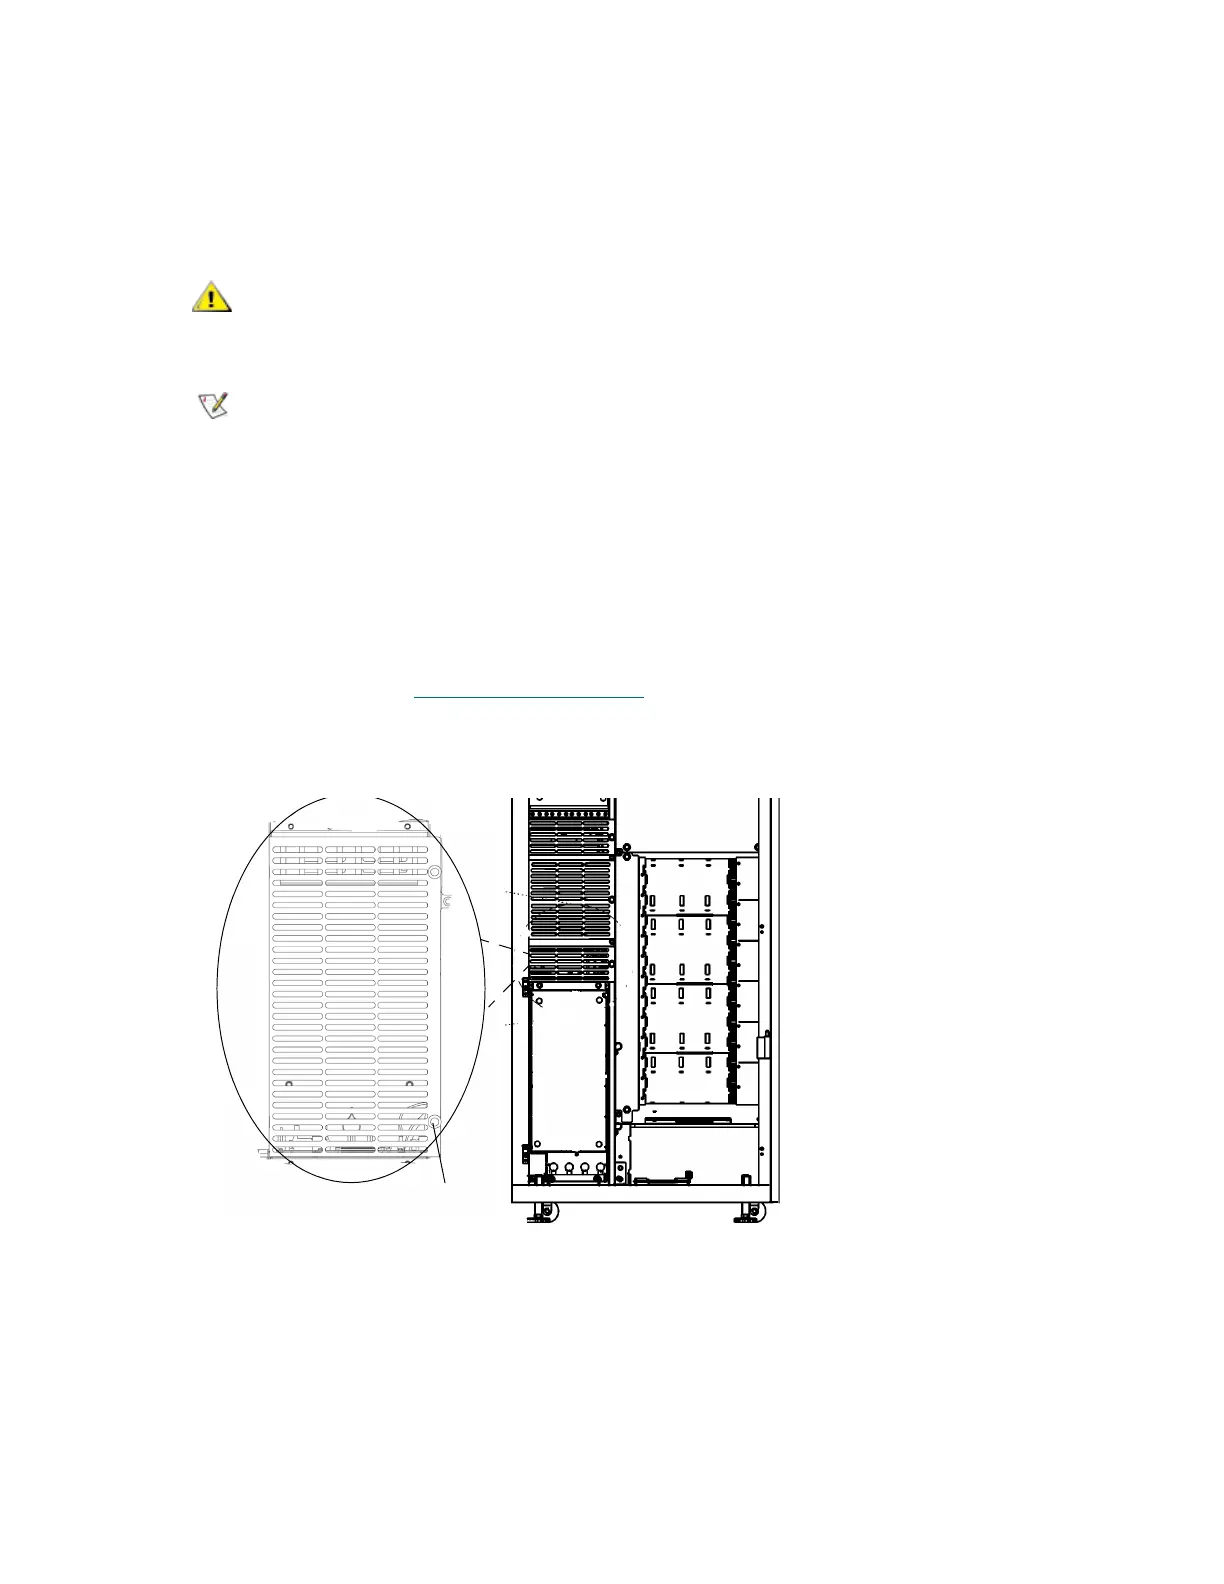
2 Attach the ESD strap to your wrist and to an unpainted surface inside the door.
3 Unscrew the thumbscrew and remove the LBX/IEX cover plate.
4 Disconnect all cables from the LBX: the LBX cable (W1), internal Ethernet cable (W2), LBX-drive cluster
cable (W3), power supply status cable (W5), I/E station cable (W6), CAN cable (W7), Ethernet cluster
Only use this procedure if you are preparing to install expansion modules
to an existing eight-module library.
The LBX2 GEN 3 boards are identified by red stickers.
Additional storage-only expansion modules in positions 9 -12 of a library
configuration ship with the latest LBX board versions. Check to make
certain the LBX2 GEN 3 boards with red stickers are installed.

 Loading...


