240 Adding Optional Hardware
Adding a Power Supply Chassis
Required tools: 7 mm socket wrench, ESD strap
1 Shut down the library.
For more information, see Shutting Down the Library
on page 232.
2 Open the service door on the control module or expansion module where you are adding the power
supply chassis.
3 Attach the ESD strap to your wrist and to an unpainted surface inside the door.
4 On the power distribution unit(s), set the circuit breaker switch to the down (0) position.
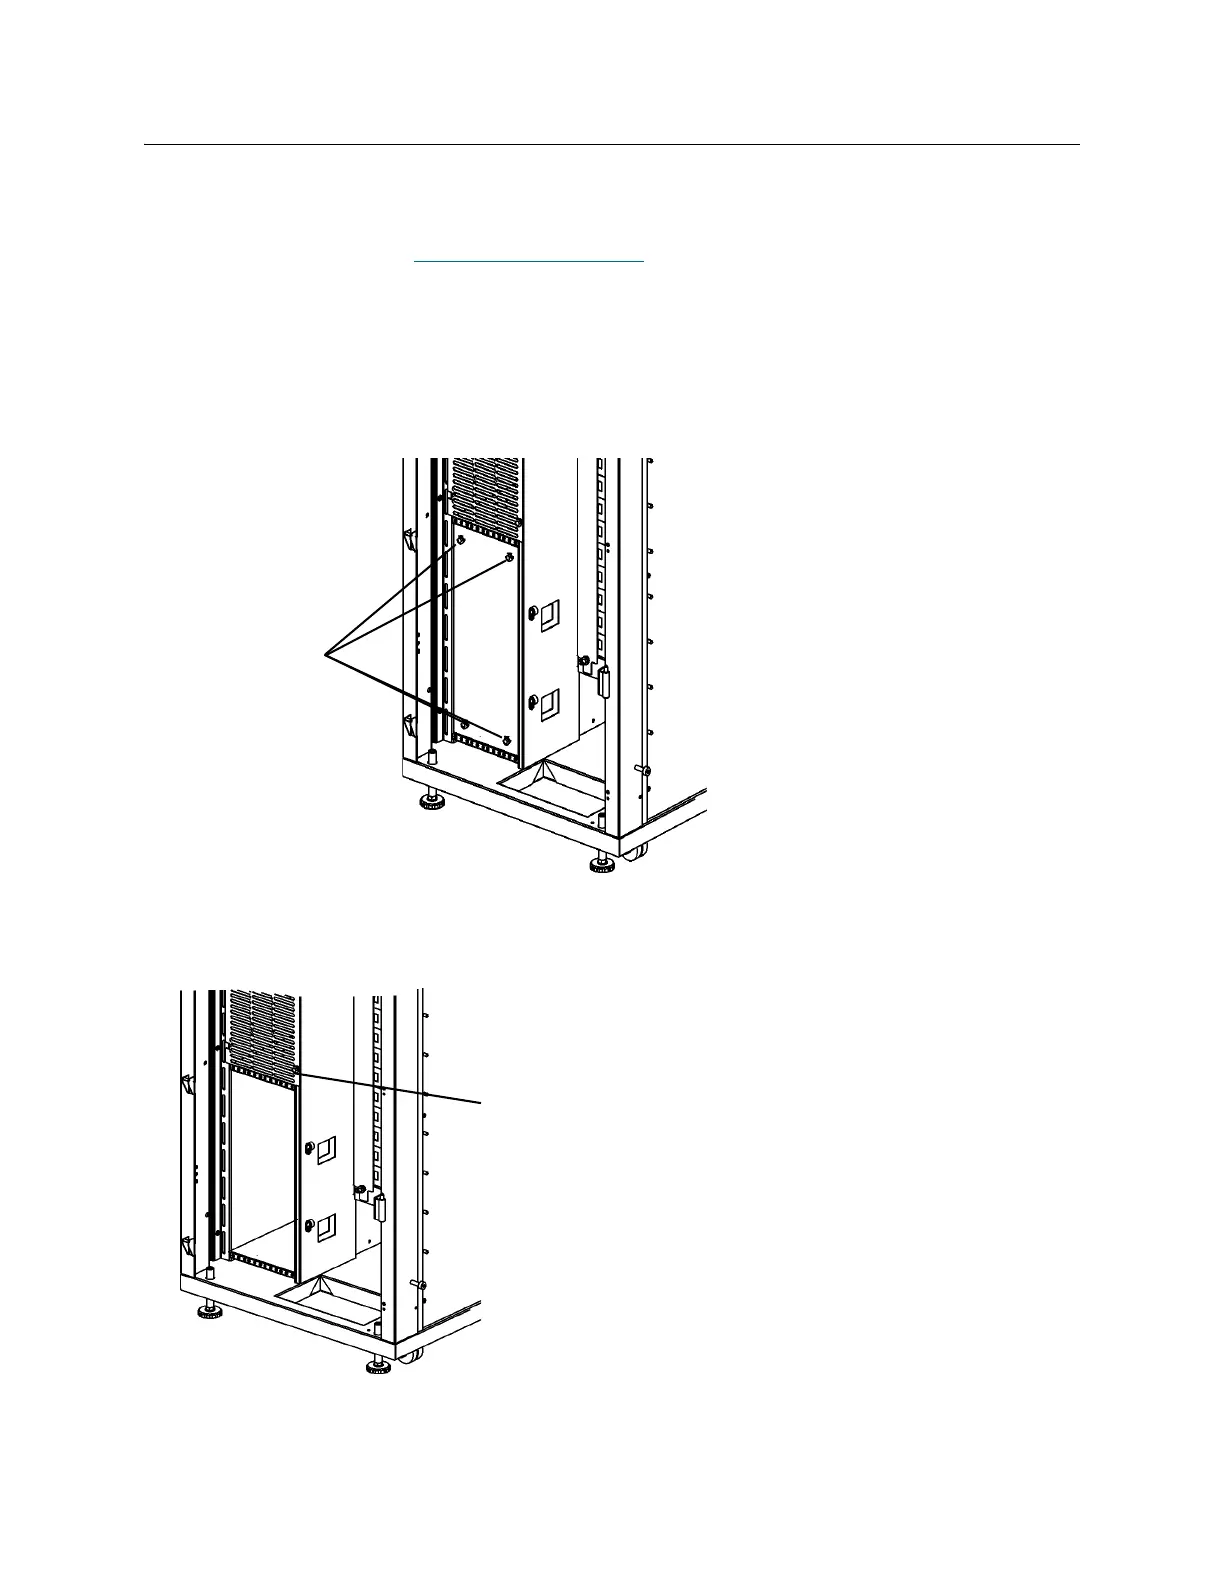
5 Remove the four thumbscrews retaining the cover plate from the power chassis opening.
6 Remove the LBX cover plate.
7 Unpack the power chassis.

 Loading...


