58 Installing a Multi-Module Library
11 If necessary, repeat steps 3 -10 and remove one belt tooth.
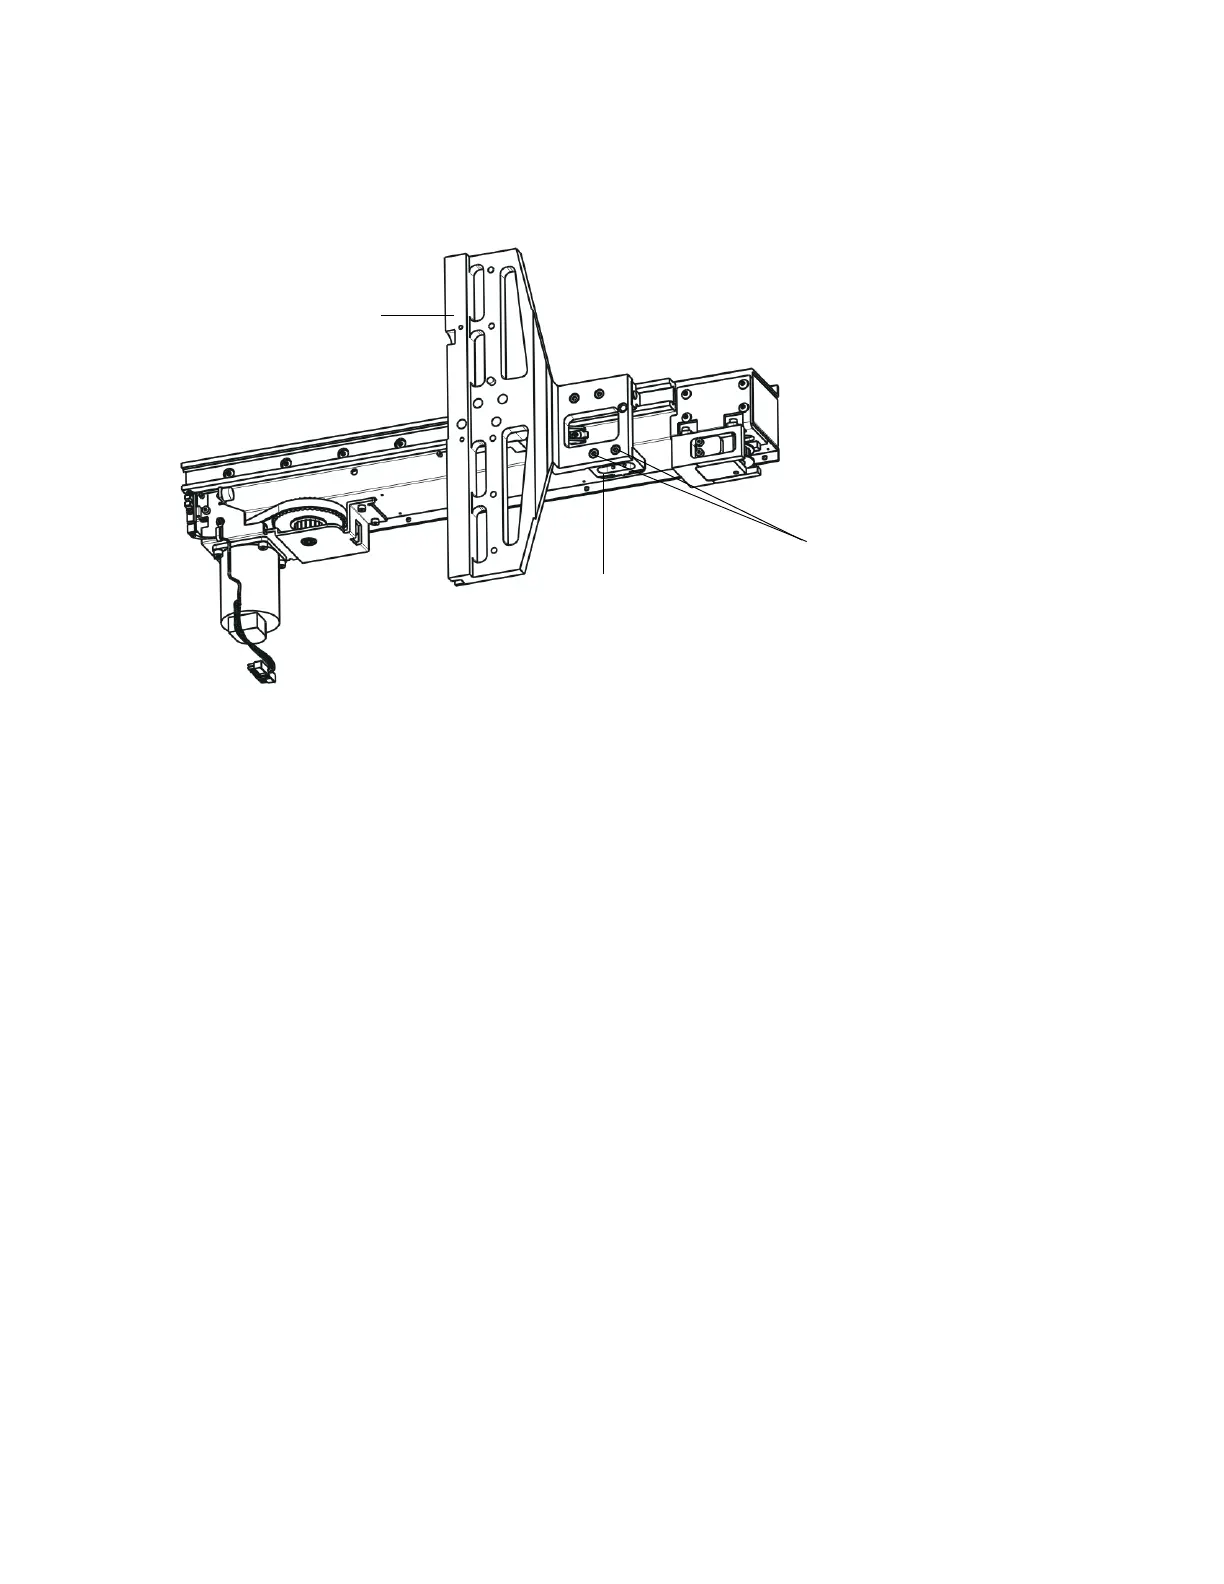
12 Once the tensioner has been uncompressed and the 3.5mm gap has been achieved, secure the belt
clamp to the X-axis carriage by installing the two 4mm screws through the X-axis carriage into the belt
clamp.
13 Move the accessor over the full length of the X-axis to verify that the belt is not twisted.
14 Return the accessor to the home position in the control module so you can install the X-axis chain
assembly.
Installing the X-Axis Chain Assembly
The X-axis chain that has been removed will not be used in the new configuration. Follow the procedure
below to install the X-axis chain assembly that shipped in the installation kit.
Required tools: 3 mm hex wrench
1 Thread the X-axis chain assembly into the slot behind the lower X-axis rail.
It is easier to fold over a large chain and feed it through from the last expansion module in the library if
the side panel is not installed.
X-axis carriage
4 mm belt clamp
belt clamp
bracket screws

 Loading...


