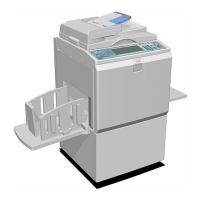
INSTALLATION PROCEDURE
C262/C265 1-28 SM
1.2.5 EXTENSION HDD TYPE 1 (OPTION)
Accessory Check
Check the quantity and condition of the accessories in the box against this list:
Description Quantity
1. HDD ............................................................................................... 1
Installation Procedure
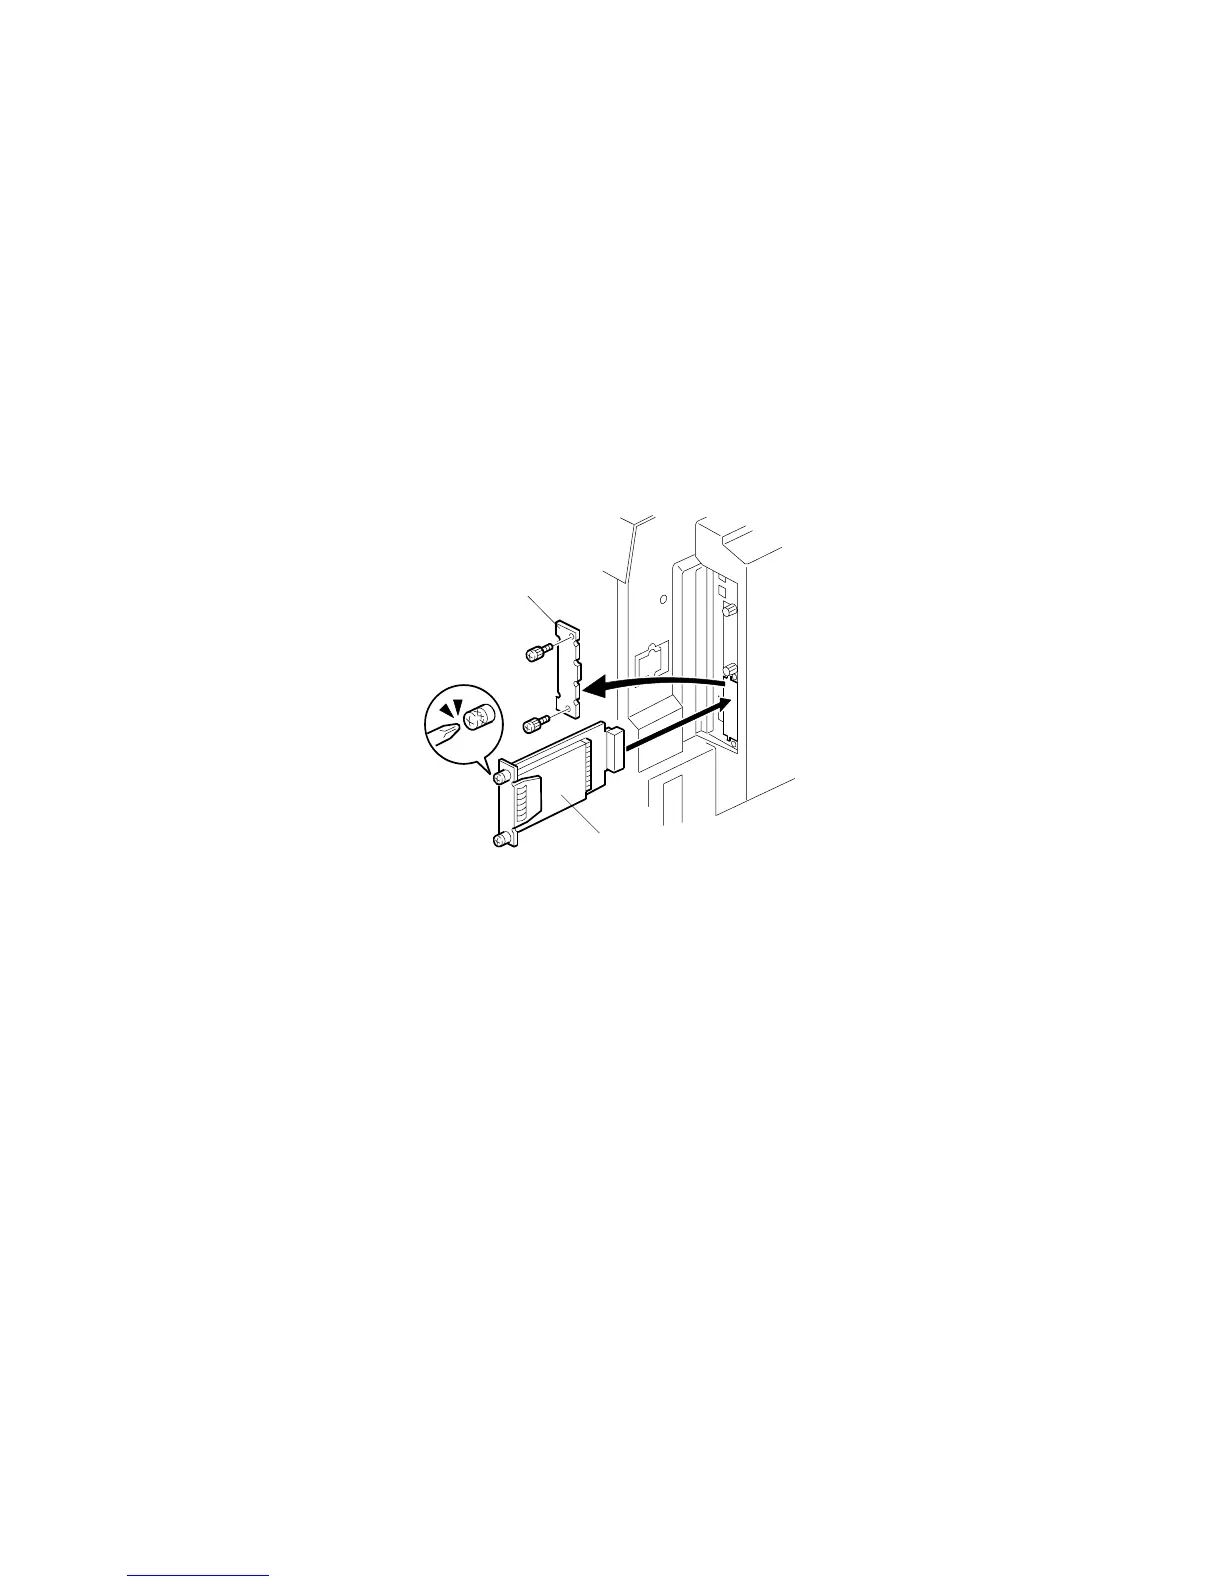
1. Turn the machine off.
2. Remove the slot cover [A] ( x 2).
3. Install the HDD [B] in Slot B and secure it with the screws ( x 2).
4. Turn the machine on and print a configuration page to make sure that the
machine can see the Printer Hard Disk Drive ( 1.2.10):
User Tools> Online Printer Features> List/Test Print> Configuration Page
After you turn the power on, the machine displays ‘Please wait’. Stamp data is
being transferred to the hard disk. This takes about 1 minute.
If the disk is not formatted, the machine will automatically format the disk and
transfer the stamp data.
NOTE: If necessary, you can format the hard disk with SP 7-7-1. But the stamp
data will not transfer automatically. So, after you format the hard disk, you
must copy the stamp data to the hard disk with SP 8-2-6.
CAUTION: When you replace the hard disk, be careful about handling the old hard
disk, because it contains the user’s private information.
C262I027.WMFF
[A]
[B]