Network eManager®
Table Views
2-48 Strata CIX Programming Vol.1 12/09
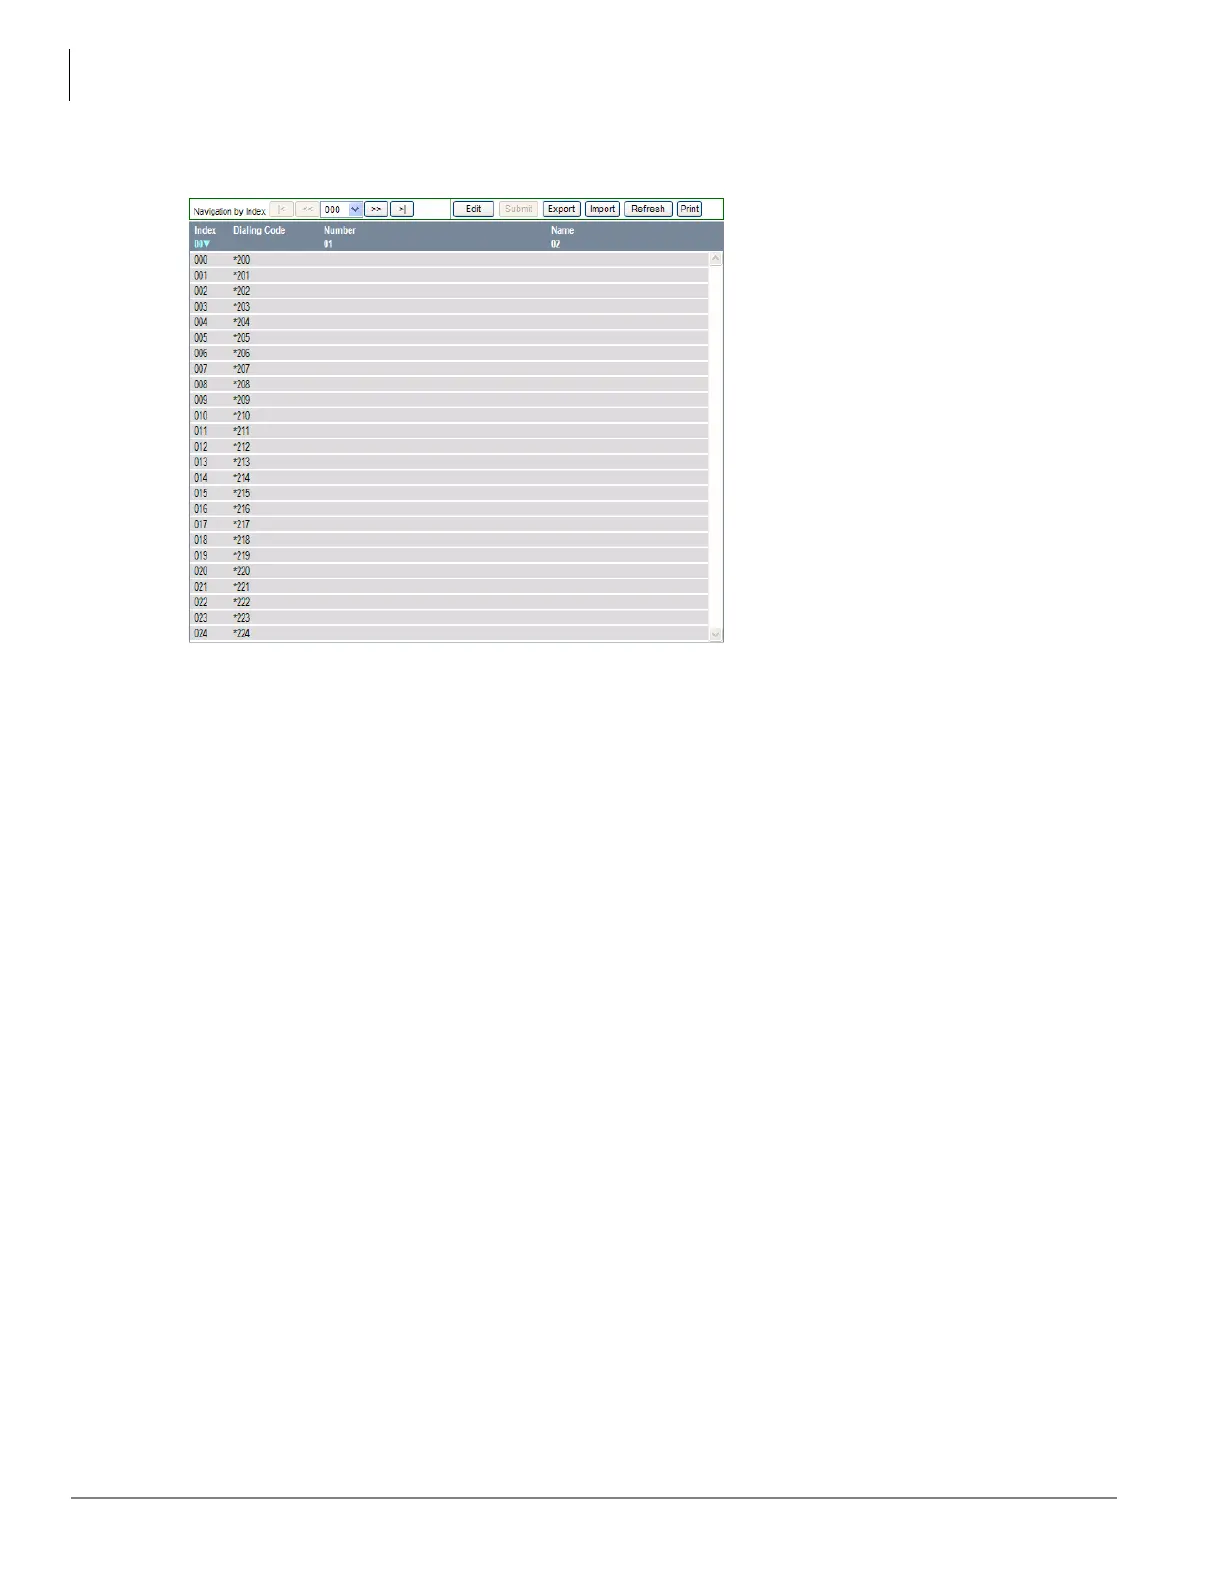
The tables have the following functionality (see Table View example below):
Navigational controls enable viewing or moving in a table by 25-entry screens. These controls help sort information
found in the table or view the table in full. These controls are found as Previous and Next buttons above the
header.
If you want to print or analyze the table you can also select All from the Drop down between the Previous and Next
buttons to view the entire table in blocks of 25 entries.
In the Navigation Control bar, every button is dynamically activated or deactivated. For example, in the figure
above, the Previous button is not active because the view starts with the first record. Submit is also not available
because nothing has been changed.
• Sort – You can sort tables by clicking the column header. The direction of the up/down toggles
Ascending or Descending sort. The color indicator pointing Up or Down in the Header row indicates the
column the sort is performed by.
• Bookmark – You can bookmark a row on some tables by clicking on the row. This enables you to move
forward or backward and come back to the original position with no problem.
Note The bookmark function is not provided in tables that have a Delete button. Tables that have a
Delete button also have Select All and Unselect All buttons.
• Edit/Refresh/Print buttons – You can edit, refresh or print the table by clicking the appropriate buttons at
the top of the screen. In some tables the Edit button toggles between View Collected Data and Edit.
- The Edit function works for the Name, Number and Destination columns. Use the Refresh button if
you add, delete or make changes to table entries in Programs that feed tables or in Guide pages.
- The Print button enables you to print tables. However, when you click the Print button only the part
of the table that is displayed on the screen prints. Use the scroll bar to Print beyond what is
displayed. It will then automatically print from where the last screen ended.