Principles of Operation Teledyne API T703/T703U Calibrator Operation Manual
192
RELAY PCA
SENSOR SUITES
LOGIC DEVICES
(e.g. CPU, I
2
C bus,
Motherboard, etc.)
ON / OFF
SWITCH
PS 2
(+12 VDC)
Photometer
M/R valve
Cooling
Fan
PS 1
ANALOG SENSORS
Photometer UV
Detector
Pre-Amplifiers
& Amplifiers
Sensor Control
& I/O Logic
Solenoid
Drivers
KEY
AC POWER
DC POWER
AC
POWER IN
+5 VDC
±15 VDC
O
3
Generator UV
Lamp Xfromer
Photometer
UV Lamp P/S
GAS
PRESSURE
SENSORS
GAS
TEMPERATURE
SENSORS
O
3
Generator UV
Lamp P/S
O
3
Generator
UV Lamp
Photometer
Pump
Controlled
via I
2
C
DRY AIR
Pump
AC
Relay
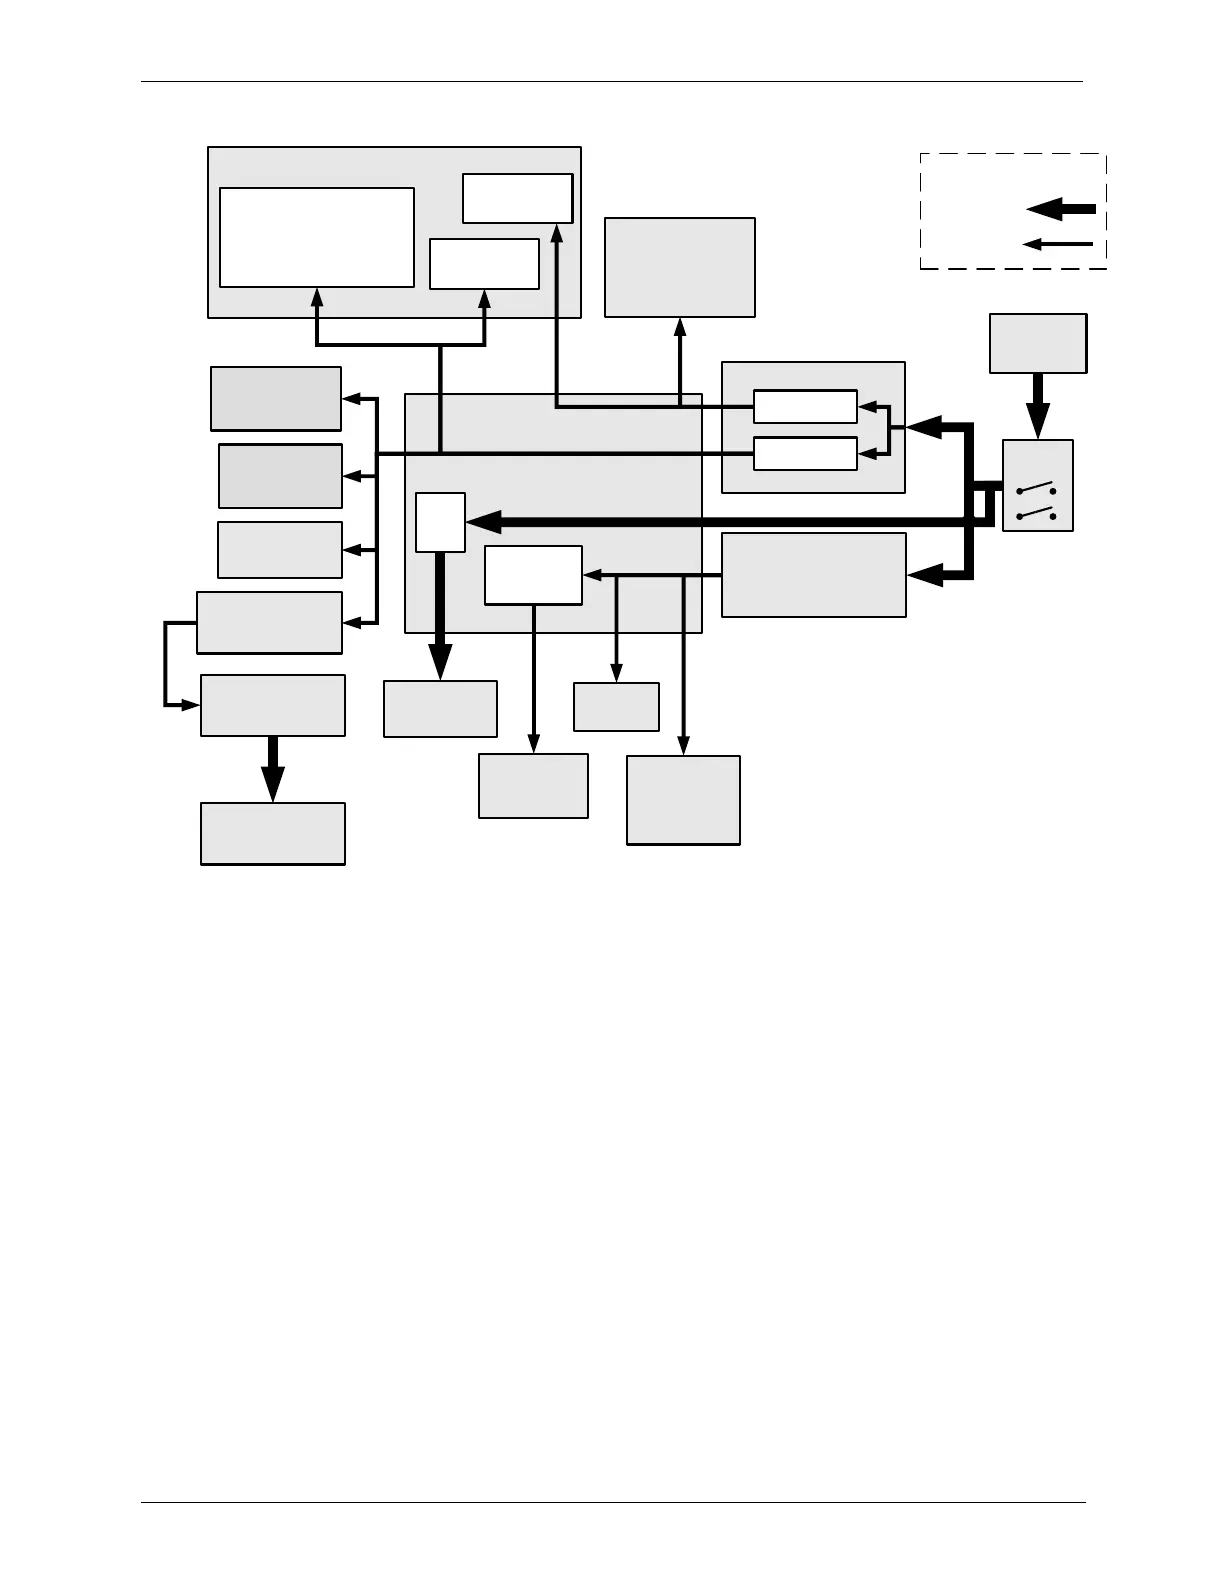
Figure 9-8: Power Distribution Block diagram
AC POWER CONFIGURATION 9.2.6.
The digital electronic systems will operate with any of the specified power
regimes. As long as instrument is connected to 100-120 VAC or 220-240 VAC at
either 50 or 60 Hz it will turn on and after about 30 seconds show a front panel
display. Internally, the status LEDs located on the Relay PCA, Motherboard and
CPU should turn on as soon as the power is supplied.
On the other hand, in some of the calibrators the dry air pump must be properly
configured for the type of power being supplied to the instrument. Figure 2-3
shows the location of the Pump AC Configuration jumper.


 To Next Page