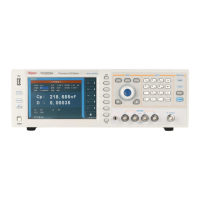
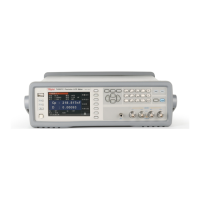
TH2829X Series Operation Manual Chapter 3 Introduction to [MEAS]
9) Move the cursor to FREQ to set the required correction frequency.
10) Make the test fixture be short.
11) Press MEAS SHORT to perform short correction at preset frequency. The test
result (R, X) of the short correction will be displayed in the help line (the
bottom line).
12) Move the cursor to SHORT.
13) Press ON to perform the short correction calculation at preset frequency in
latter measurements.
14) Prepare a standard test component.
15) Move the cursor to FUNC.
16) Set the function parameters required to be set.
17) Move the cursor to REF A.
18) Use numeric keys and unit keys to input the primary reference values of the
standard component.
19) Move the cursor to REF B.
20) Use numeric keys and unit keys to input the secondary reference value of the
standard component.
21) Move the cursor to the corresponding FREQ.
22) Connect the standard component to the test fixture.
23) Press MEAS LOAD, the instrument will execute a load correction. The real
test results of the standard component will be displayed in LOAD A and
LOAD B.
24) Move the cursor to LOAD.
25) Press ON to perform load correction calculation at preset frequencies in latter
measurements.
3.7.4 Load correction test function
When performing load correction, the reference value of the standard component
is required to be input in advance. The test parameters of reference value should
conform with the preset load correction test function.
Load correction function adopts the transport coefficient between the real test
value of preset frequency and the standard reference value to eliminate the test
error. Load correction function is only available for calculating transport
coefficient.
Operation steps for setting load correction test function
Refer to section 3.1.1.
3.7.5 Cable length selection
The available cable length is 0m, 1m, 2m and 4m.