Service Parts Disassembly 8-23
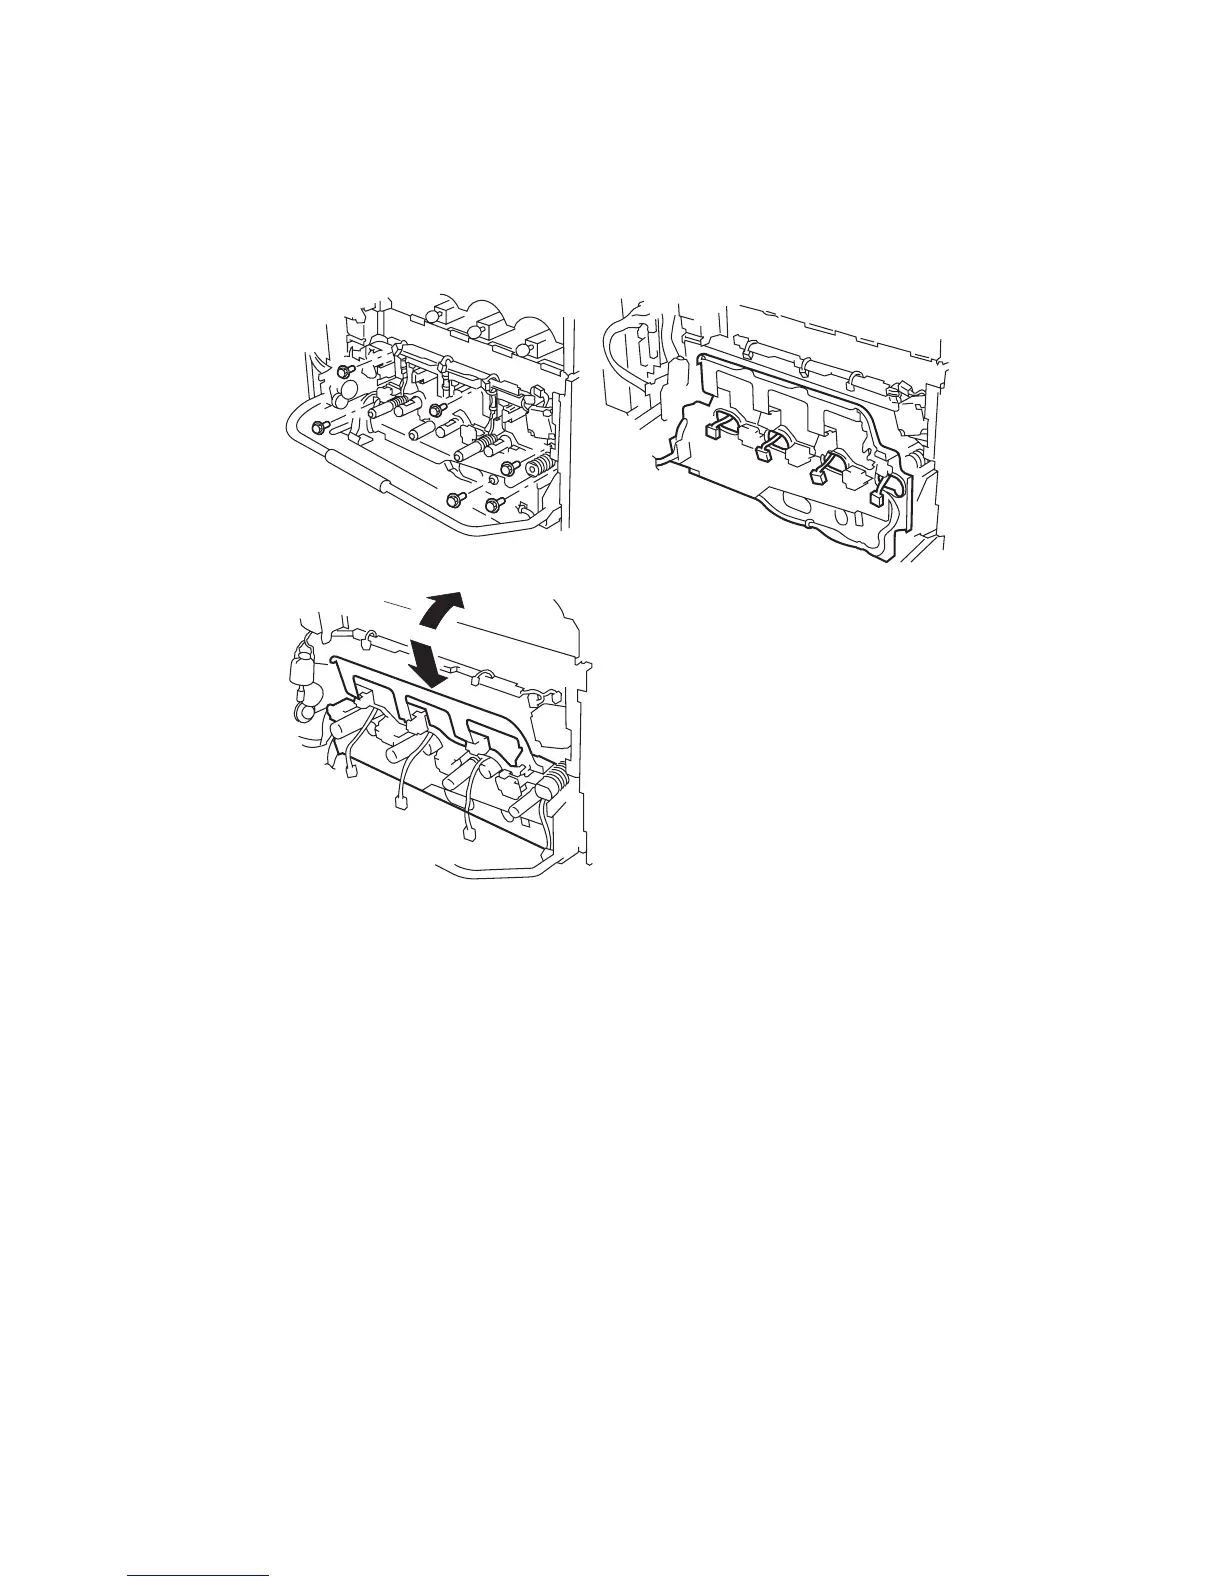
8. Remove the 6 chrome plated screws that secure the plate to the frame.
Note
Complete removal of the imaging unit plate assembly is not required for
removal of the Developer(s). Tilt the imaging unit plate assembly forward
enough to allow the developer(s) to be removed. Do not disconnect the
imaging unit plate harnesses.
9. Remove 1 screw securing the left-hand inner cover and remove the cover.
10. Disconnect the wiring harness from its retaining clip.
11. Disconnect the harness.
12. Remove the imaging unit plate assembly.
7750-018
 Loading...


