4 Connection
4.3 Connection Methods
4-13
182582-1CD
182582-1CD
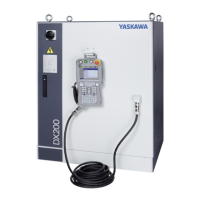
MH900, DX200 Controller
4.3.3 Connection to the Manipulator
1. Verify the numbers on the manipulator 2BC power cable with the
connector number on the manipulator by referring to Fig. 4-14(b) and
Fig. 4-15(a).
Fig. 4-15(a): Manipulator Cable Connectors (Manipulator Side)
2. Align holes and pins between 2BC cable connector and the
manipulator and attach. Refer to Fig. 4-14(b)
3. Repeat step 1 and step 2 with manipulator power cables in the
following order; 3BC, 4BC, 5BC, 6BC, and 7BC.
4. Repeat step 1 with 1BC manipulator cable.
5. Align the main key position of the manipulator and install cable by
referring to Fig. 4-14(a) and Fig. 4-15(a).
1BC 2BC
3BC
4BC
5BC 6BC
7BC
S1
FIELDBUS
8BC
AIR
NOTICE
Make sure to press the levers until they click in place.
 Loading...


