ICS-3000 Ion Chromatography System
316 Doc. 065031-04 1/08
8. Rinse surface of the cell with ASTM Type I (18 megohm-cm) filtered
and deionized water.
9. Clean the polished surface of the cell with a damp soft cloth or tissue.
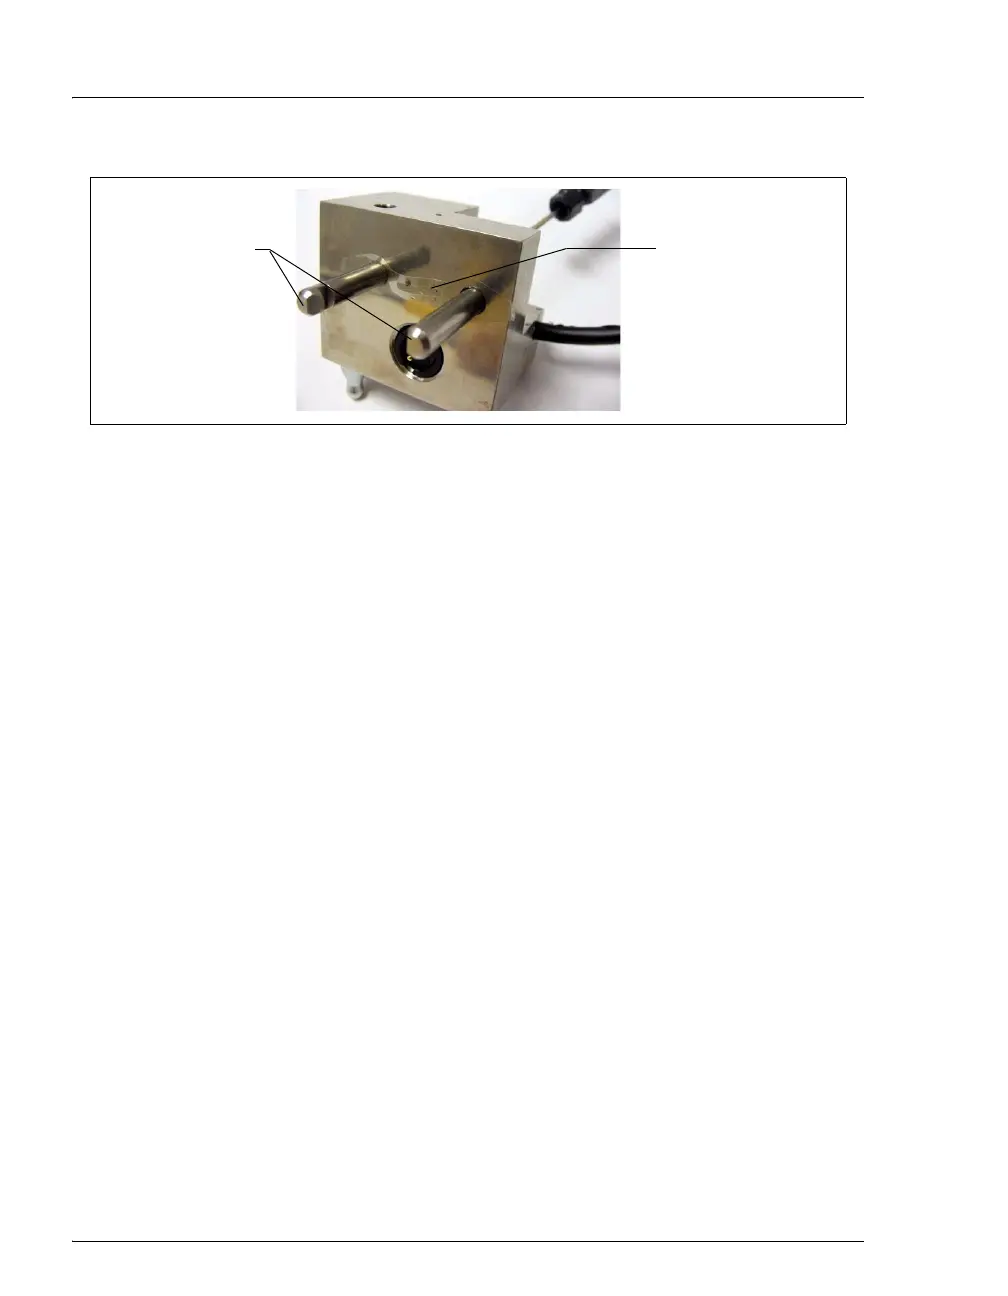
10. Install the new gasket (P/N 045972) over the alignment pins on the
cell body. When correctly installed, one end of the gasket extends
beyond the cell body, to facilitate gasket installation and removal.
11. Verify that the gasket is flat against the cell body and has no wrinkles.
12. Reinstall the working electrode block and the PEEK yoke knob and
block. Fingertighten the PEEK yoke knob by turning it a full 360
degrees.
NOTE It is not possible to overtighten the PEEK yoke
knob. Once the knob clicks into place, it does
not tighten any further. The PEEK yoke knob
ensures constant pressure is applied to the cell.
13. Orient the cell assembly with the PEEK yoke knob on the left and
push the cell onto its mounting location in the DC compartment.
14. Reconnect the cell’s inlet and outlet lines.
15. Reconnect the electrical cables.
16. Start the pump flow.
17. Wait until the pump pressure has stabilized (30 to 60 seconds) and
then turn on the cell voltage.
Figure 9-35. Amperometry Cell Gasket
Alignment Pins
Cell Gasket
(P/N 045972; for
conventional, non-
disposable working
electrodes)