7. HOW TO MANAGE CHARTS
7-19
7.14.1 How to group chart cells
You can define groups of like-format chart cells. This means you can collect related
charts, for example, all cells that cover a route from Liverpool to New York or all cells
available from a National Hydrographic Office.
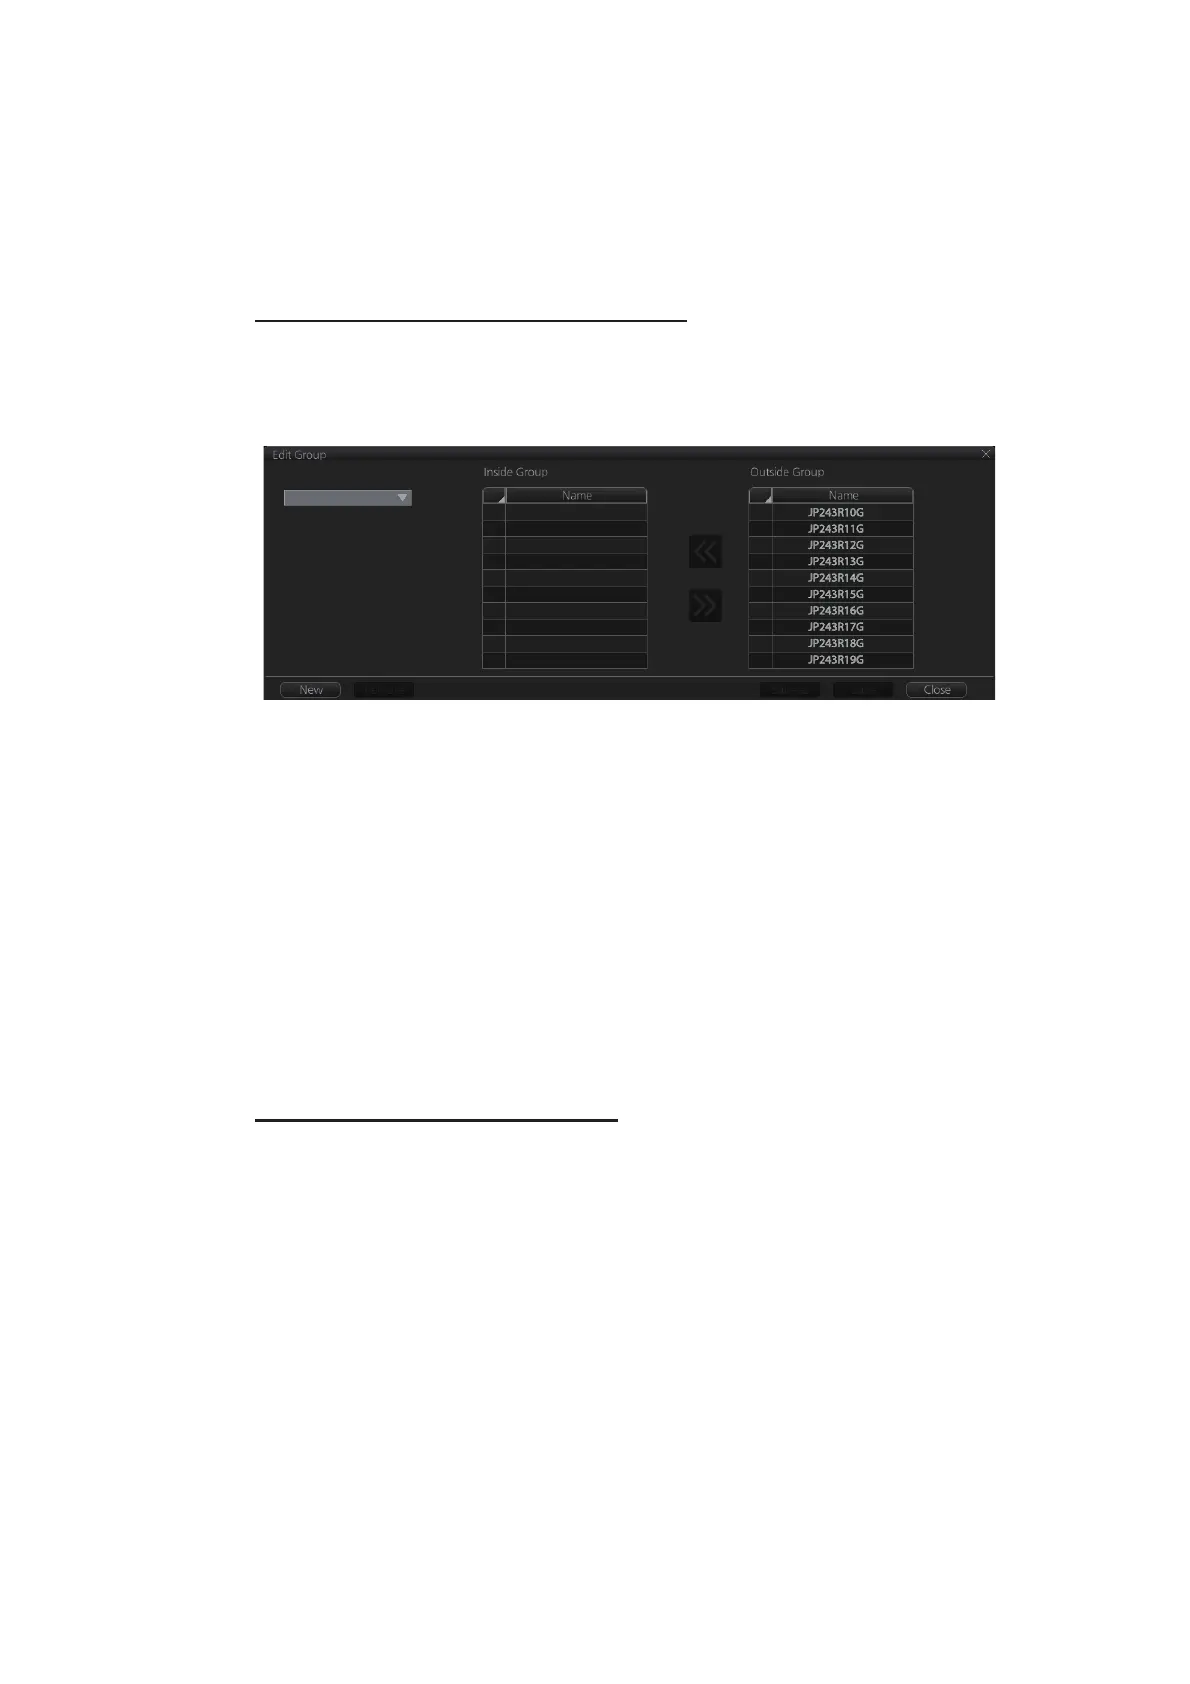
You can make a group and define charts from the [Edit Group] dialog box.
How to make a new group of chart cells
1. In the Chart maintenance mode, click the [Manage Charts] button on the
InstantAccess bar™.
2. Click the [Edit] button in the [Filter] window to show the [Edit Group] dialog box.
3. Click the [New] button.
4. In the [Outside Group] window, click the box to the left of the chart cell you want
to add to the group to show a checkmark. (A context-sensitive menu with [Select
All] and [Deselect All] functions is available by right-clicking the box to the left of
[Name], in either window.)
5. After you have selected the cells to add to the group, click the [<<] button to move
the names of the selected cells to the [Inside Group] window. If you want to re-
move a chart from the group, select it then click the [>>] button.
6. Click the [Save] button.
7. Enter a name for the group, using the keyboard on the Control Unit or software
keyboard, then click the [OK] button.
8. Click the [Close] button to finish.
How to edit a group of chart cells
You can edit a group of chart cells from a group as follows:
1. In the Chart maintenance mode, click the [Manage Charts] button on the
InstantAccess bar™ to show the [Filter] window.
2. Click the [Edit] button.
3. Select the name of the group with the pull-down list at the item [Group Name].
4. In the [Inside Group] window, click the box to the left of the chart cell you want to
remove from the group to show a checkmark. (A context-sensitive menu with [Se-
lect All] and [Deselect All] functions is available by right-clicking the box to the left
of [Name].)
5. After you have selected the charts to remove to the group, click the [>>] button to
remove the selected charts cells from the group.
6. Click the [Save] button.
7. Click the [Close] button to finish.
Group Name: