13. USER CHARTS
13-4
6. When you insert an object, the following is done in the [User Chart] dialog box:
- Name of the object button appears in the [Object] window
- Latitude and longitude position of the object is displayed
- Total object count is updated
7. To enter a name for the object click the appropriate location in the [Name] window
then use the software keyboard on the Control Unit to enter a name.
Note: The name entered for circles and areas can be shown inside the area or
circle on the screen. For details, see page 8-10.
8. To show the object on the radar display, click the corresponding box in the [Radar]
window to show a checkmark in the box.
For the label, line, clearing line, area and circle, click the corresponding box in
the [Danger] window to use or don't use the object in chart alert calculation. Show
a red checkmark to use the object in chart alert calculation.
For the area, circle and line, you can add Notes as shown below. See the de-
scription and figure below for a description of Notes.
1) Enter the text for the Notes in the [Description] box.
2) Click the box in the [Notes] window of the [User Chart] dialog box to set the
message indication.
• [E] (entering): Shows the message when the own ship enters into the ob-
jects (area or circle). For line setting, shows the message when the own ship
reaches range that is defined in the [Range of notes] menu, from the posi-
tion of setting in the [Notes].
• [P] (passing): Shows the message when the own ship runs over 10 NM in
the objects (area or circle).
• Empty: Shows nothing.
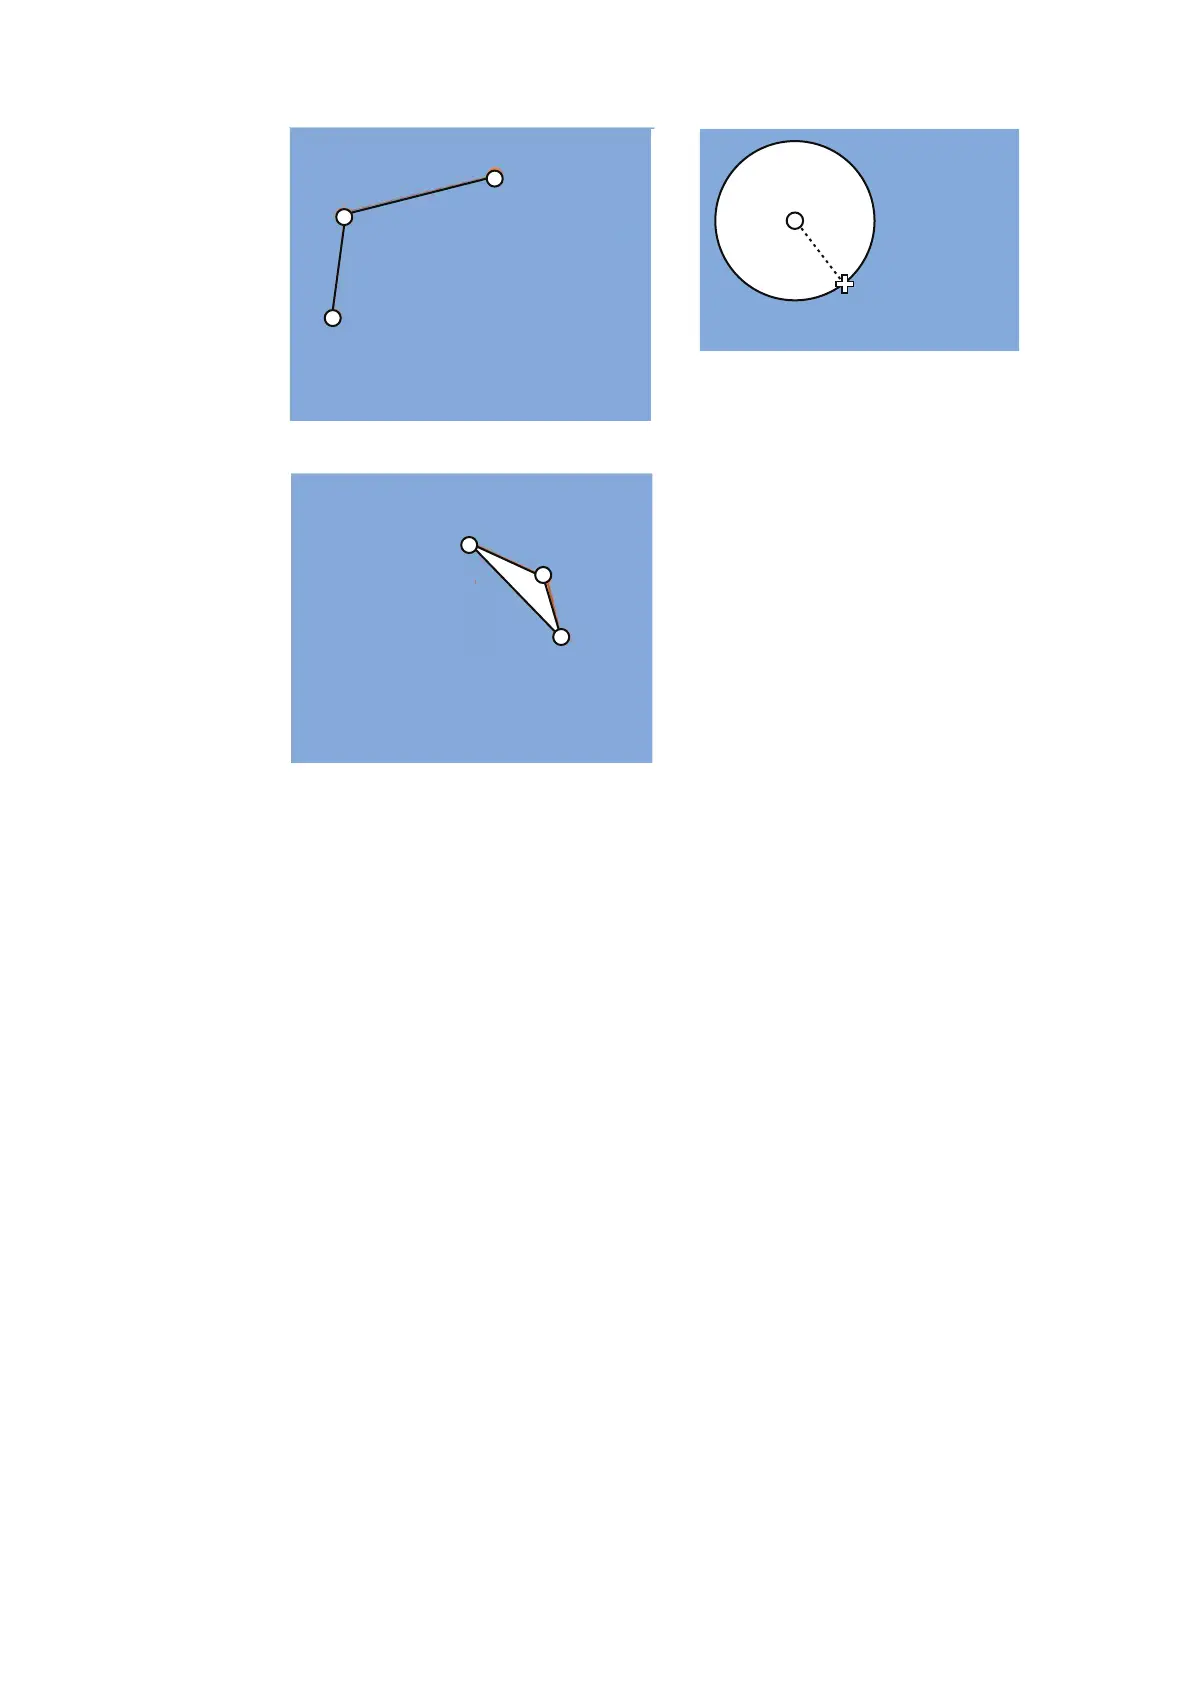
(3) Click
(2) Click
(1) Click
(4) Right-click;
select [Finish].
How to create a line
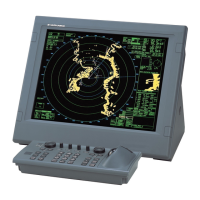
1) Put cursor where to locate center of circle
then click.
2) Drag cursor to set radius; click to set.
How to create a circle
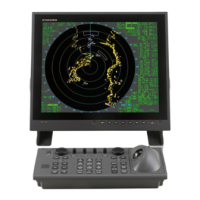
(1) Click
(2) Click
(3) Click
How to create an area
(4) Right-click;
select [Finish].
(2) Drag cursor;
click to set.
(1) Click