GE HEALTHCARE
DIRECTION 5394152, Revision 5
LOGIQ™ P6/P6 PRO SERVICE MANUAL
Chapter 4 - Page 4-49
4-9-10 Nest fan Function Validation Procedure
1.) After replace Nest fan assy, turn on the system. Refer to the 3-5-1 "Power On/Boot Up" on page 3-
11.
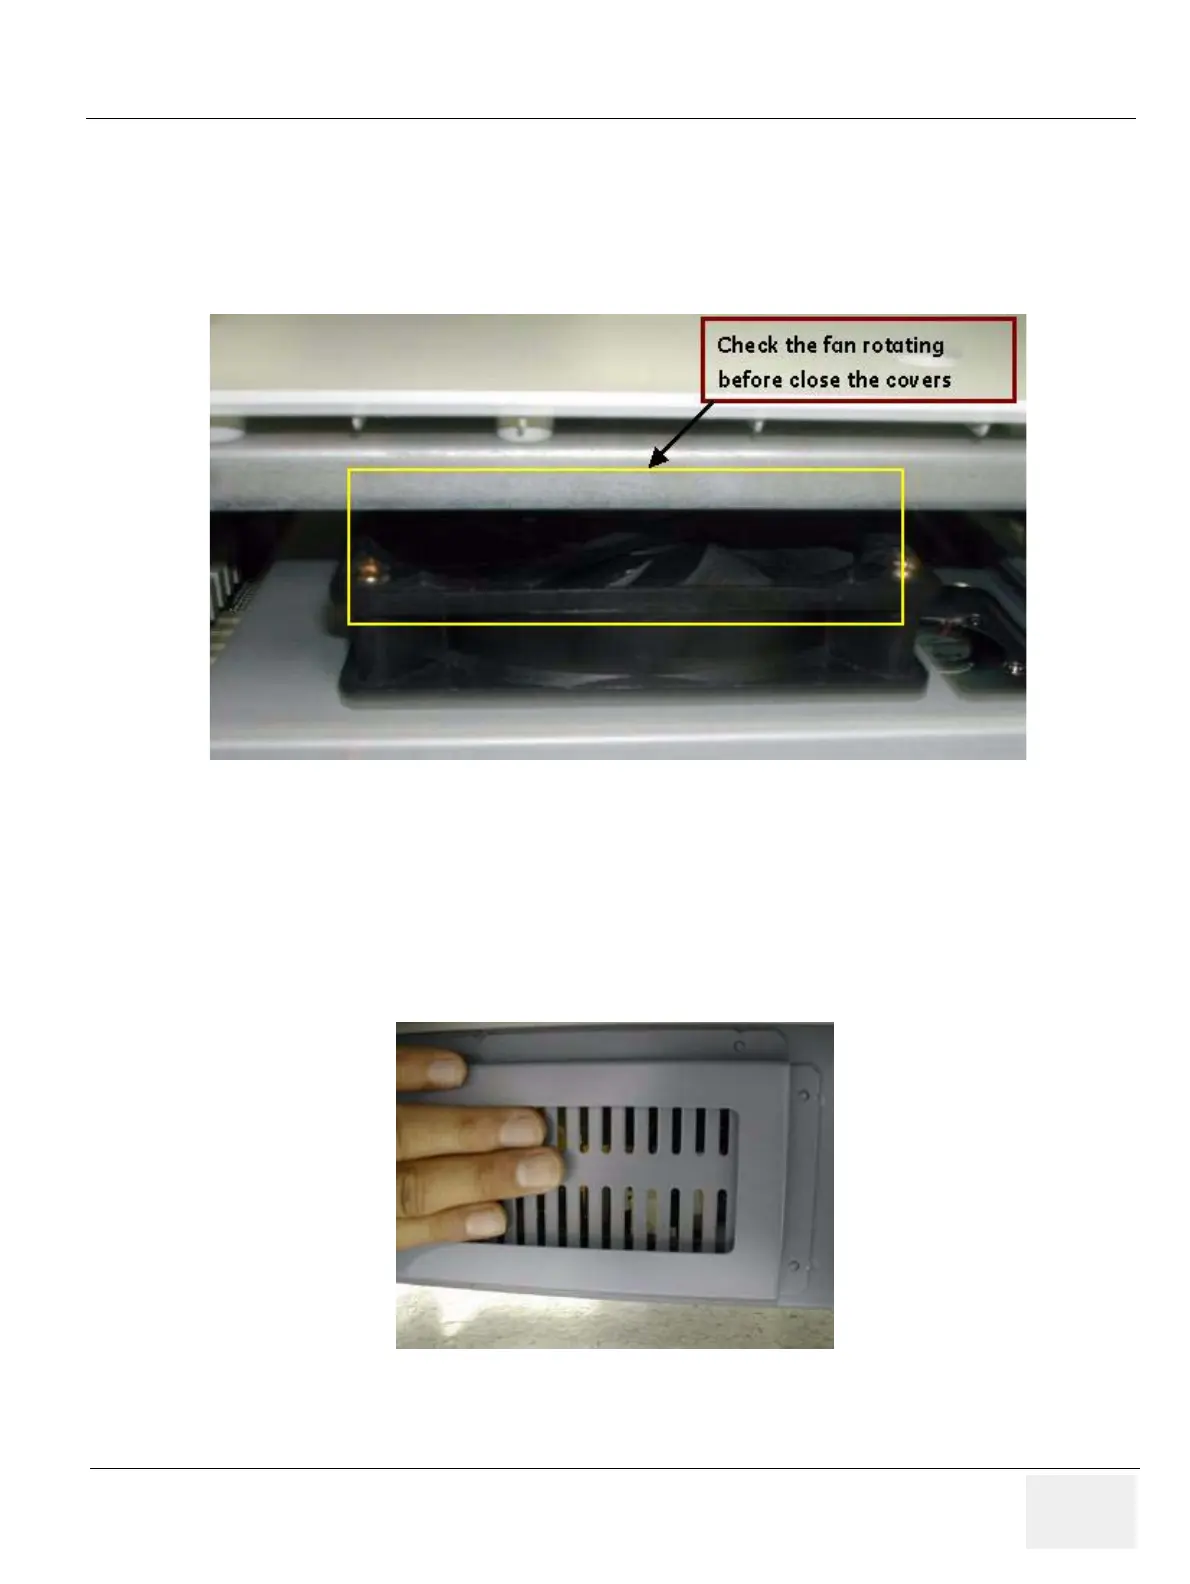
2.) Confirm the fan rotating with naked eye and check the fan operating by rotating sound. No strange
sound should be heard.
NOTE: Do not close the right EMI bracket and right plastic cover before check the fan operation.
4-9-11 Transbox/ Fan Function Validation Procedure
1.) After replace Transbox fan assy, turn on the system. Refer to the 3-5-1 "Power On/Boot Up" on
page 3-11.
2.) Confirm the fan rotating by feeling wind. Refer to the figure below.
NOTE: Remove right side dusty filter and check the fan operation.
Figure 4-47 Checking Nest fan rotating
Figure 4-48 Checking Transbox fan rotating

 Loading...


