Click an image orientation icon to change the plane or a 3D or oblique reformat image.
Table 1: Orientation controls
Button Description
S Superior
I Inferior
A Anterior
P Posterior
L Left
R Right
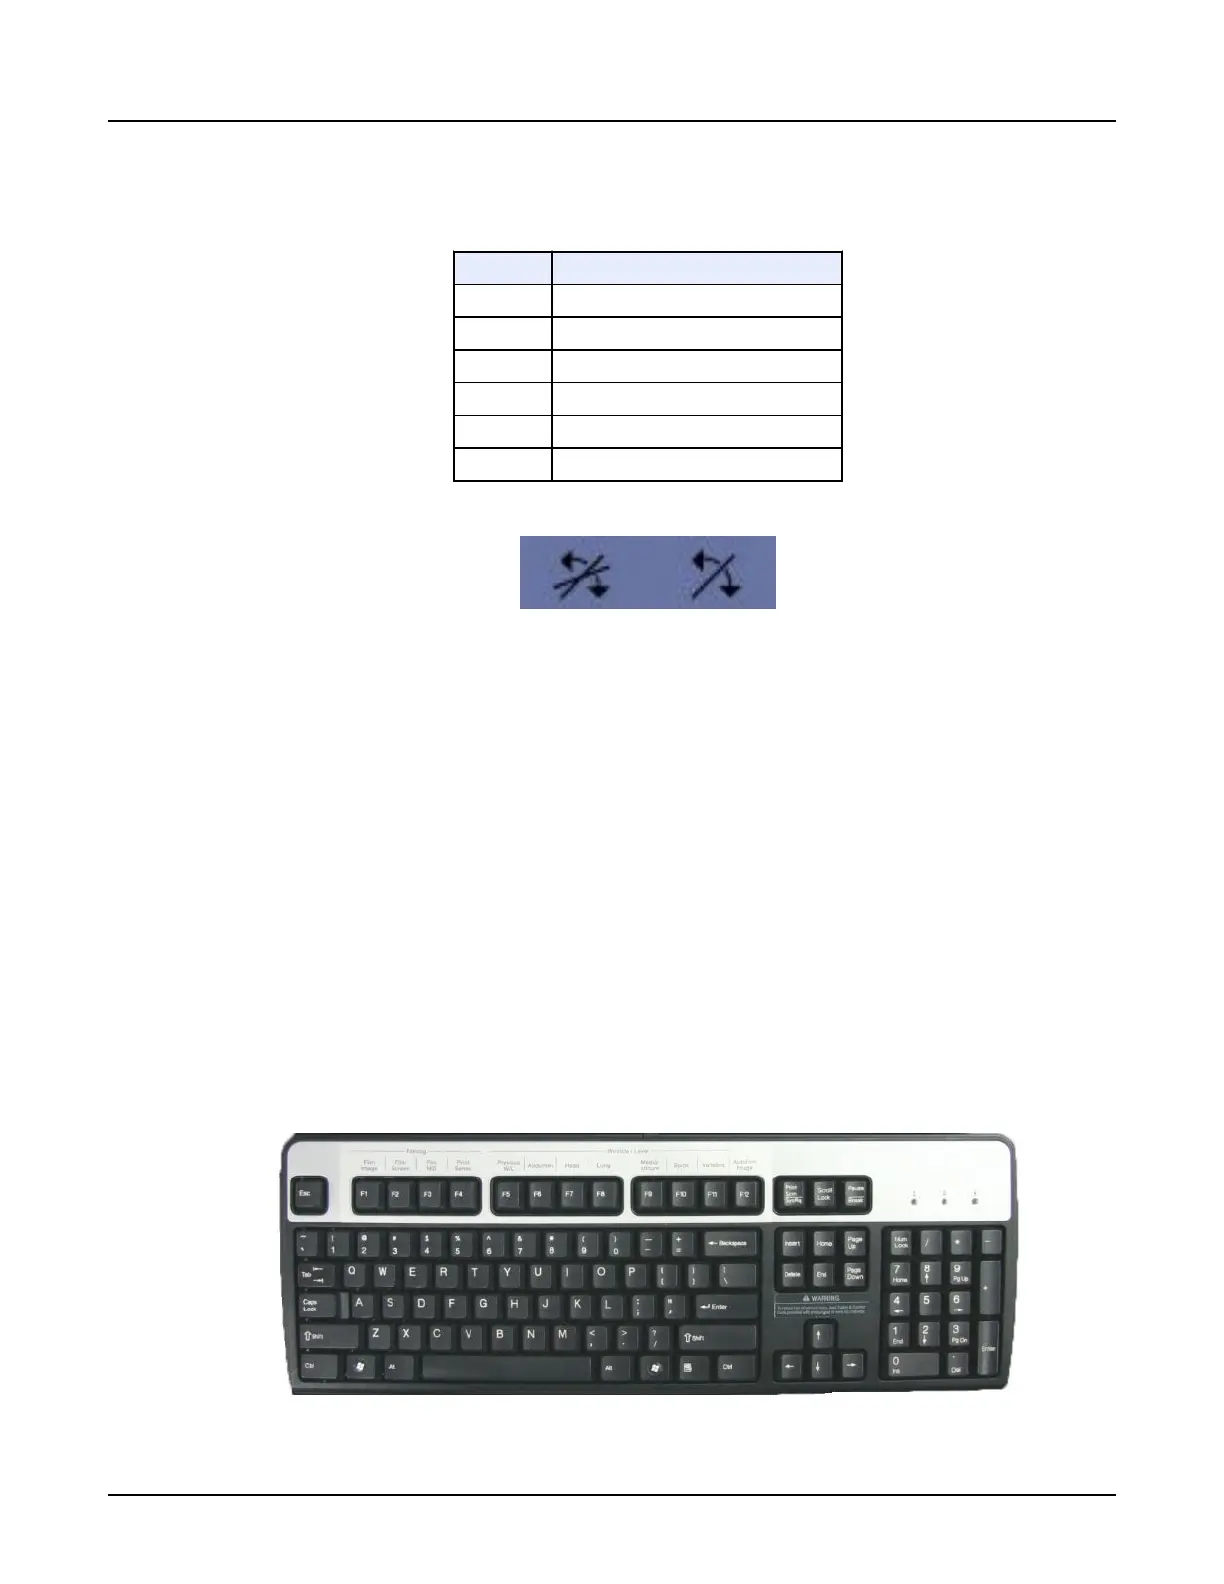
2.2.7 Activate the Oblique mode
The [Multi Oblique Mode] button (left) displays three oblique planes defined by three adjustable
color axis (orange, green, blue).
1.
Adjust any axis to update the two other oblique planes.
2.
Click again to deactivate the
Multi Oblique
mode, which keeps the orientations defined in
oblique viewports.
The [Single Oblique Mode] button (right) displays a line cursor in
Reformat
, which is used to
define a new plane.
1. Set the function of one viewport to
Oblique
.
2. Make another viewport primary and then click the [Single Oblique Mode] button.
A solid yellow line appears, which represents the plane of the Oblique reformat.
3.
Place the cursor on the solid yellow line and click and drag it to tilt the yellow line to the
desired plane.
2.3 Use the keyboard shortcuts
Illustration 2: Keyboard
Revolution CT User Manual
Direction 5480385-1EN, Revision 1
Chapter 16 Reformat 445

 Loading...