1. Open
Reformat
.
2. Click the
Display
tab.
3.
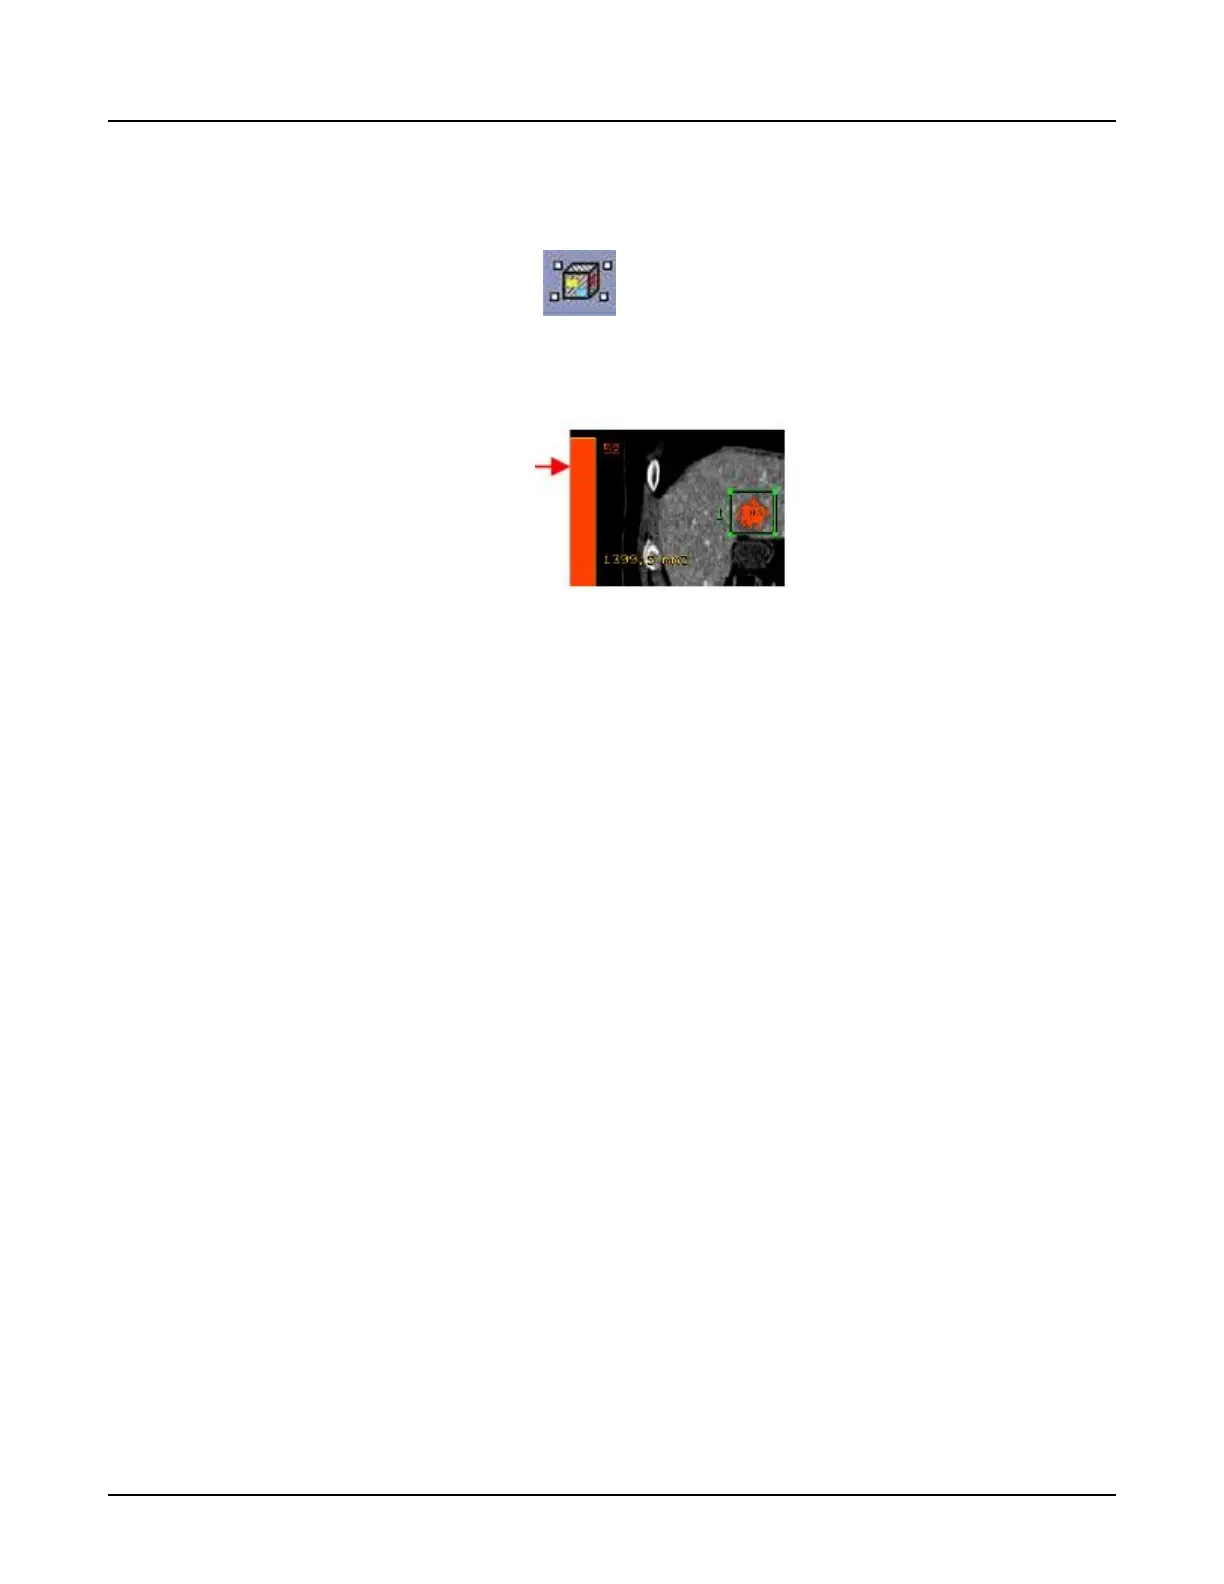
Click the [3D ROI with color] icon .
4.
Click the image to deposit the ROI.
5.
Click the color ramp displayed on the left side of the image to open the
Color Table
screen.
6. Click the
Statistics
tab to view range percentages for each color.
7. Change the values of the ROI on the viewport.
a. Click the
Configuration
tab to change the values of the ROI on the viewport.
b.
Click a value in the
Min Value
column, and type a new value.
c.
Click a value in the
Max Value
column and type a new value.
d. Click a
Range name
column text box to type a name.
8. To change a color in the color ramp, select a color in the
Color
column.
a. From the Select new color screen, drag the cursor over a color on the color wheel.
b.
View the Current selected color.
c.
Click [Apply].
9. To add or remove a color in the color ramp, click [Add] or [Remove].
10. Click the
Presets
tab to load and save Colormap presets.
11. Click [Save] to save setting adjusted in the
Configuration
tab.
12. To load a color map preset, select the color ramp preset from the menu.
13.
Click [OK].
3.13 Add an ROI
Use this procedure to add an ROI on an image to obtain information, volumes, areas, and
statistics of anatomy or pathology. The ROI allows you to:
•
measure the pixel intensity value at a specific point on the image
•
display the area or volume
Revolution CT User Manual
Direction 5480385-1EN, Revision 1
462 3 Display

 Loading...