Transfer of patient records/examinations
Vivid S70 / S60 – User Manual 10-45
BC092760-1EN 01
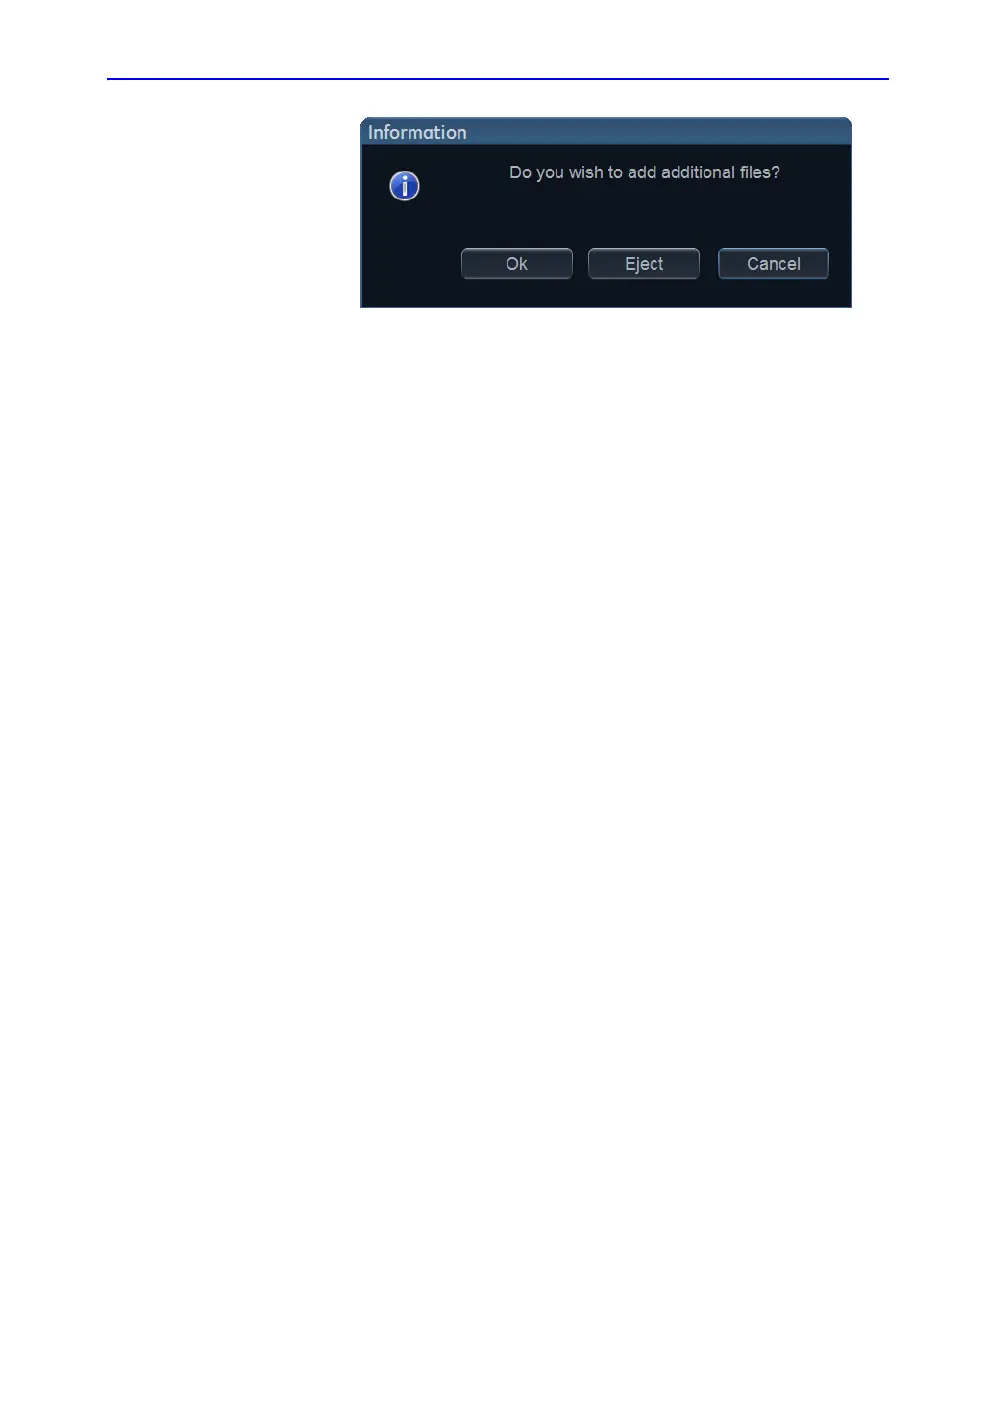
Figure 10-24. Add additional files window
Select OK.
The system is preparing the media to allow addition of
new files.
NOTE: If Eject is selected, the user is prompted to insert
another media. If No is selected, the Transfer window is
displayed (Figure 10-22), where the user can select
another destination.
7. Press Add to list to make the selected items ready for
transfer, or press Add all to make all available items ready
for transfer.
Depending on the source and destination selected the
following may be available:
• Delete after copy: the item selected will be deleted
from the source archive after transfer to the destination
archive.
• Anonymize: remove patient related information from
the items transferred. You may enter a Prefix to replace
the patient name and ID with the prefix followed by an
increasing number. The prefix should not contain any
patient identifying data.
8. Press Copy.
NOTE: If Delete after copy is selected the user will be asked to
confirm the action.
9. If one or more patient records or examinations are already
present in the destination archive, the Matching patient/
exam data window is displayed.

 Loading...


