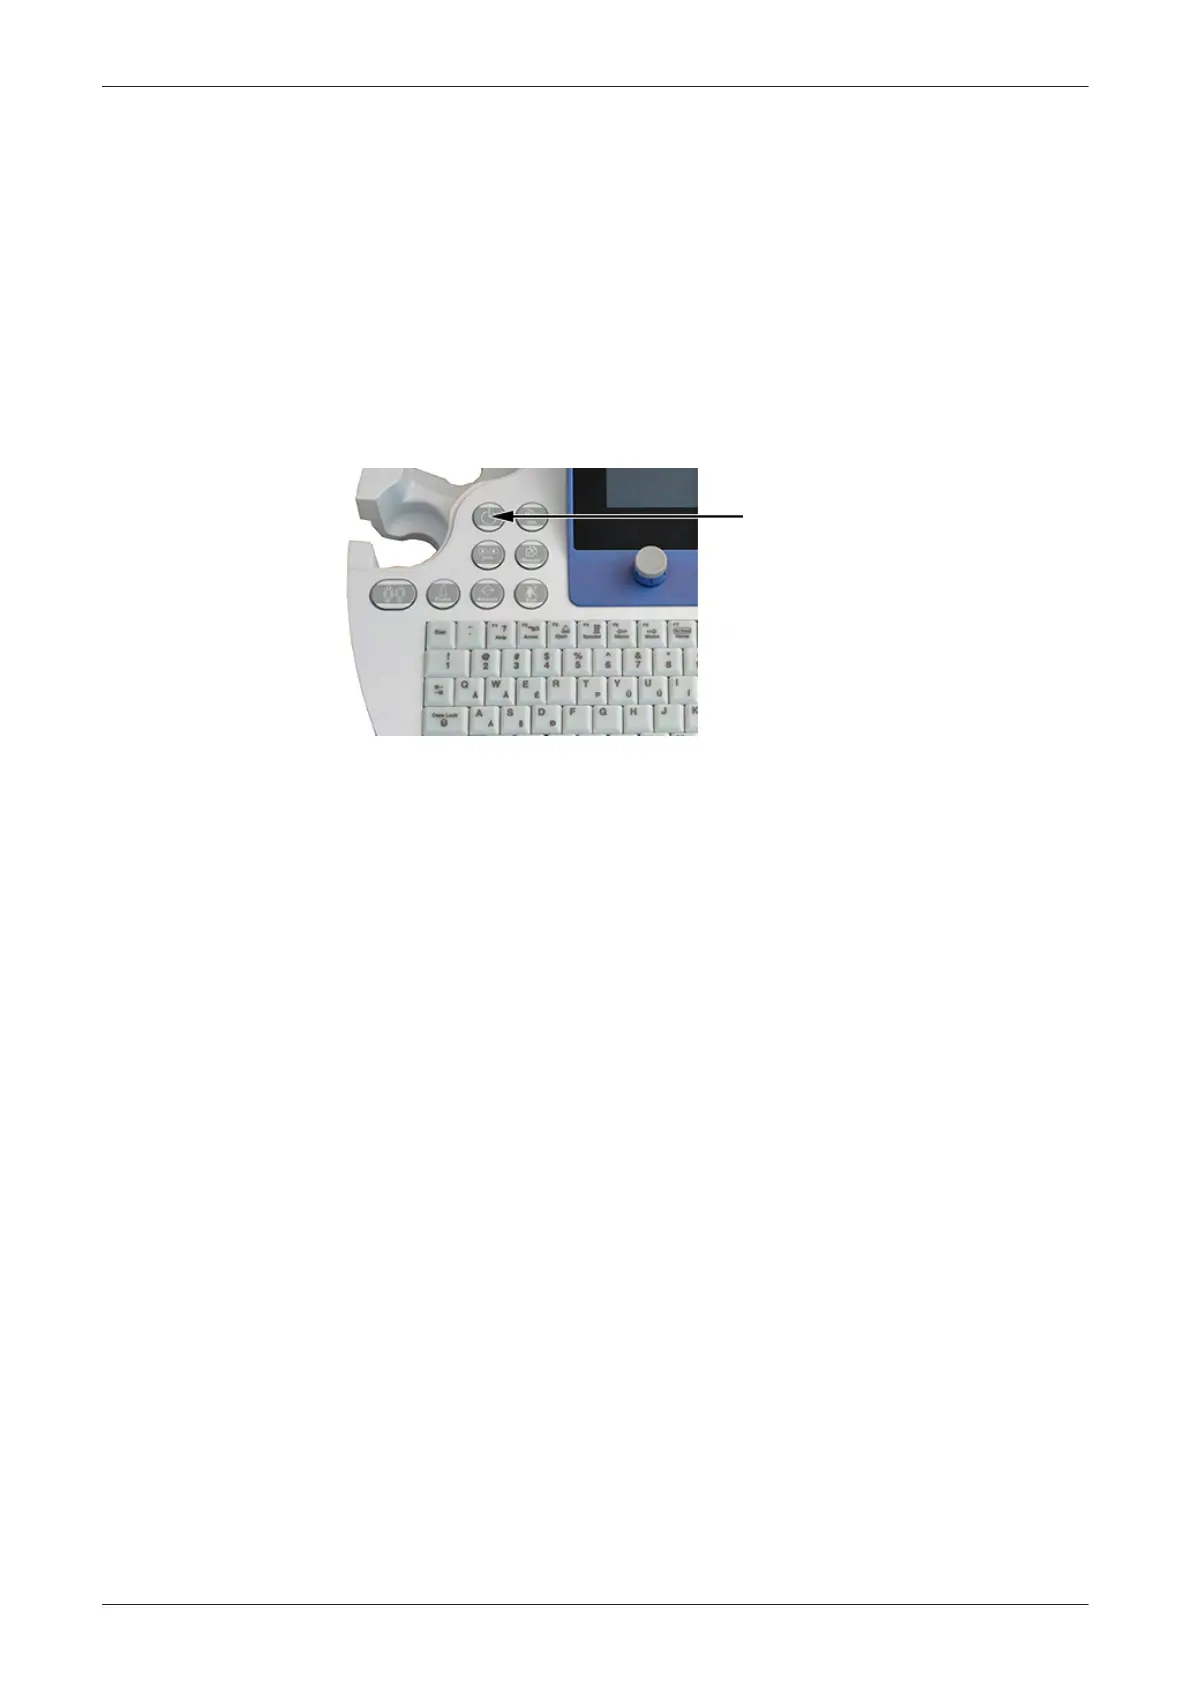
5. Hold down the ON/OFF standby button (see:
Figure 3-3 below
) on the control console for ~3 seconds.
Note
The mains outlet of the system for peripheral auxiliary equipment are commonly switched with the ON/OFF
standby button. The power switch of any attached printer(s) needs to be in ON position before starting the
system. However, be aware some auxiliary equipment may switch itself to standby mode (e.g., Color video
printer) and must therefore be switched on separately.
When the ON/OFF standby button on the control console is pressed, the system (including the Back-
end Processor) starts and the operating system is loaded which then leads to activate the application
software.
The system automatically performs an initialization sequence which includes the following:
-
Loading the operating system.
-
Running a quick diagnostic check of the system.
-
Detecting connected probes
Figure 3-3 ON/OFF standby button
As soon as the software has been loaded, the system enters 2D-Mode with the probe and application
that were used before the system shutdown.
Note
Total time used for start-up is about 2 minutes.
6. Adjust height and position of the control console as described in
Section 6.3 "Control Console
Positioning" on page 6-4
.
Setup Instructions
3-10
Voluson E-Series Service Manual
5539550APB Revision 6