35
Connecting the Current Sensors (Current Input)
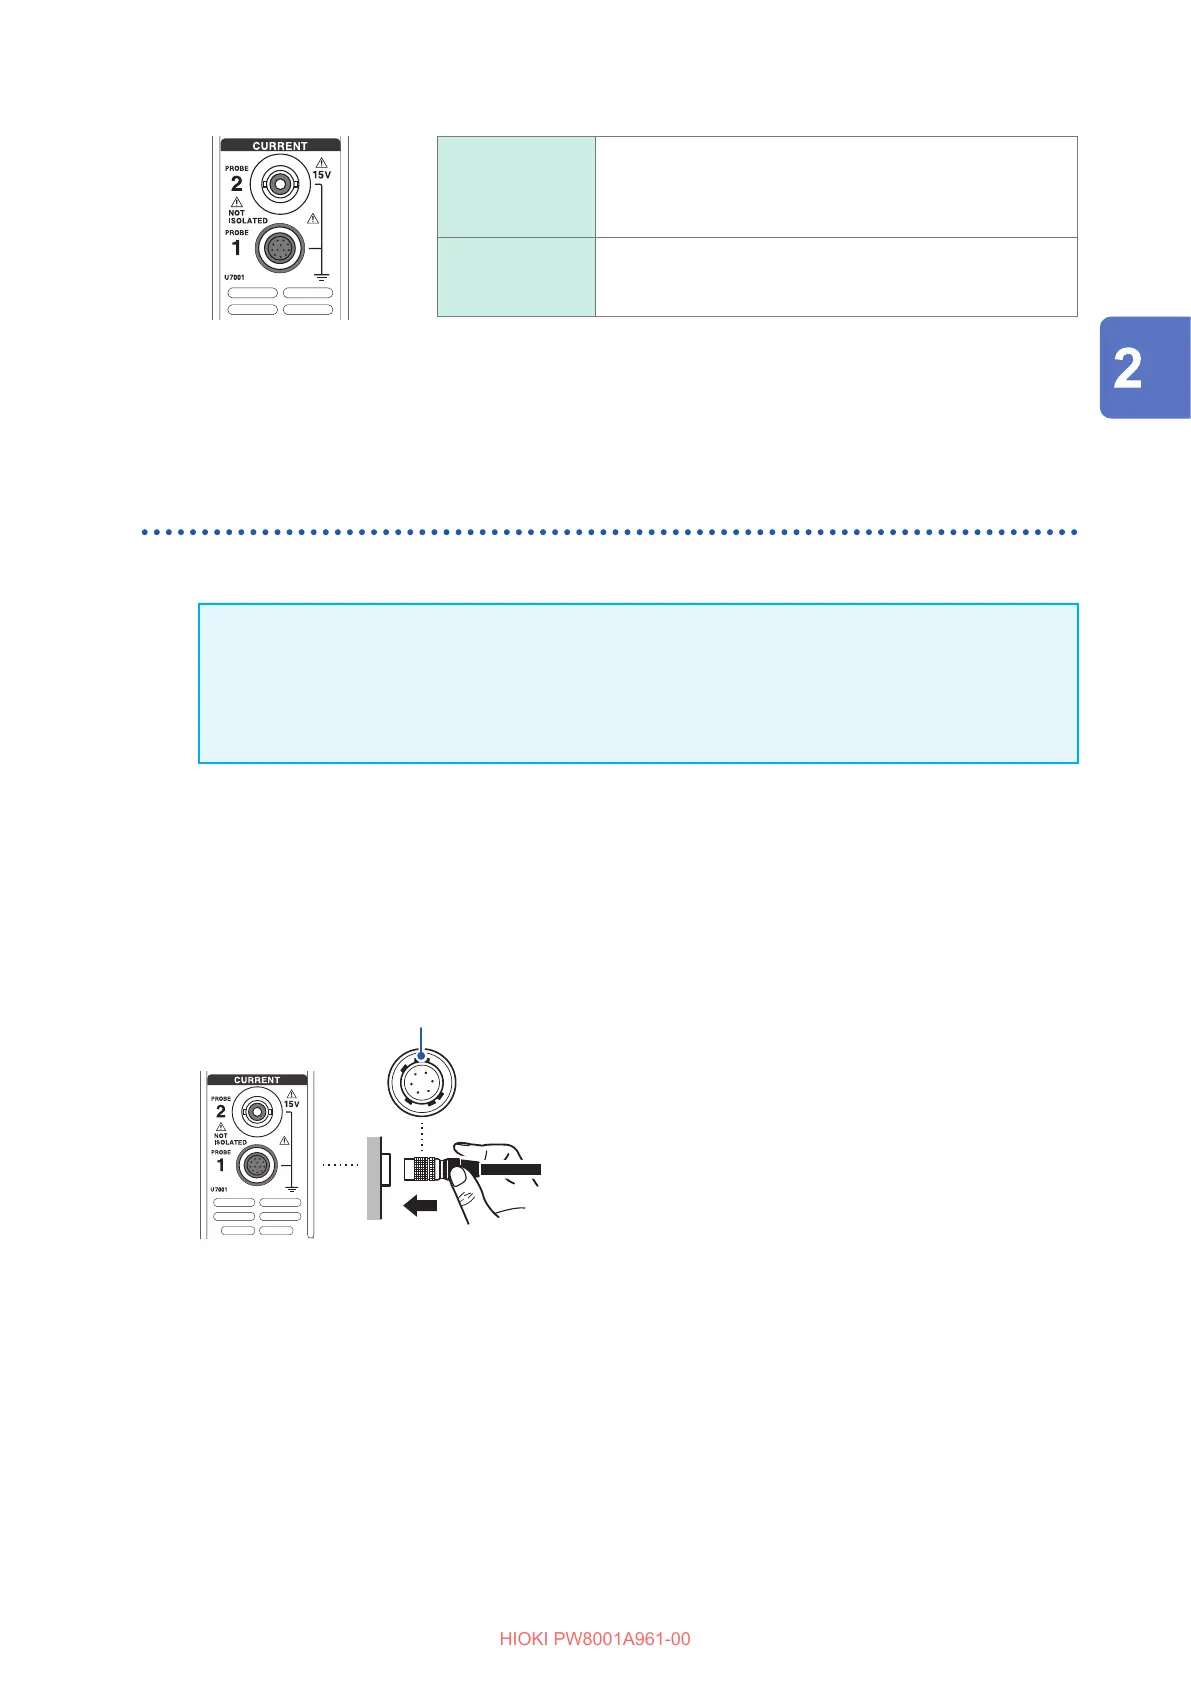
Probe 1 terminal
Terminal for high-performance current sensors.
Connect an optional current sensor. The instrument
automatically recognizes the current sensor.
It also supplies power to the current sensor.
Probe 2 terminal
Terminal for current sensors.
Connect a sensor of the voltage output type, including a
current probe and CT.
For detailed specications and instructions for the current sensors being used, refer to the
instruction manual that came with the current sensors.
Probe 1 terminal
How to plug the connector
IMPORTANT
The current sensor connected to the Probe 1 terminal is automatically recognized. However,
when the CT6846 or CT6865 is connected via the CT9900 Conversion Cable, the sensor is
recognized as a 500 A AC/DC sensor. Set the CT ratio to 2.00 in such a case.
See “Scaling (when using VTs [PTs] or CTs)” (p. 63).
When the connector is metallic
Current sensors including the 9709-05, the CT6860-05 series, and the CT6840-05 series can be
connected to the Probe 1 terminal directly.
The current sensors with the sub number -05 in their product name have a metallic connector.
Hold the connector
with its broader part
facing upward.
11
22
1
Turn the instrument o, then align the
positions of the connector guides of the
instrument and the current sensor.
2
Hold the plastic part of the connector and
insert it straight until it is locked.
The instrument automatically recognize the type of the
current sensor.
Preparing for Measurement

 Loading...


