37
Connecting the Current Sensors (Current Input)
Probe 2 terminal
How to plug the connector
33
22
1
Turn o the instrument.
2
Align the slots in the connector of the
current sensor with the lugs on the Probe
2 terminal (BNC connector), and insert the
connector.
3
Turn the connector clockwise to lock it.
4
Supply power to the current sensor.
For Hioki’s current sensors
Power supply
(3269/3272)
CT6700 series,
3273-50, etc.
When connecting Hioki’s optional current sensors
(including the CT6700 series and 3273-50), supply
power to the current sensor from Hioki’s 3269 or
3272 Power Supply.
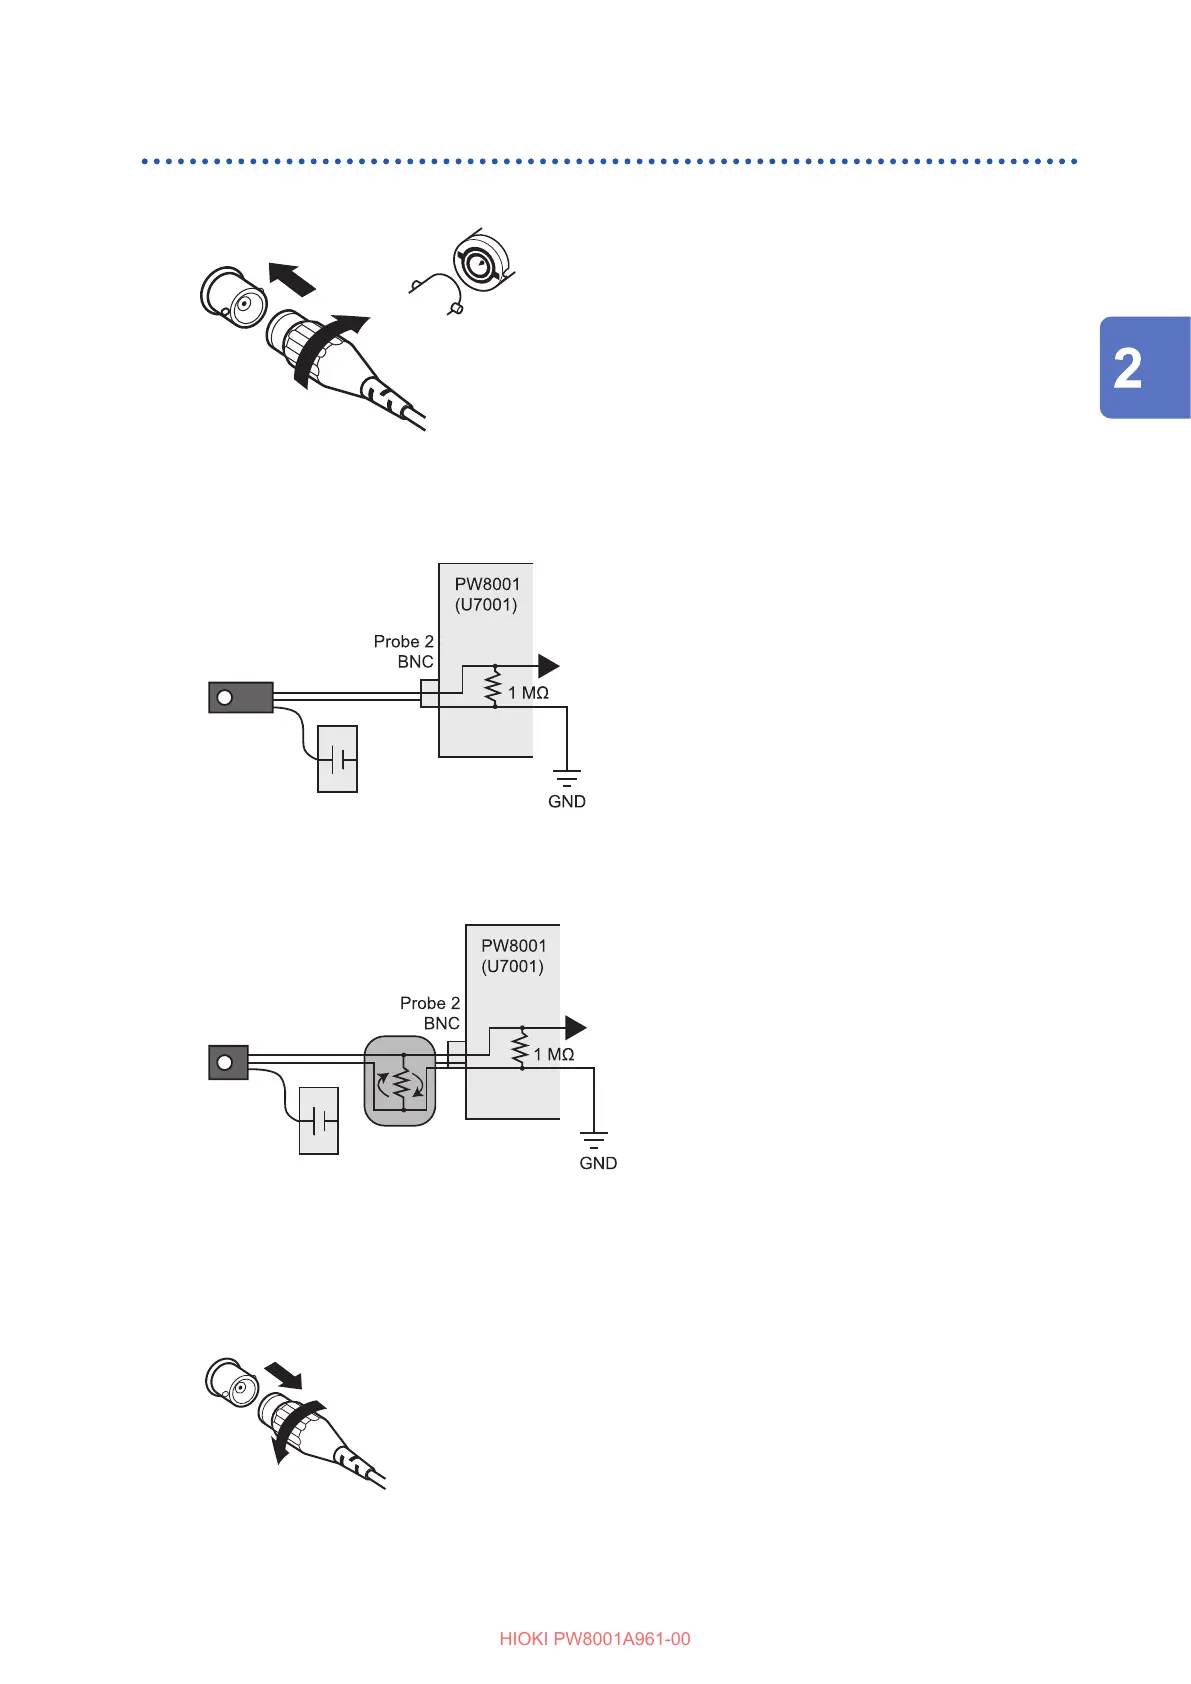
For current-output type current sensors
Power supply
Current-output type
current sensors
Shunt resistor
5 V rms f.s. max.
Similarly, when connecting a current-output type
current sensor to the instrument, supply power to
the current sensor from a power supply prepared
by the customer.
In addition, connect a shunt resistor between the
sensor and the Probe 2 terminal. Shield the shunt
resistor part and arrange the wires so that the loop
area produced by the grounding wire is minimized.
Do not input signals other than those from the
output of current sensors that are electrically
isolated from the object under measurement. In
addition, keep the input within
±
15 V.
How to remove the connector
11
22
1
Turn the connector of the current sensor
counterclockwise to unlock it.
2
Pull out the connector.
Preparing for Measurement

 Loading...


