Operation - Single Setpoint Ramp
134 DR4500A Classic Series Circular Chart Recorder With or Without Control Product Manual Release M
April 2017
Running the setpoint ramp
Running a setpoint ramp includes starting, holding, viewing the ramp time, ending the ramp and disabling
it.
Procedure
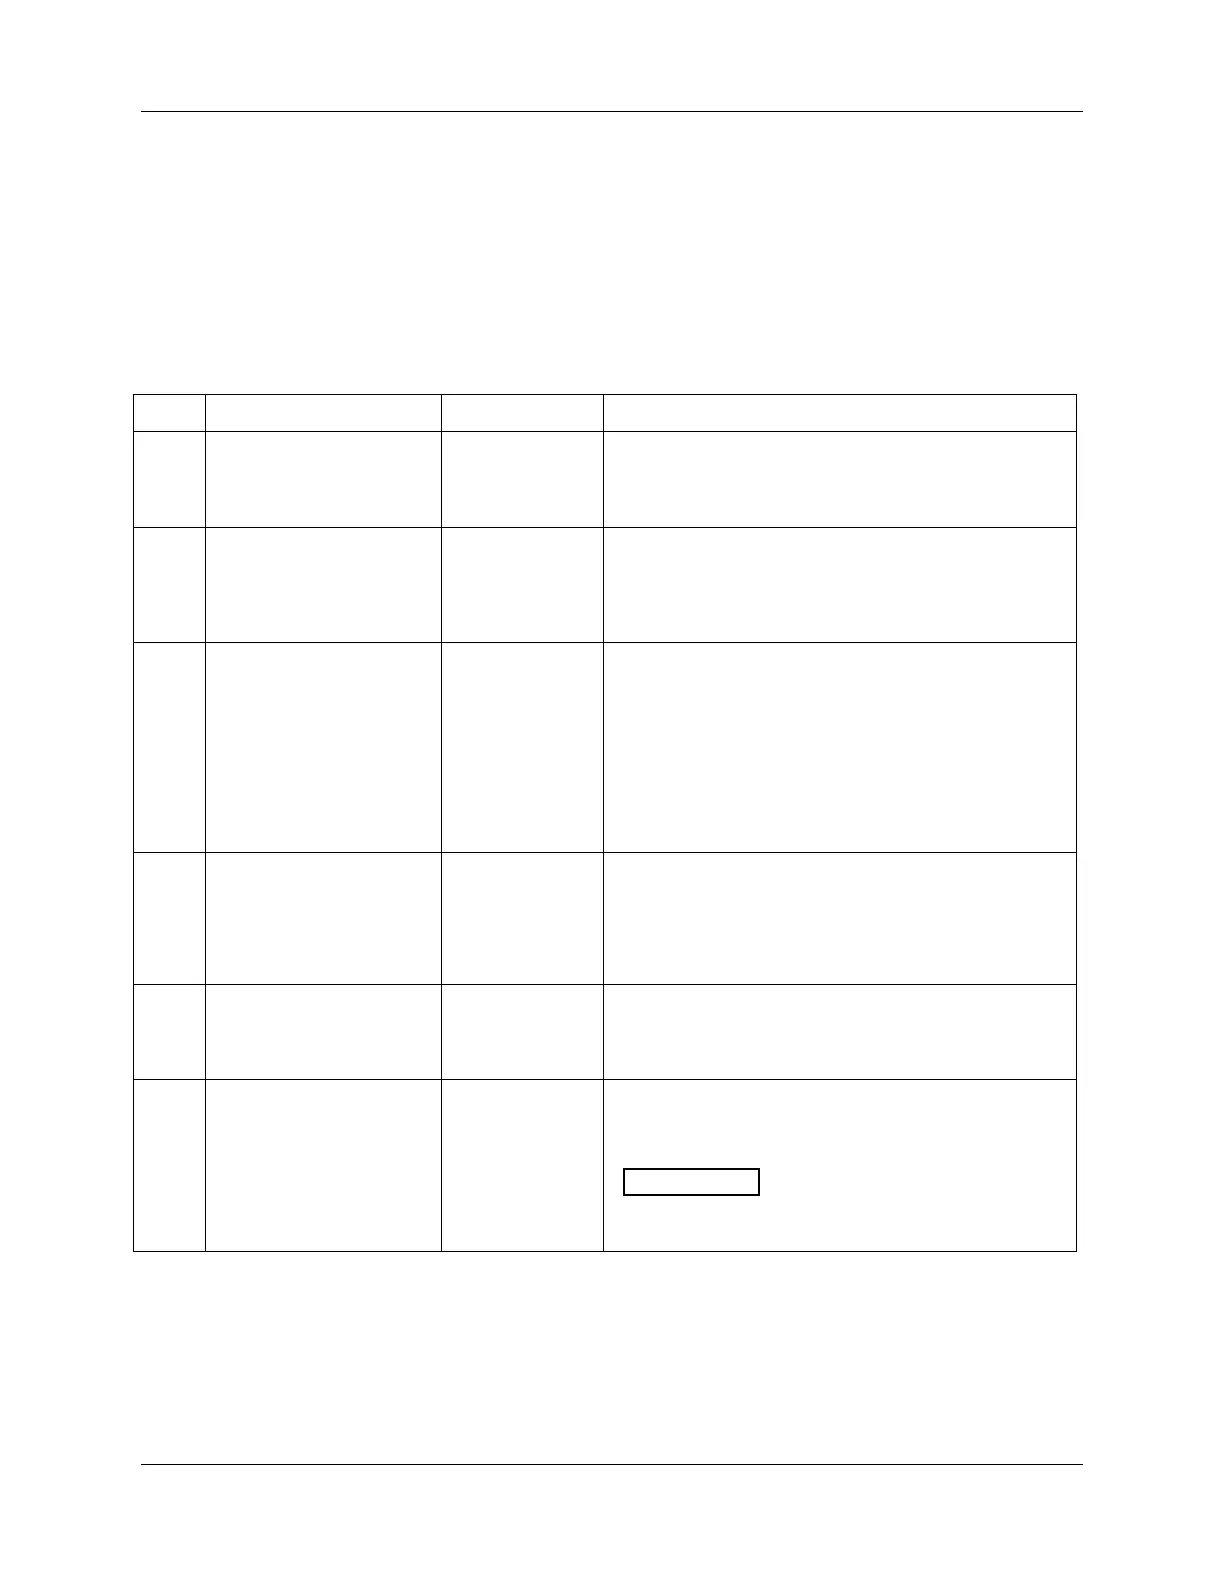
76HTable 5-18 lists the procedure for running the setpoint ramp.
Table 5-18 Procedure for running a setpoint ramp
Put the controller into
automatic mode
Until “A” indicator is ON and you will see:
Upper Display: H and the PV value
Lower Display: SP and the present setpoint value
Until the start setpoint value you desire is indicated in
the lower display:
Upper Display: H and the PV value
Lower Display: SP and the start setpoint value
Upper Display: R and the PV value
Lower Display: SP and a changing setpoint value
NOTE: The value in the lower display will be increasing
or decreasing toward the final setpoint value.
The PV value in the upper display and the pen trace will
also change.
Hold the ramp at the
current value
This holds the ramp at the current setpoint value.
Press again to continue run.
A “KEY ERROR” prompt appears if RUN/HOLD key is
pressed while “SP RAMP” is disabled.
View the remaining ramp
time
Upper Display: R or H and the PV value
Lower Display: RAMP XXXM (time remaining)
When the final setpoint is reached, the “R” changes to
“H” in the upper display and the recorder operates at
the new setpoint.
Any time the local setpoint is different
from the final setpoint value and the RUN/HOLD key is
pressed, the ramp will start again.