Troubleshooting / Service
Pen Alignment
Release M DR4500A Classic Series Circular Chart Recorder With or Without Control Product Manual 221
April 2017
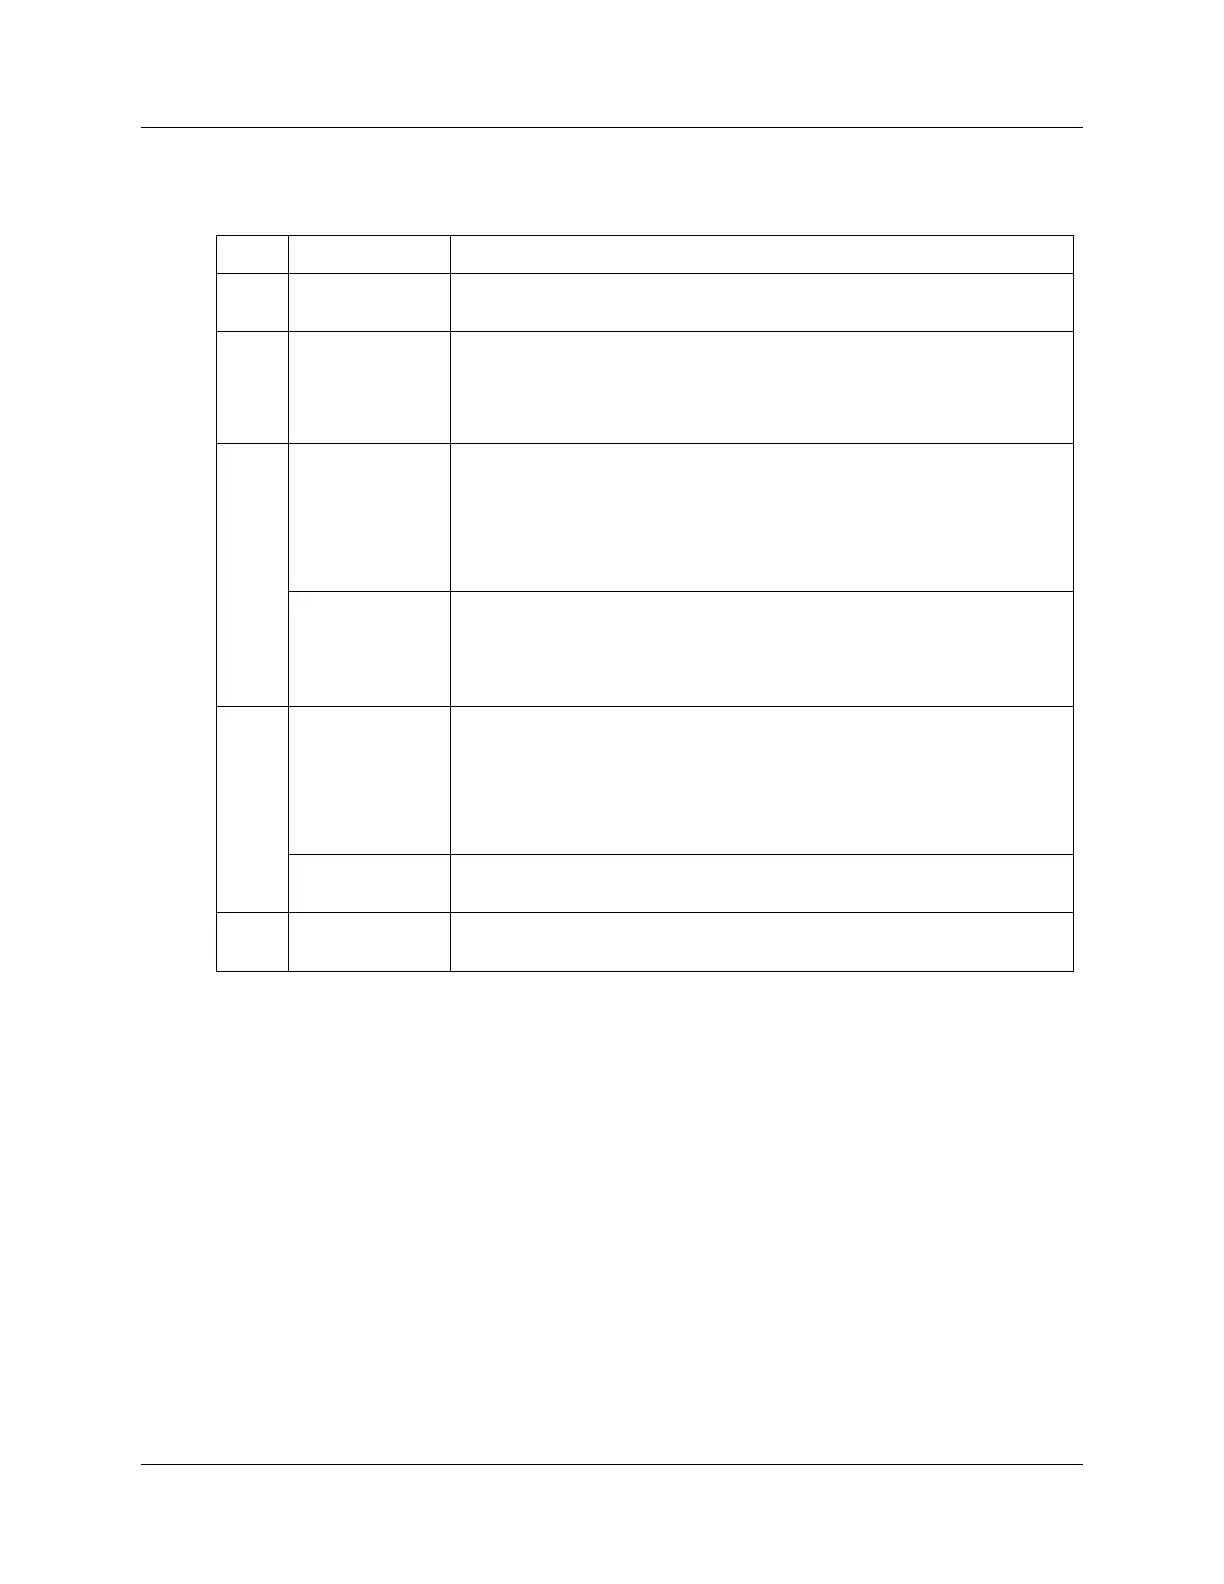
Table 9-20 Set the chart time line procedure
Open the door, apply power, and wait for the recorder to run its power up
tests.
Upper Display: ALIGN
Lower Display: PEN 1
Upper Display: ALIGN
Lower Display: PEN 10
The pen moves to an internal stop then backs away and stops.
To move the pen to the zero position on the chart (inner position of chart).
ATTENTION: You can position the pen over 100 steps. Those steps are
relative units only. Step 0.0 is the innermost position on the chart, and step
1200 is the highest circumference position.
Upper Display: ALIGN
Lower Display: PEN 100
The value adjusted in Step 3 is entered into memory.
To raise or lower the value in the upper display (up to 1200) move the pen
to the highest chart range value (outer circumference printed on the chart).
Repeat steps 2 through 4 for pen 2 or press LOWR DISP key to return to
normal operation and enter the span value into memory.