Installation - Mounting Methods
24 DR4500A Classic Series Circular Chart Recorder With or Without Control Product Manual Release M
April 2017
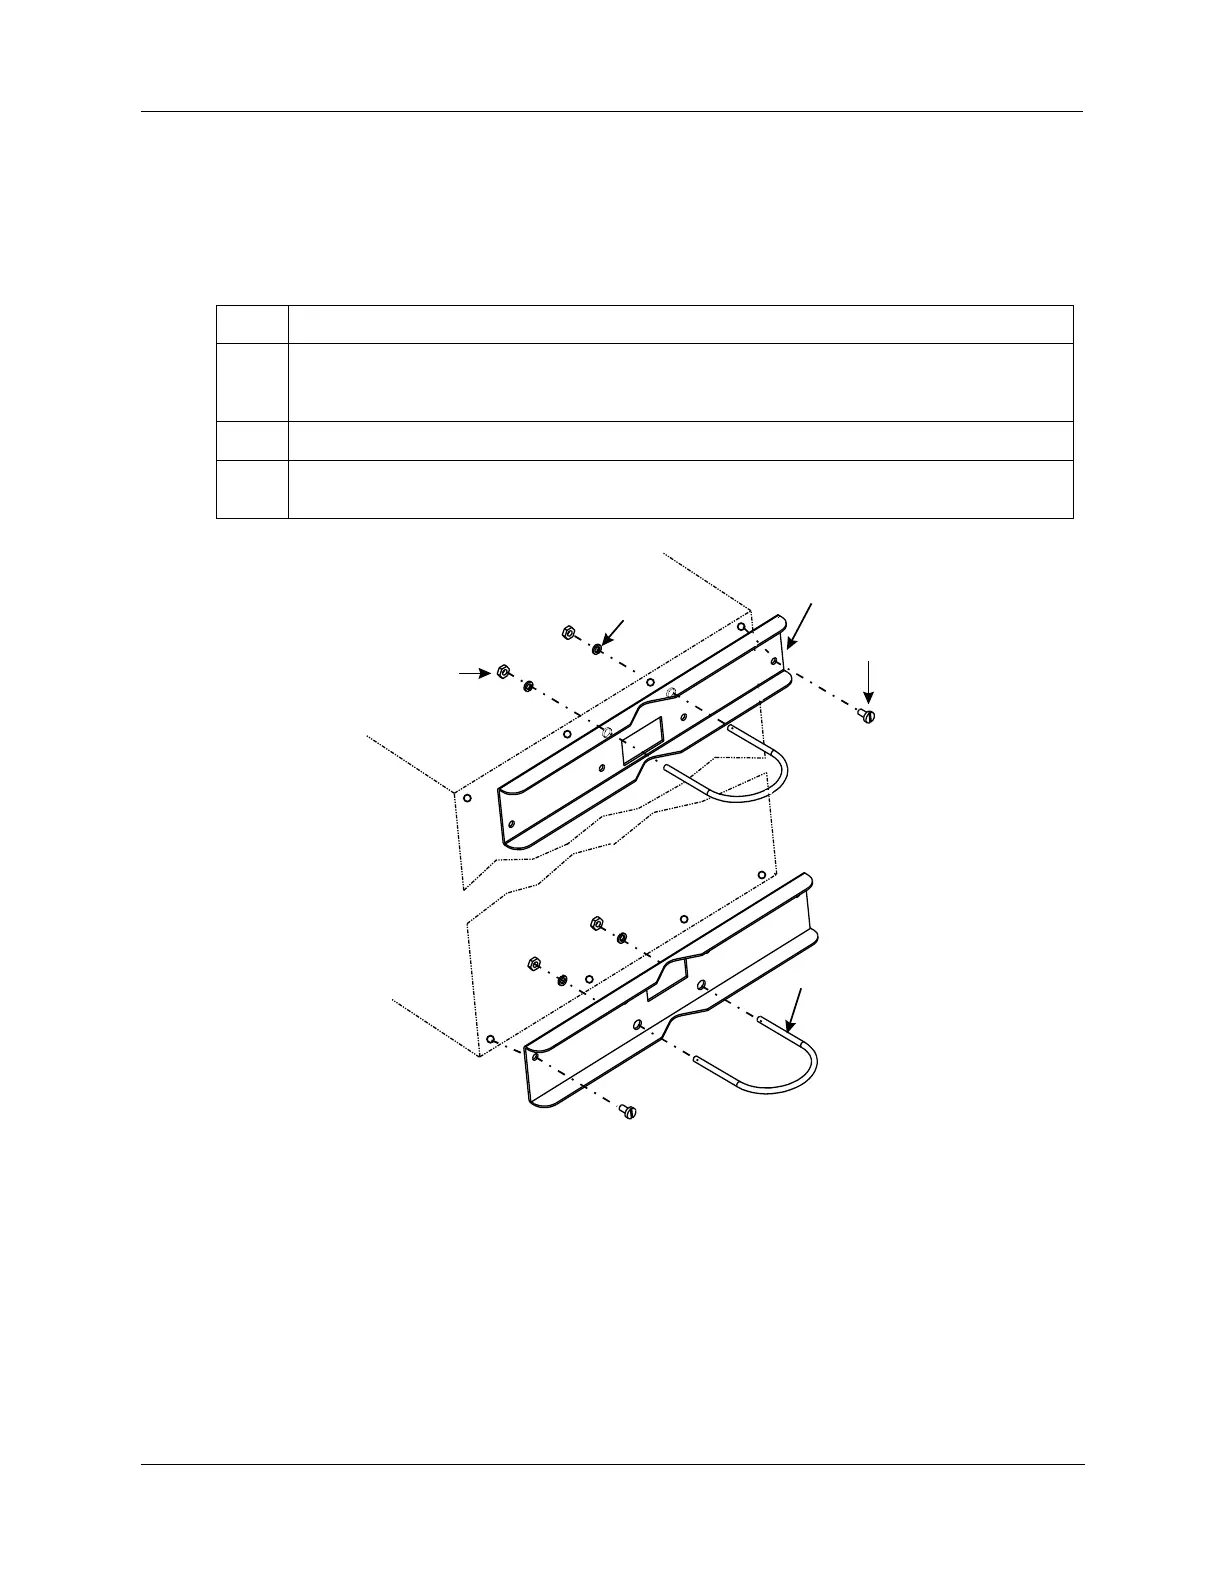
Mounting on a 2-inch pipe
Refer to Figure 2-9 and follow the procedure in Table 2-8 to mount your recorder on a 2-inch pipe.
Table 2-8 Pipe Mounting Procedure
Using the eight plastite screws supplied with the pipe mounting bracket kit, attach the two
mounting brackets (flat side against the case) to the back of the recorder. Refer to Figure 2-9
for location.
Position the recorder with brackets on the 2-inch pipe.
Install the U-bolts around the pipe and through the bracket holes. Secure with lockwashers and
hex nuts provided.
Rear
of
Case
24224
Hex Nut
Washer
Pipe Mounting
Bracket
U-bolt
Plastite
Screw
Figure 2-9 Pipe Mounting Brackets