Operation - Start-up
118 DR4500A Classic Series Circular Chart Recorder With or Without Control Product Manual Release M
April 2017
Set the Chart Time Line
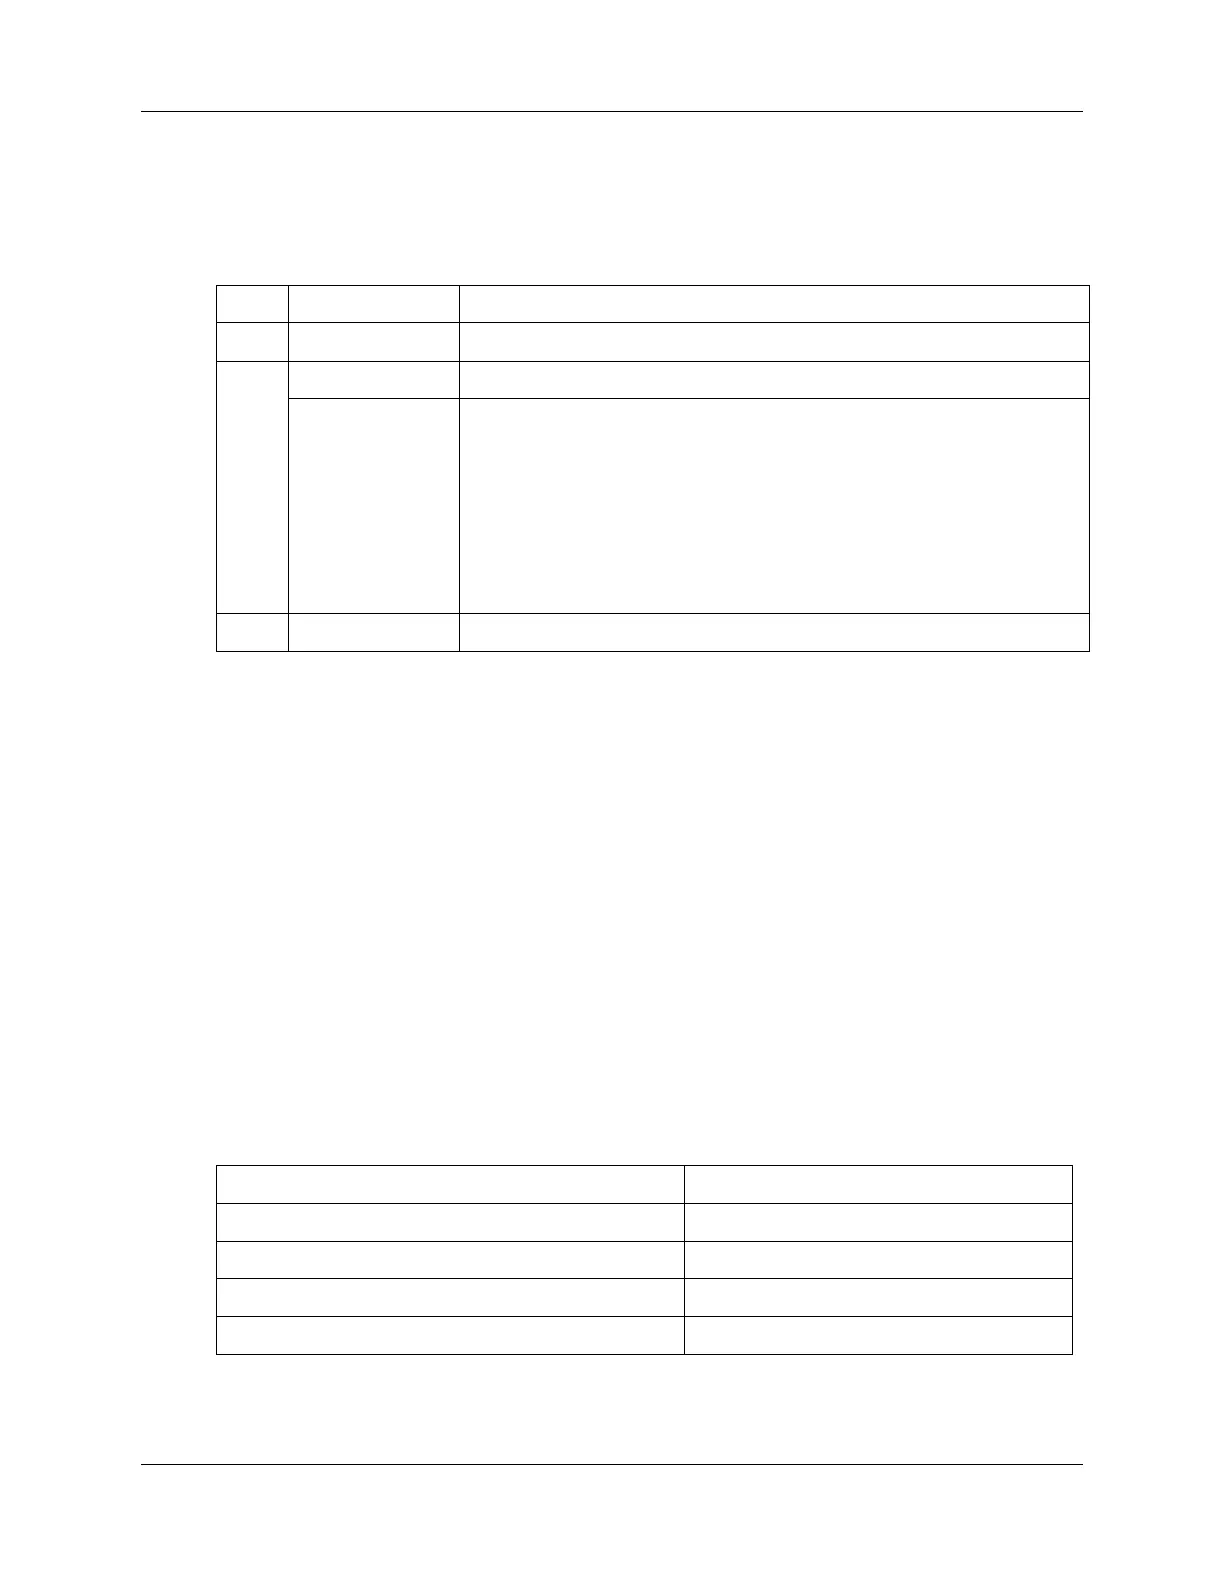
54HTable 5-2 lists the steps required to set the chart time line.
Table 5-2 Set the chart time line procedure
Apply power and wait until the recorder runs its power-up tests.
To enable the chart drive function.
To drive the chart forward
To drive the chart backward
until current chart time line aligns with engraved time index on the chart
plate.
To increase forward drive speed, press and release the ▲key while
holding in the ▼ key.
To disable the chart drive function and return to normal operation.
5.3 Start-up
Preparation
Before start-up, there are two tasks to perform:
Install or replace the circular chart as described in 55H5.16 56HRoutine Maintenance.
Be sure that the configured settings for the current time and wake time (time at which recording begins)
are correct. Note that the recorder is “awake” during start-up to verify interaction with the process.
During start-up, you should verify the interaction between your process and the DR4500A recorder to be
sure that your process can tolerate some upsets during this procedure.
Diagnostic tests
When power is applied, the recorder will run four diagnostic tests. 57HTable 5-3 lists the four diagnostic tests.
Table 5-3 Power up diagnostic tests
CONFTEST (configuration checksum)
CAL TEST (working calibration)