Installation - Mounting Methods
Release M DR4500A Classic Series Circular Chart Recorder With or Without Control Product Manual 17
April 2017
2.4 Mounting Methods
Introduction
There are several methods available for mounting your recorder. They are:
Flush in Panel (new panel cutout)
Flush in Panel (using an existing panel cutout)
using universal filler plate kit
using cutout made for Kent Model 105M
Flush in Panel for recorders with NEMA4 Door
On a 2-inch Pipe
On Surface (of panel or wall)
Procedures for each method follow. Choose the one that meets your mounting requirements. Use the
associated dimension drawings for reference.
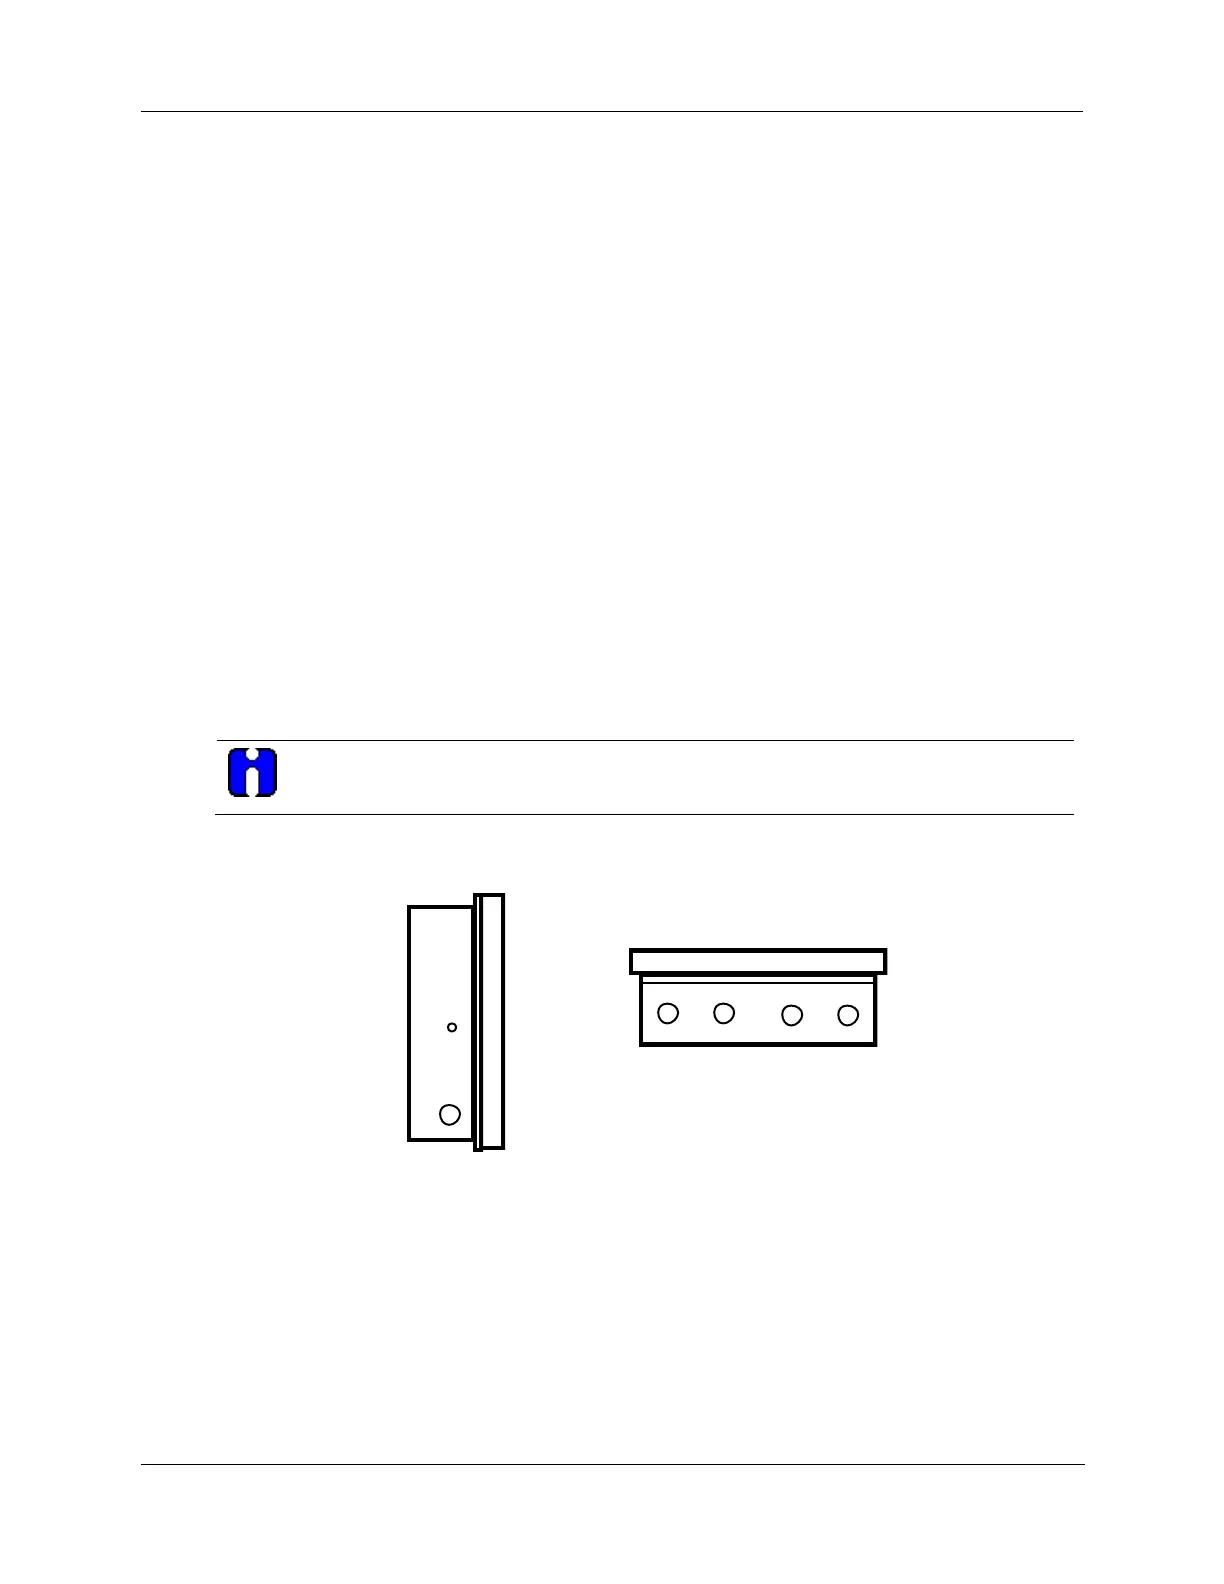
How to remove knockouts for conduits
Before you mount the recorder, remove the appropriate “knockouts” in the bottom and/or sides of the
recorder case for wire entry via 1/2" (12.7mm) conduits. Refer to Figure 2-4 for knockout locations.
The knockouts are really plugs that you just have to push out to remove.
21405
Side View
Bottom View
Figure 2-4 How to remove knockouts