990400 Rev C 2010 May 1
Detail Screens
9-5
.
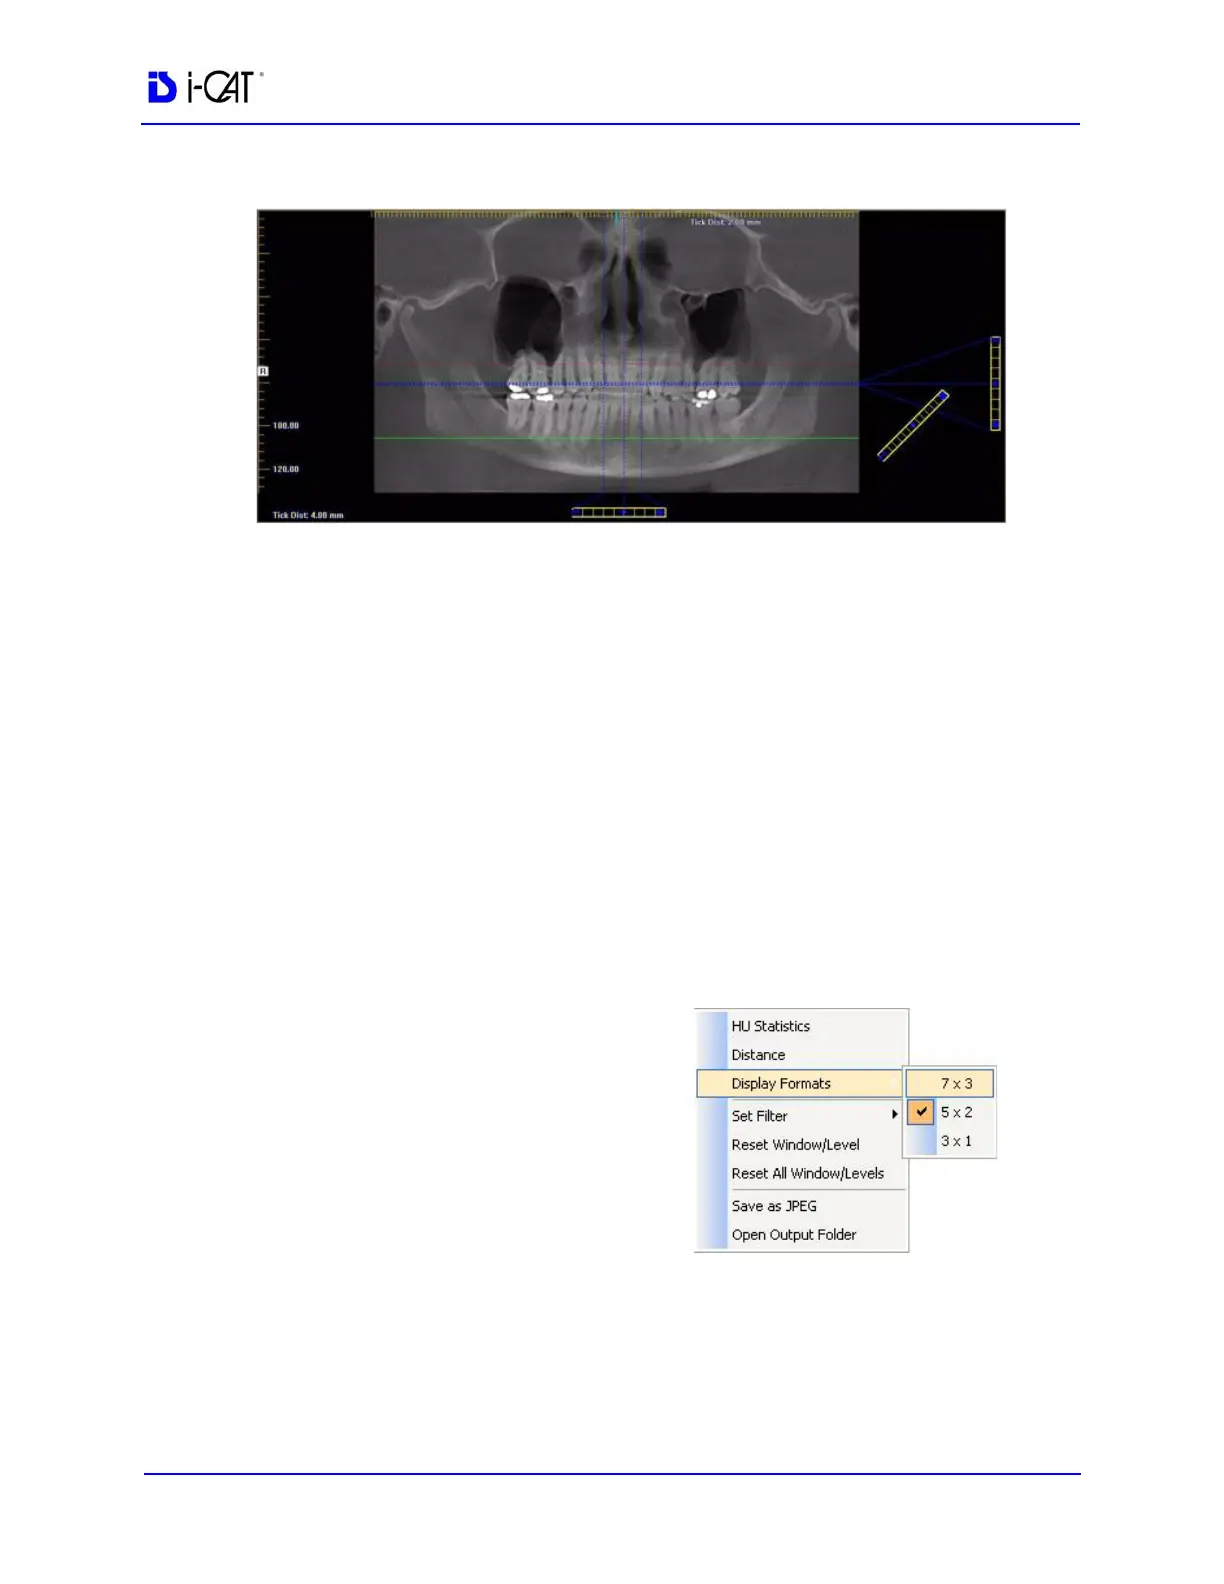
c. Drag the O in the center of the diagonal slice control to
adjust the pan focal trough.
d. Drag the O in the center of the vertical slice control (right
side of view) up or down to change the height of anatomy
viewed in the cross section views. Changes made here are
reflected on the axial slice position view and the cross
section views.
e. Drag the solid dot on the right side of the vertical slice
control to adjust the slice thickness displayed on the cross
section views. Changes made here are reflected on the cross
section views.
3. Individual cross section images can be zoomed in by double-
clicking them. Double-clicking again returns the image to
normal zoom.
4. Right-clicking on a cross
section brings up a popup
menu. Selecting one of the
submenu items from the
Display Formats menu item
changes the number of
displayed cross sections to
correspond to the selected
submenu item. For example,
selecting the 3 x 1 menu item
causes the Implant Planning
Screen to include three cross
section images in a single
row.