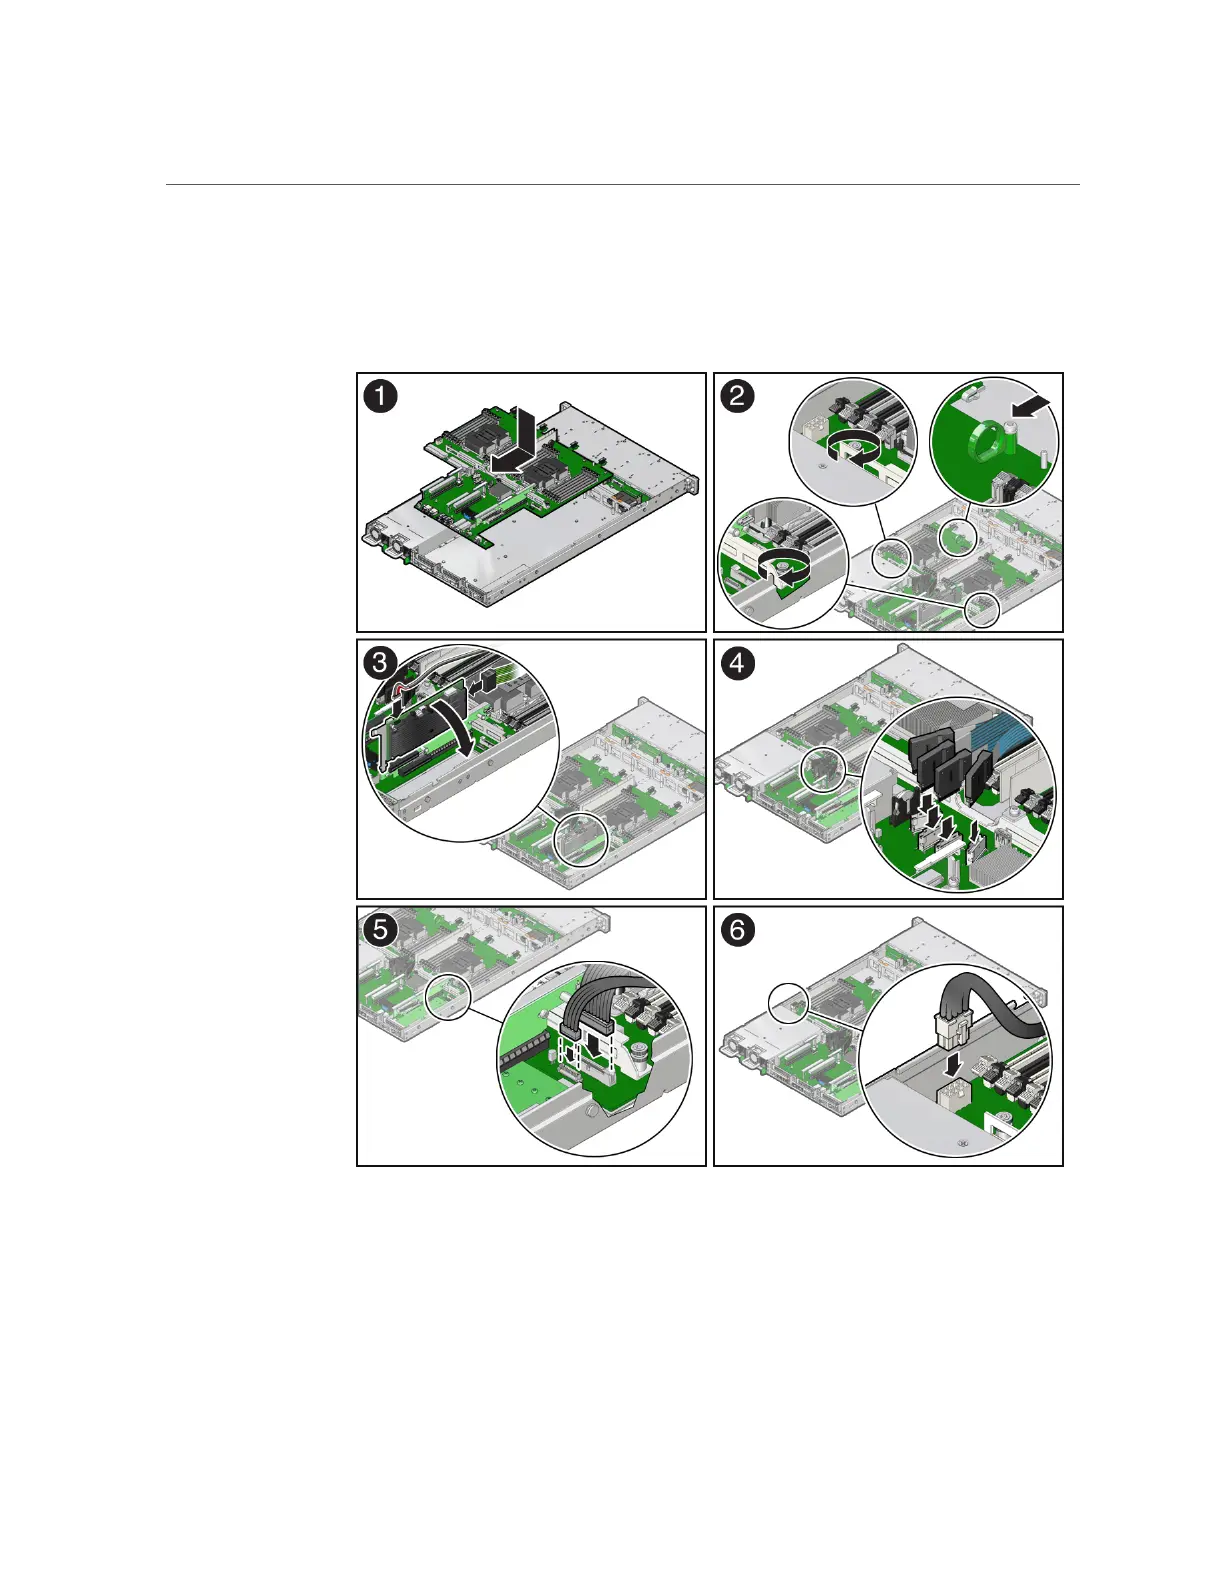
Install the Motherboard
c.
Ensure that the indicators, controls, and connectors on the rear of the
motherboard fit correctly into the rear of the server chassis.
d.
Using a Torx T25 screwdriver, tighten the two green captive screws to
secure the motherboard bracket/handle to the server chassis [2].
206 Oracle Server X7-2 Service Manual • October 2017