Preparing for Use
R&S
®
SMB100A
16Operating Manual 1407.0806.32 ─ 13
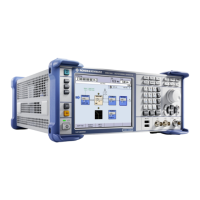
2.1.1 Utility Keys
The keys to the left of the display cause the R&S SMB to return to a definite instrument
state and provide information on the instrument and assistance.
For more information refer to chapter "Instrument Settings".
PRESET
Sets the instrument to a defined state (see chapter 2.3.5.4, "Default Settings",
on page 29).
LOCAL
Switches from remote control to local (manual) control.
SETUP
Opens the "Setup" dialog for configuring presettings.
For more information, see chapter 5.2.3, "General Configuration of Instrument - Setup
Key", on page 81.
FILE
Activates the menu for storing or loading files (see chapter 4.7, "File Management",
on page 71).
INFO
Displays status messages, error messages and warnings.
WINBAR
Toggles between the diagram and active menus.
HELP
Displays context-sensitive help text.
2.1.2 Standby LEDs and Standby Key
The standby LEDs and the ON/STANDBY key are located in the bottom left corner of the
front panel.
The ON/STANDBY key toggles the instrument between standby and ready state (indi-
cated by the standby LEDs).
The standby LEDs indicate the instrument states as follow:
●
the green LED (left) is on when the instrument is ready for operation,
●
the yellow LED (right) is on in the standby mode.
See also chapter 2.3.5.1, "Standby and Ready state", on page 28.
Front Panel Tour
 Loading...